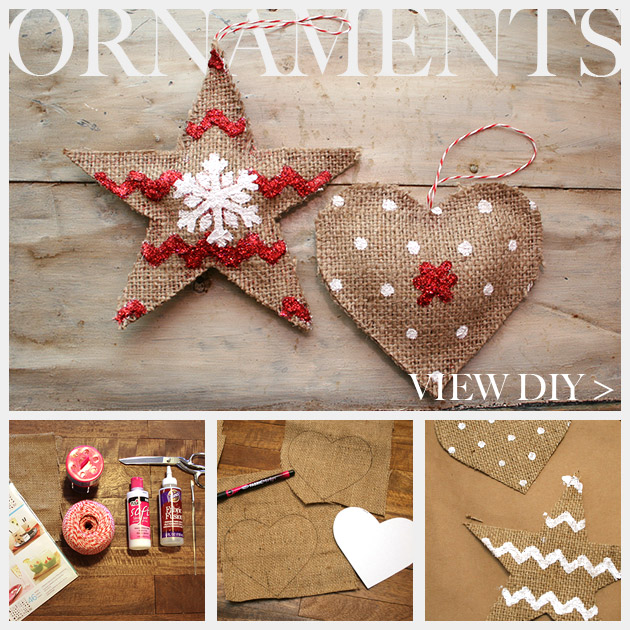
This Country Ornament DIY a fun and festive way to decorate for Christmas. This is also a simple project to make with kids.
LET’S MAKE A BAUBLE >
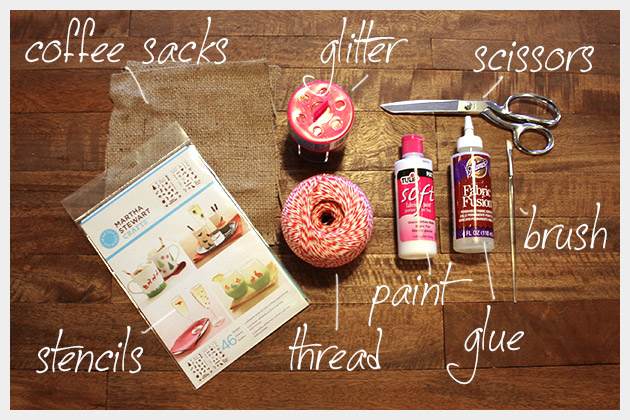
Supplies to make your Country Ornament DIY:
- Coffee sacks or burlap fabric
- Stencils – I used Martha Stewart Crafts stencils
- Glitter
- Bakers Twine or thread
- Paint
- Fabric glue
- Scissors
- Brush for the paint
- Paper to make a pattern for your ornament shape
step 1
Take your paper and make a pattern for your ornament shape. I made a star and a heart.
Once you have your pattern trace around it on your coffee sacks. If you cant find coffee sacks you can buy burlap fabric at most Jo Anns fabric stores.
Trace 2 of each pattern, youll need a front and back.
step 2
Decide which areas you will want solid paint and which areas you will want add glitter to.
Paint the solid areas first and be sure to let them dry completely.
You can paint them any way you like, I used polka dots and zig zag stripes.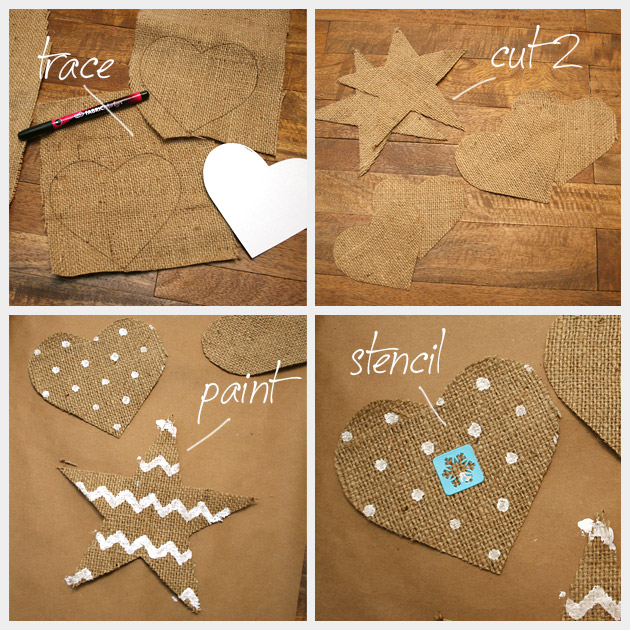
step 3
Once your paint is dry, you can add your stencil where you want to have glitter.
First place your stencil on your fabric and paint through your stencil with your paint.
Before your paint dries sprinkle glitter on top.
Shake off excess glitter.
step 4
When your paint is all dry you are ready to glue your two sides together.
Lay your back piece on a flat surface and put your fabric glue all the way around the edge of your fabric, leaving at least a 2 inch space that you will use to stuff your ornament.
Place your front or top piece on top of the back.
Let your fabric glue dry.
step 5
Once your glue is dry, youre ready to stuff your ornament. If you have stuffing you can use that, I pulled the threads apart on my coffee sacks to use for stuffing.
Carefully push a small amount of stuffing inside your ornament, dont over fill it.
step 6
Cut about an 8 inch piece of your bakers twine and fold it in half.
Take your fabric glue and add glue to the opening on your ornament.
Place the ends of your folded bakers twine inside your ornament on the glue.
Press your ornament together and let dry.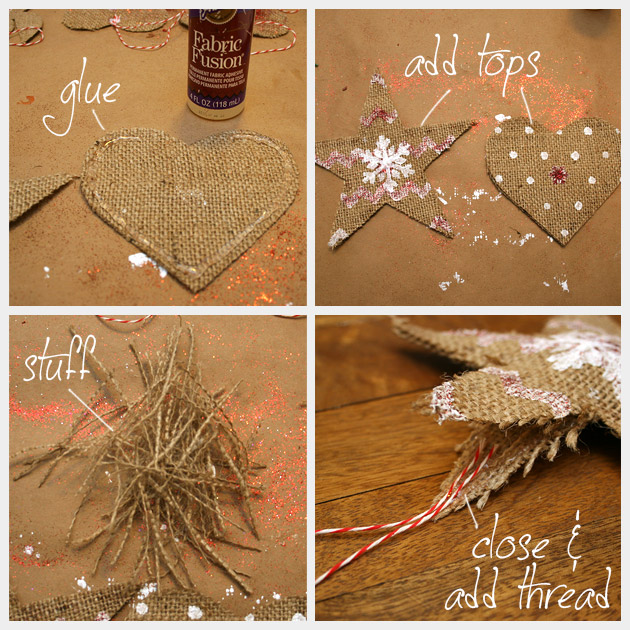
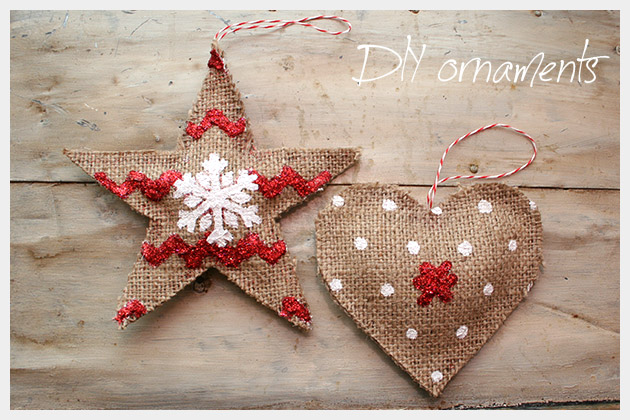
I love the look of rustic holiday decorations and these Country Ornaments are simple and fun to make.
This ornament was featured on Buzzfeed be sure to check it out.

Hey,
I found your blog via Pinterest and i just like it. You have so many beautiful ideas! I will follow your blog from now :)
Penelope
Adorable! But how do you keep the burlap from fraying?
Thanks Michele!
In the tutorial I’m glueing two pieces together and the glue keeps them from fraying. They may still fray a little but only up to the glue. You can also add a little extra glue around the edges to keep them from fraying at all.
xoxo
Cathy
I’ve not made these but I’ve worked with burlap…it shifts and unravels (frays) easily…I think I would paint and glitter a very large area first….then cut out my shapes. …just a thought
Thanks Shelley, that’s a good idea. I didn’t have a problem with my burlap unravelling but if you were moving them around much or if your burlap has a really loose weave it might unravel.
xoxo
Cathy
Super econômico,lindos