Create a Reversible DIY Trinket Bag to hold all your odds and ends or DIY’s, with fun fabrics in less than an hour!
IT’S IN THE BAG >
TOOLS & MATERIALS:
- Fabric – 2 prints or colors (c/o HGTVhome & JoAnns)
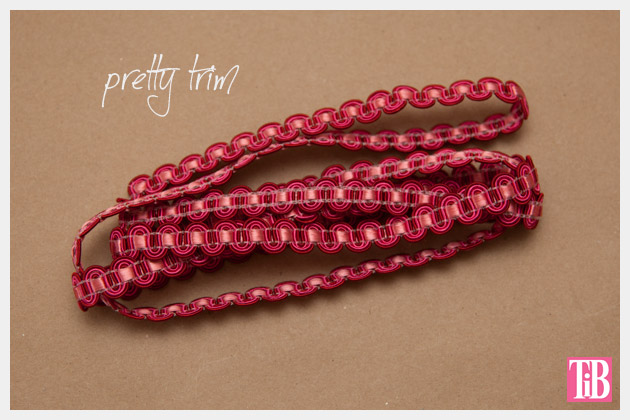
- Trim – optional (c/o HGTVhome & JoAnns)
- Scissors
- Needle & thread
- Pins
- Tape measure
- Sewing machine
- Pencil or fabric marker (optional)
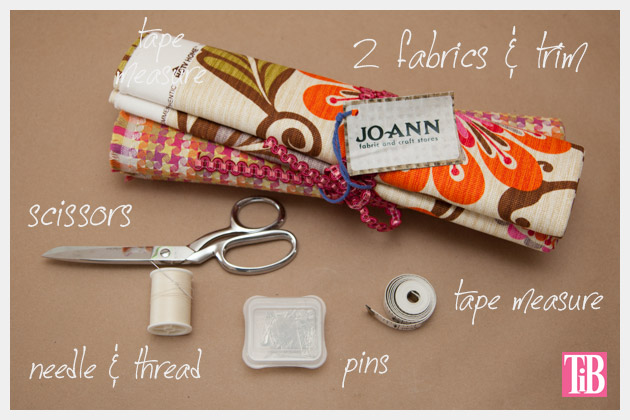
I received this fabric courtesy of HGTVhome and JoAnns fabric.
Its part of their new line of home fabrics.
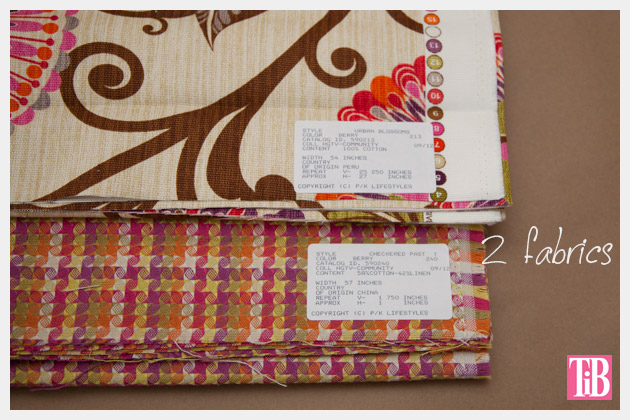
The fabrics I used are:
Urban Blossoms in Berry – 100% cotton (54 inches wide)
Checkered Past in Berry – 58% cotton – 42% linen (57 inches wide)
I received a yard of each. I only used about half to make these three boxes. (Im thinking about what else I can do with it!)
Be sure to read all the way to the bottom of this post, theres a 10% off coupon to Jo-Anns thats good till May 4th!
step 1
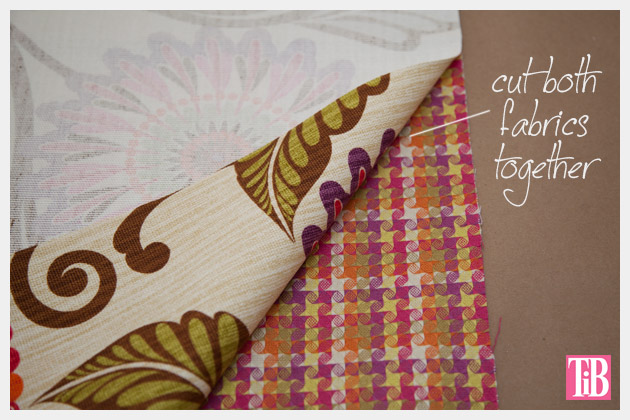
Layout for fabric on a large flat surface.
Put the right sides together, this way you have a plain back side to make your measurements and mark.
step 2
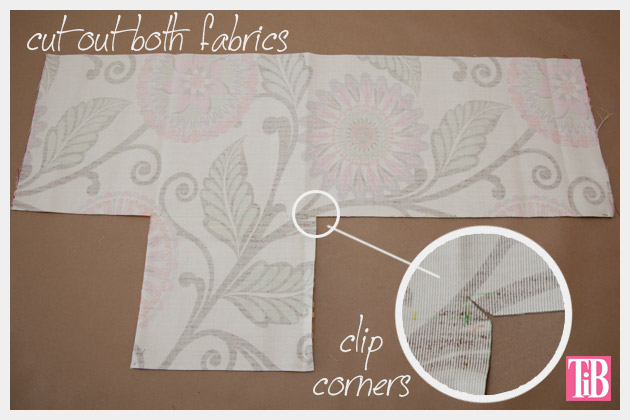
Using either pins or your fabric marker and your tape measure, measure and mark your fabric.
Cut both fabrics together.
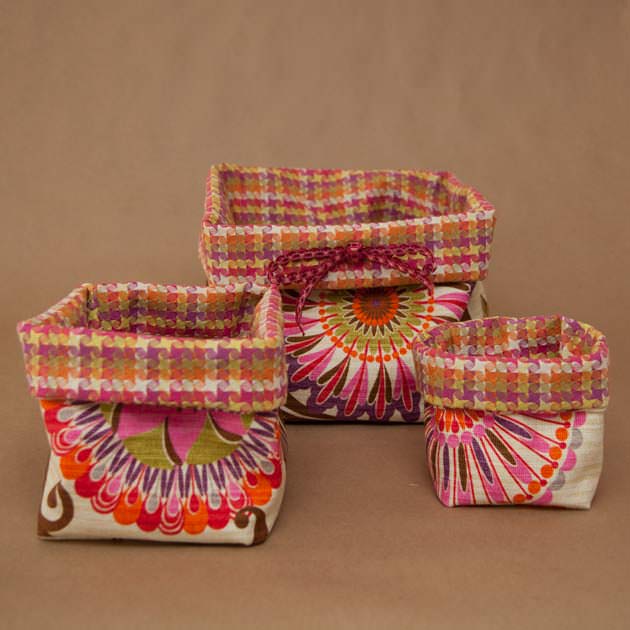
I made 3 sizes: large, medium and small; the dimensions for cutting are as follows:
Large: finished dimensions (8w x 10h x 8d)
33 inches wide
11 inches high
With the bottom piece (connected to the 2nd section) 9 inches wide by 8.5 inches long.
Medium: finished dimensions (6w x 8h x 6d)
25 inches wide
9 inches high
With the bottom piece (connected to the 2nd section) 7 inches wide by 6.5 inches long.
Small: finished dimensions (4w x 6h x 4d)
17 inches wide
7 inches high
With the bottom piece (connected to the 2nd section) 5 inches wide by 4.5 inches long.
step 3
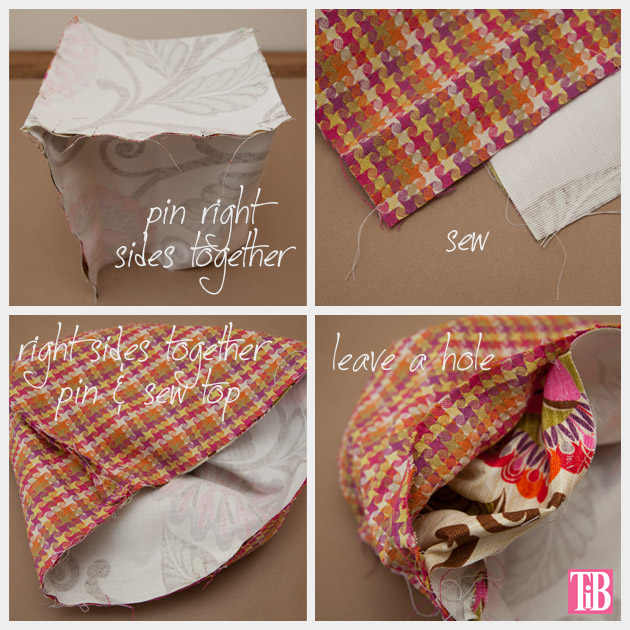
Pin your fabric together with right sides facing.
Pin the side seam and all the way around the bottom.
Do this for both fabrics.
Sew you seams.
step 4
Once you have sewn both of your fabrics into their bags, put one inside the other with the right sides facing, and pin the two bags together all around the top.
Leave about a 4 inch wide opening to pull your bags through so they will be right side out.
The larger the bag you are making the larger the hole you will need to leave. 4 inches is about right for the largest size.
Sew the tops together leaving the hole.
step 5
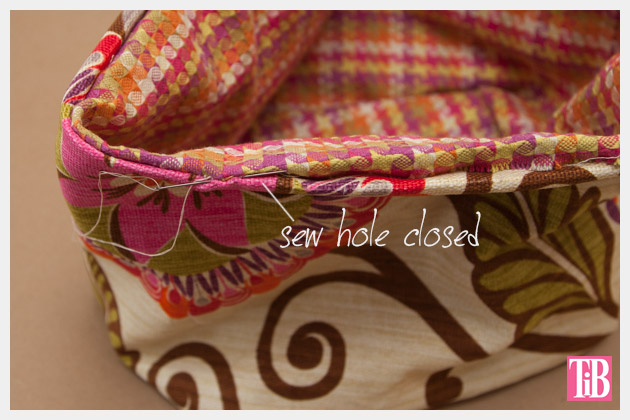
Once youve sewn the tops of your bags together, carefully pull them through the hole you left in the top so you have the right sides of both bags out.
“Sit†one bag inside the other and smooth them out.
Using your needle and thread carefully fold the edges of the fabrics on the hole and sew them together.
step 6
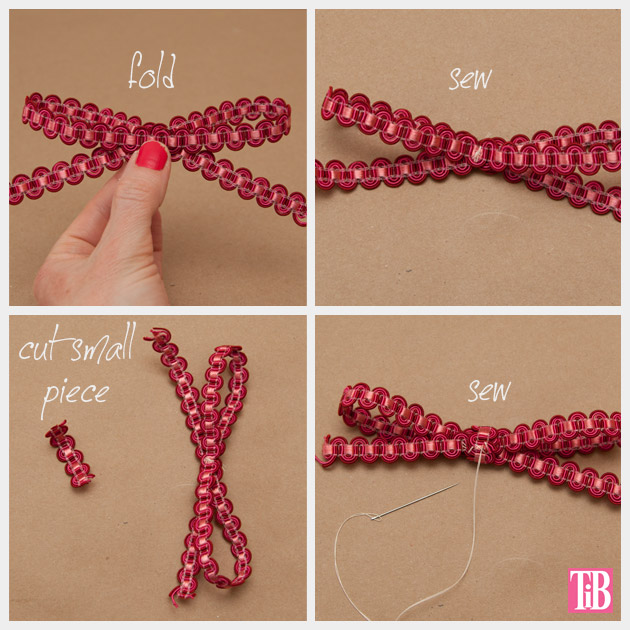
Make your bow.
I cut 19 inches of my trim and folded it as you can see in the first photo.
Using your needle and thread stitch through the center of your bow to hold it in place.
Cut another small piece of your trim, long enough to go around the center of your bow and overlap.
Wrap this piece around the center of your bow and sew it in place.
To add this bow to your bag you can either sew it to the bag where you want it or if you will be reversing this bag frequently, you can attach it with a safety pin.
Once you decide which side of your bag you want as your outside, fold the top over about 2 inches.
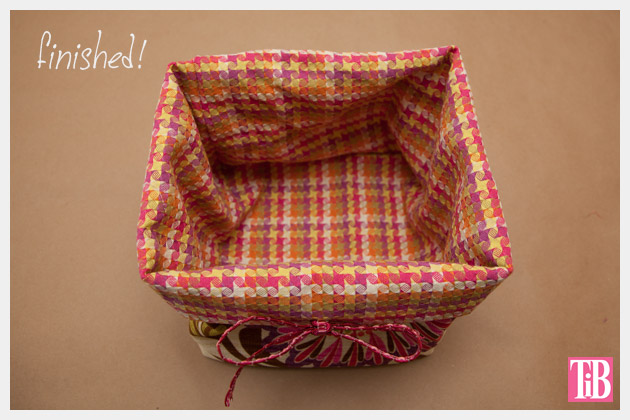
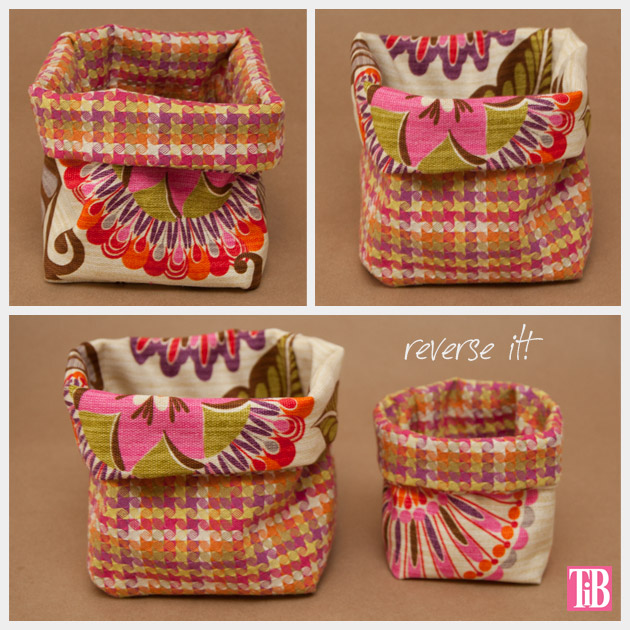
This bag is completely reversible! Have fun with it!
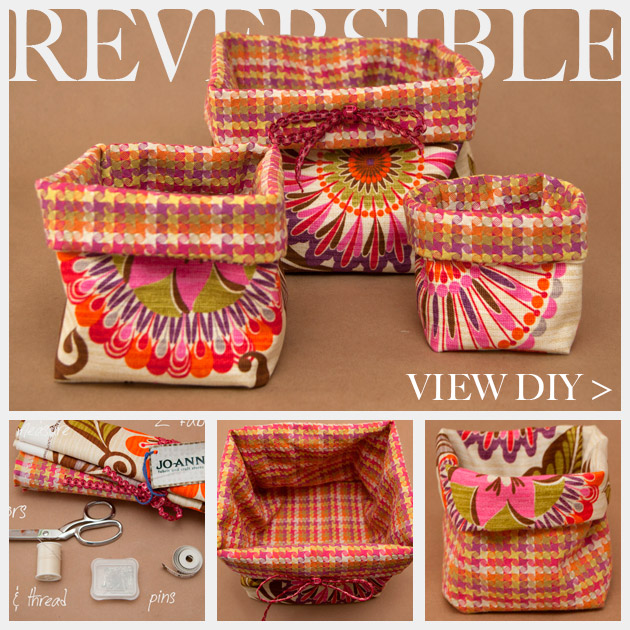
This is a really beautiful line of fabrics from HGTVhome and Jo-Anns. The quality, colors and prints are really beautiful.
When I first received this fabric I wasnt really sure what to make with it, since I dont make a lot of home DIYs. Then it hit me (like a pile of bracelets crashing down) that I needed containers for all my many small projects.
These Reversible DIY Trinket Bags are a perfect way to store all your jewelry, belts, scarves, you name it, neatly and they look cute anywhere you put them!
You could make these bags in really any type of fabric, but Ive found the home furnishing fabrics with their thickness and weight make these bags more functional and sturdy.
Be sure to take advantage of the coupon below!

All the fabric and trim used in this post was supplied courtesy of HGTVhome and Jo-Ann’s.

So cute love it and your instructions as usual are so easy to follow. Cheery fabric really like the colors. Great job!
Thank you so much Jennifer!
xoxo
Cathy
These are so adorable! I actually think this would make an adorable (is that weird?) garbage bag for the car! I’ve seen the ugly black ones that sit on the passenger’s side floor, but this would be 1000x better, if you just put a plastic bag inside it to catch the gross stuff! Thanks for the tutorial :)
Thanks C.J.!
I love that idea! It’s totally not weird! I think I may make another for just that purpose!
xoxo
Cathy
THIS IS AN AWESOME CRAFT AND TUTORIAL WILL BE SO HELPFUL WHEN SEWING IT. I HAVE ADDED IT TO MY FAVORITES AND AM EXCITED TO MAKE 1 OR SEVERAL. THANK YOU FOR SHARING
Bernysblessings.blogspot.com
Thank you so much Berny!
You’re most welcome!
xoxo
Cathy
I’m trying to understand this pattern and I’m sure I’m just not thinking correctly, but I’m having a hard time with the measurements. Essentially, the width of the main piece will be sewn around the edges of the bottom piece, plus an inch for the side seam. But the widths don’t seem to be long enough. The distance around the bottom of the large box is 35″, but the width of the main piece is 33″. Doesn’t seem like it would be long enough. What am I doing wrong? Thanks for your help!