If you follow my blog regularly you know how much I love big jewelry and on the top of that list are bracelets! This post is no exception. This cute and feminine beaded bow bracelet DIY is just the accessory to brighten up the simplest of summer outfits.
Because this bracelet is so quick and easy to make, you can make one for you and one for a friend.
VIEW DETAILED INSTRUCTIONS >
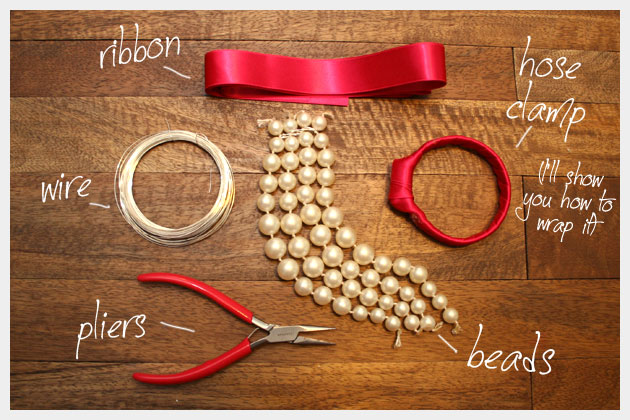
What youll need to make your Beaded Bow Bracelet:
- 1 Large hose clamp
- About 2 yds of 1″ ribbon
- Multiple strands of a beaded necklace or beads to string yourself
- Wire – super thin about 22 gauge or smaller
- Hot glue
Check out my Amazon shop for links to all supplies.
Step 1
First unscrew your hose clamp to make it as large as you need it. You must be able to easily put your hand in and out of it without it falling off.
Take your hose clamp and your ribbon and starting at the top just under the screw part, wrap your ribbon around your hose clamp and secure it with a small drop of hot glue.
Step 2
Keep wrapping your ribbon tightly around your hose clamp until you have it completely covered and secure the end with a small drop of hot glue.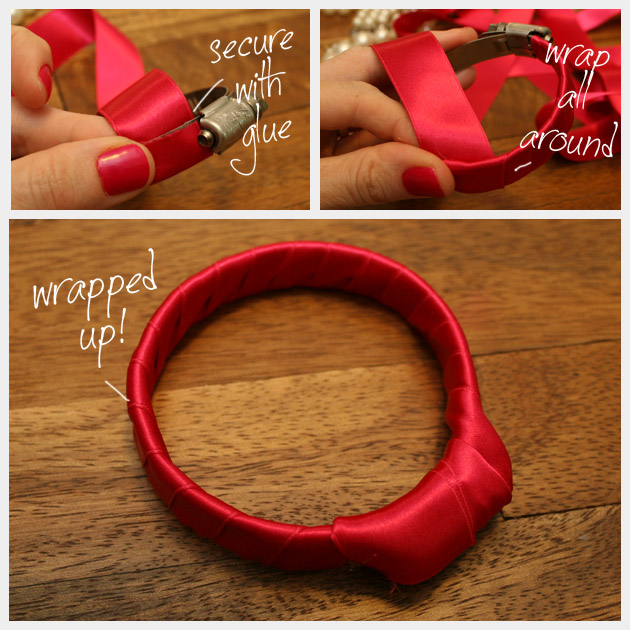
Step 3
Measure your strands of beads and cut them all the same length. I cut mine at 7 inches. Youll need to make sure you can slip your hand into the bracelet and at the same time you dont want them to hang down too much.
Step 4
Take your wire and wrap the end bead of each strand of beads together so that they are all attached and parallel. Do the same for the other end.
Step 5
Using your hot glue, glue your 2 center beads to one side of your ribbon wrapped hose clamp as close to the top as possible. Do the same for the other side.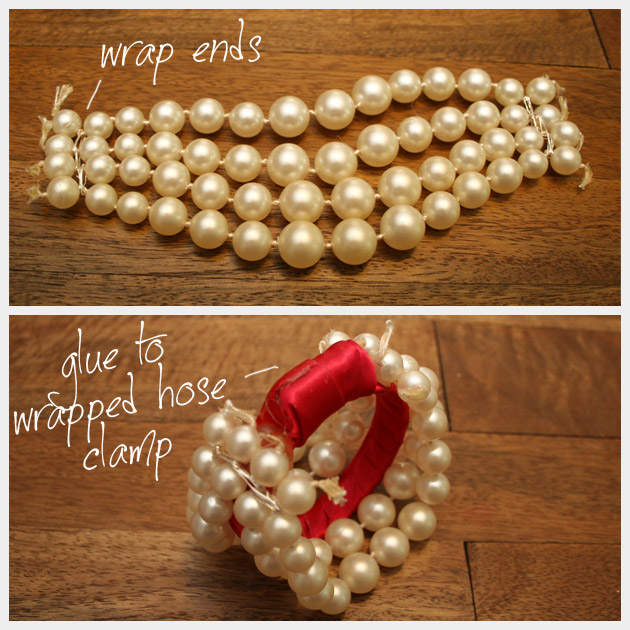
Step 6
Add a little more hot glue to the sides of the beads you just glued down and attach the end beads to secure.
Step 7
Take your remaining ribbon and make a bow. I made mine in 2 sections.
First, I folded my ribbon back and forth twice to form the bow (I made a double bow). Secure your ribbon with a little hot glue in between each layer of ribbon.
Second, glue this part of your bow to the top of the ribbon wrapped hose clamp.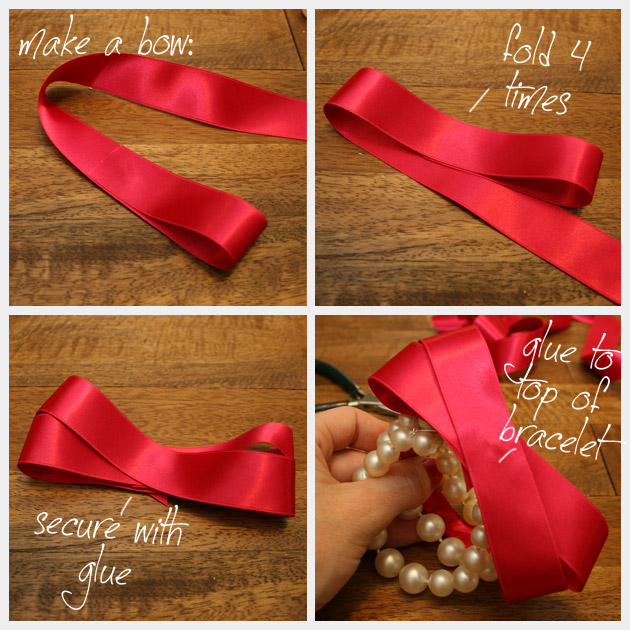 Third, take another piece of ribbon and hot glue one end to the underneath side of your ribbon wrapped hose clamp to secure and wrap around the entire top of the hose clamp including the bow and cut your ribbon. Be sure to leave a small tail on your ribbon to fold over and glue down on the underneath side of your bracelet.
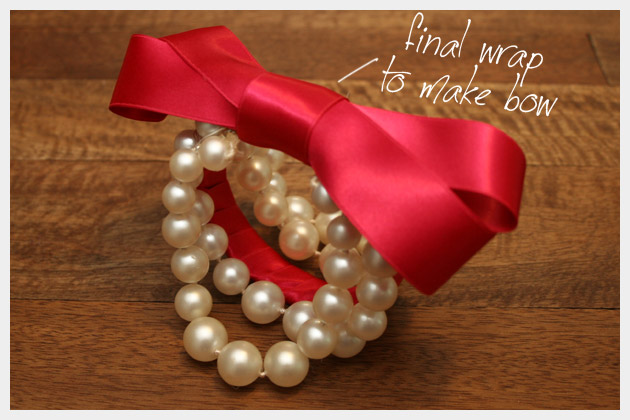
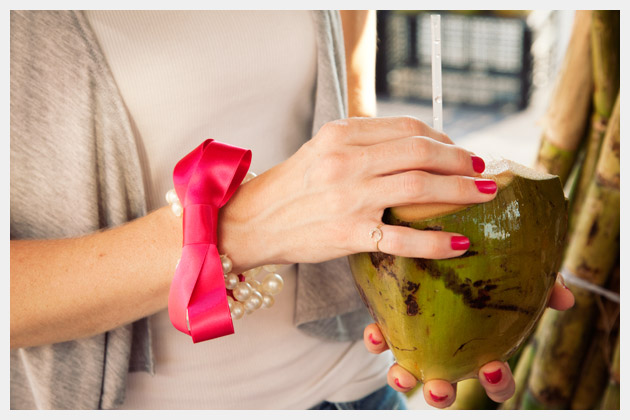
If you follow me on instagram you may have seen a pic of another version of this bracelet, that I said should be filed under “what was I thinkingâ€! Well fortunately I was able to redo it and I think it turned out pretty cute. Thats the thing about DIY, theres no guarantee that your “great†idea will turn out the way you imagined. LOL
But this is truly a DIY of the resourceful kind, because of repurposing an old necklace and using a hose clamp from Home Depot, this Beaded Bow Bracelet DIY is truly unique.

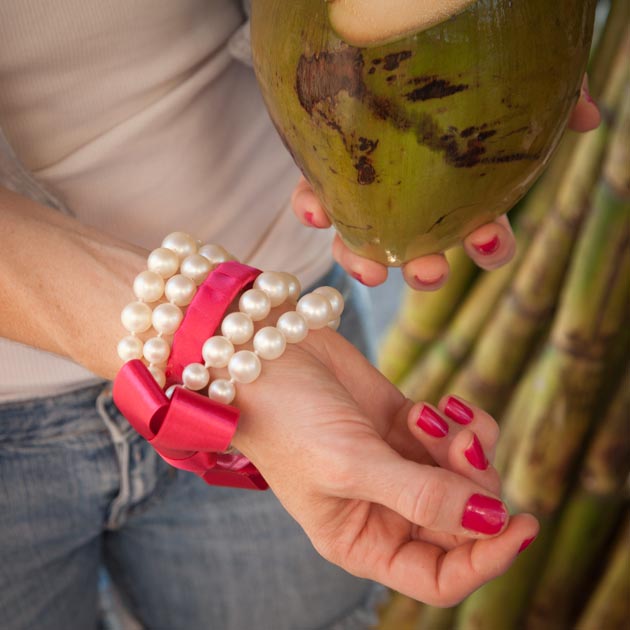
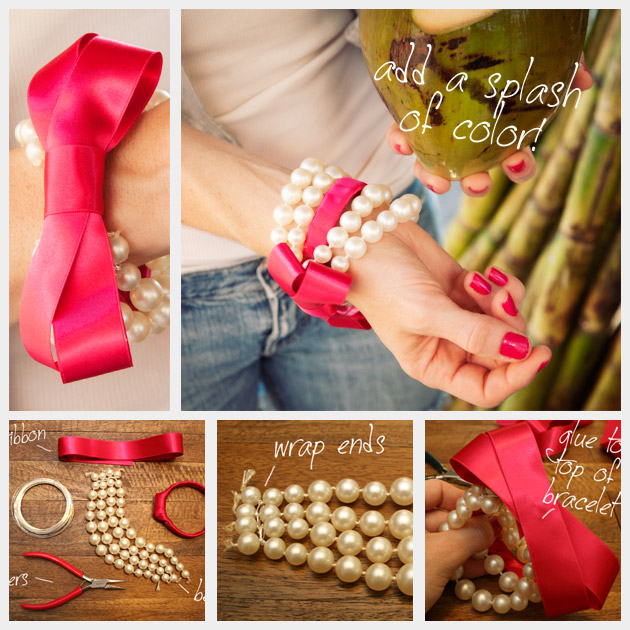
Somehow I now must think of Hannibal, saying: “I love it when a plan comes together’. *grin* Very cute bracelet!
Hi Karin,
You are so right! I was so relieved when it all came together!!!
Thanks!
xoxo
Cathy
Beautiful! Like all of your projects!
Kisses
Silvia
http://bornineightytwo.com
Beautiful bracelet, the bright red bow makes it.
I love this and will absolutely be making this!
xx
Lia
Smart n Snazzy
Hi Lia,
Thanks, I’m so glad you like it!
xoxo
Cathy
I am featuring your bracelet on July 24.
Cheri
Hi Cheri,
Thank you so much, I’m so glad you like my bracelet!
I love your site too, I can’t wait to see it there.
xoxo
Cathy
great color combo!
Love this bracelet ! Beautifull idea continue in this way girl !
Kisses
Oi Cathy, adorei a pulseira, ficou realmente linda. Eu tenho uma página no Facebook ( http://www.facebook.com/CustomizadoEMaisBonito ) e postei essa dica e o link aqui do blog, espero que não tenha problema. Se quiser que eu retire, é só avisar. Beijos
Its truely amazing. Hope so i could try this . As well I m making it .
Magnifique
Hâte d’essayer de le refaire
Merci Capre!
xoxo
Cathy
This is really cute and pretty! Loved it