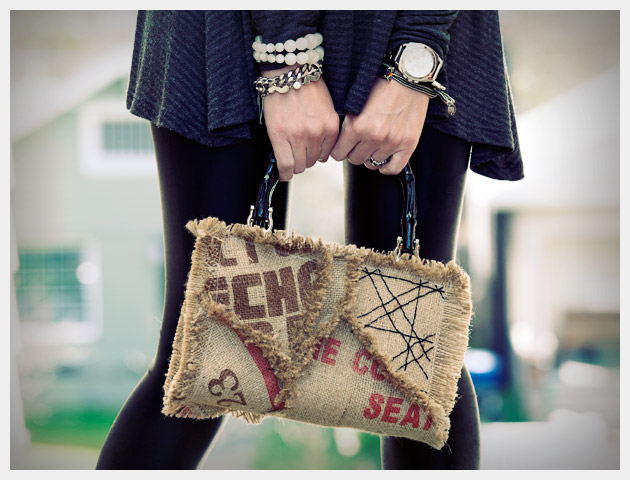
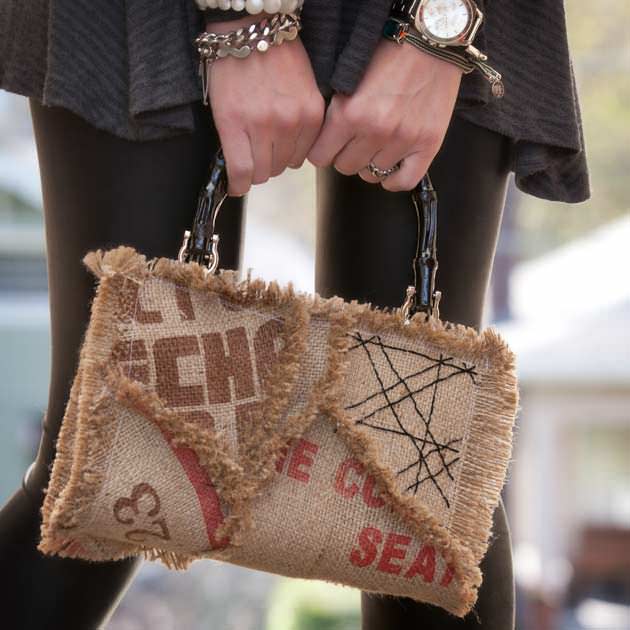
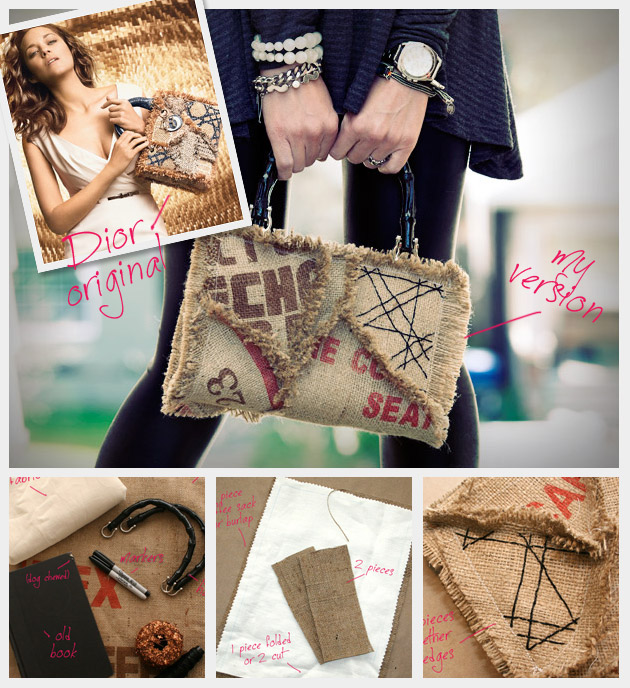
Some things just speak to you and when I saw this Dior bag, not only did I fall in love with it but I felt compelled to make my own version. This project is a little more involved than most of the projects I do, but it was so much fun to make and so satisfying when I finished it.
VIEW DETAILED INSTRUCTIONS >
To see the step by step instructions and pictures click here.
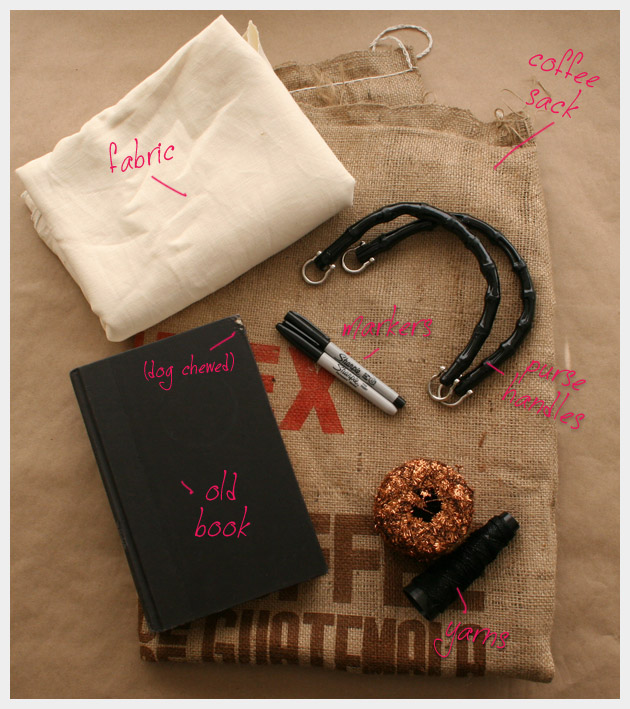
What youll need to make your Coffee Sack Purse:
- 1 Old book (I found one that the dog had chewed so I wouldnt feel so bad cutting it.)
- A burlap coffee sack or burlap fabric
- Purse handles
- Scissors
- Hot glue gun
- Fabric for covering the book – this will also be the inside of your bag.
- Scrap yarn or a sharpie
- Sewing Machine
Step 1
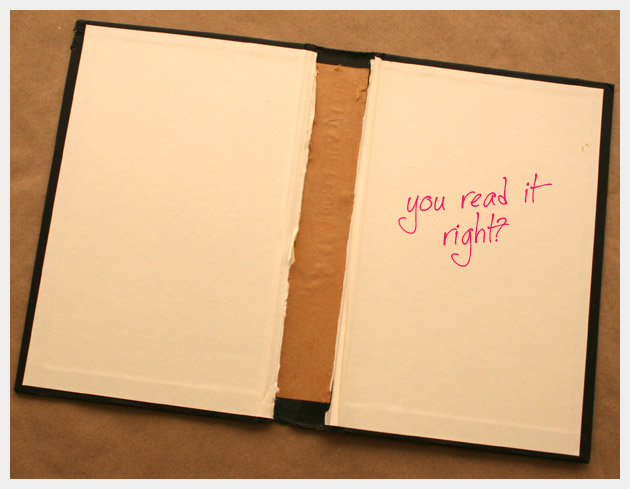
Cut the binding off your book. You may need to reinforce the bottom (what was the spine of your book) mine was a bit thin after cutting out the pages.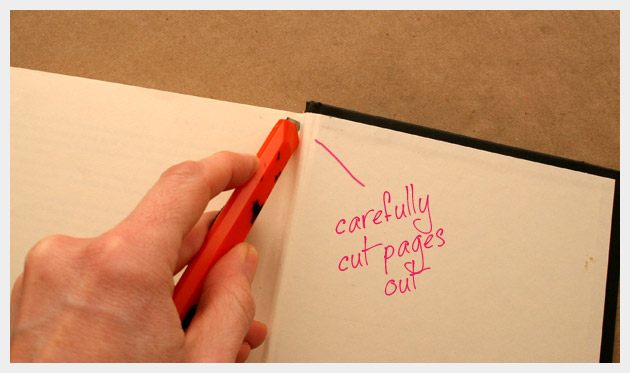
Step 2
Lay your book flat and measure your fabric for the cover. Leave an extra half inch all the way around.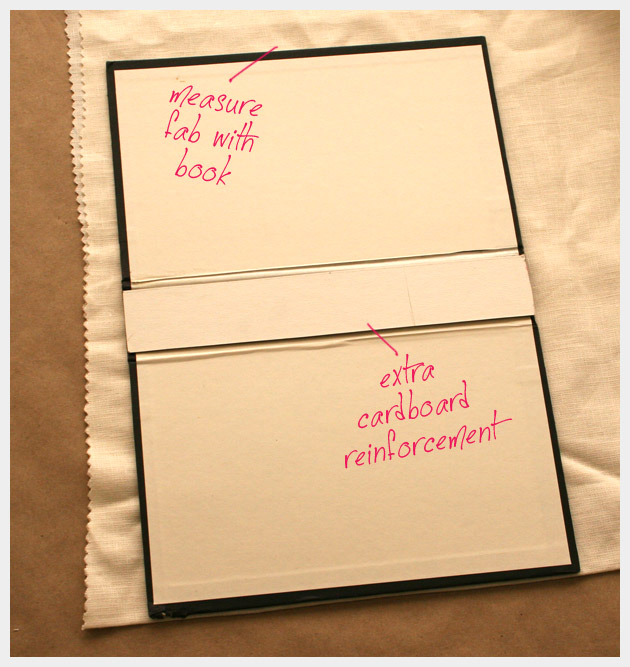 Cut 4 small rectangles out of the cover fabric, you will use these to attach your handles.
Cut 1 piece of the Coffee sack the same size as your fabric or a little larger.
Cut 2 pieces of the coffee sack for the ends.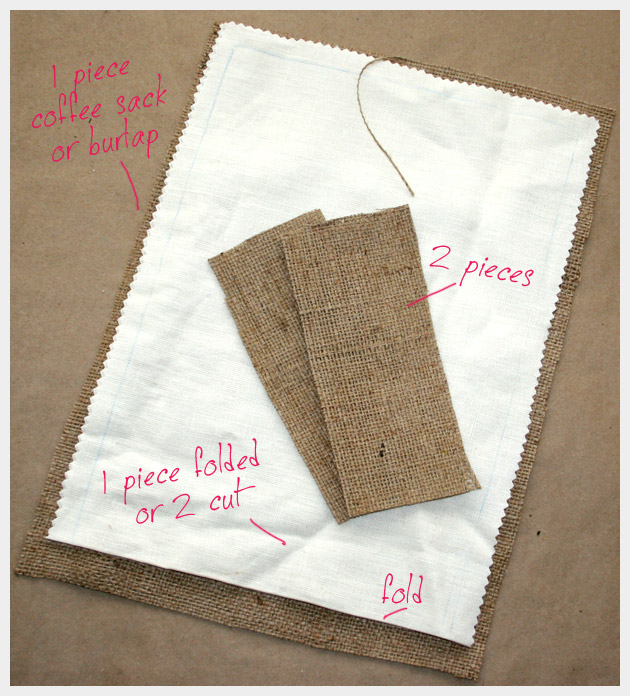
Step 3
Sew around the fabric for the cover of your book. Leave one side open to insert your book.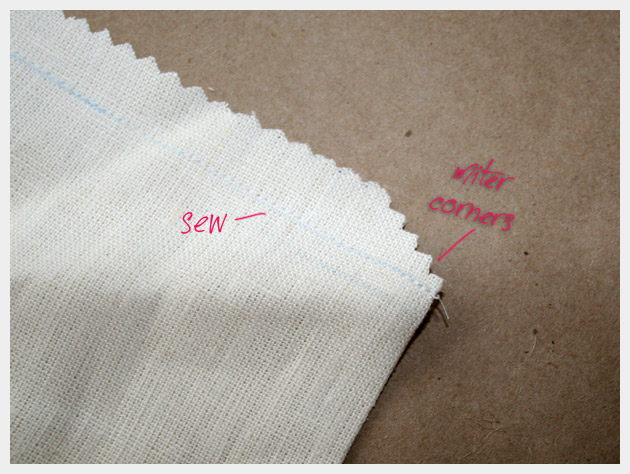
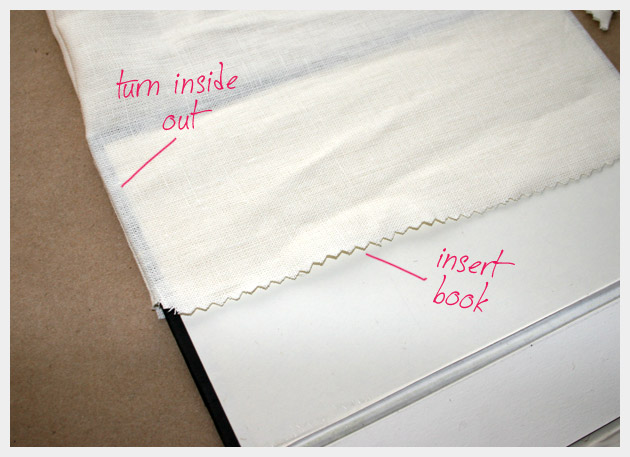
Step 4
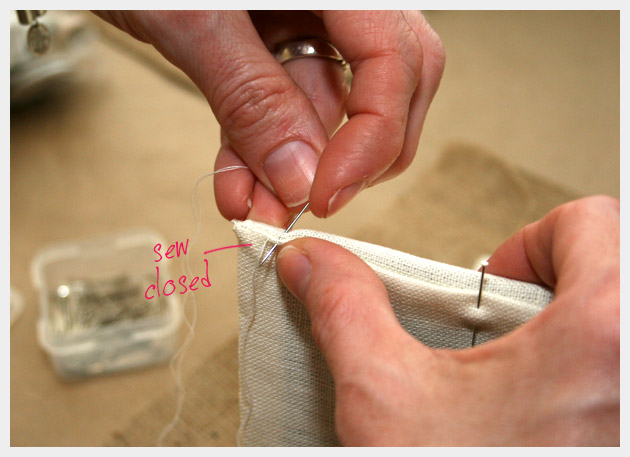
Pin and sew the cover closed by hand.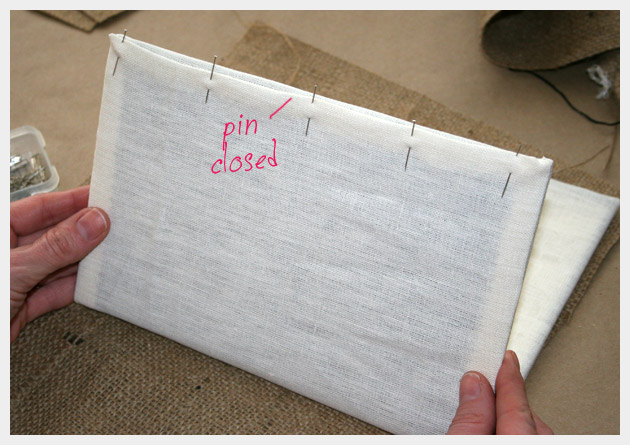
Step 5
Take the 4 small rectangles fold them in half and sew them down one side. When you are finished turn them right side out.
Step 6
Put them through the rings on the bottom of the handles and sew them together.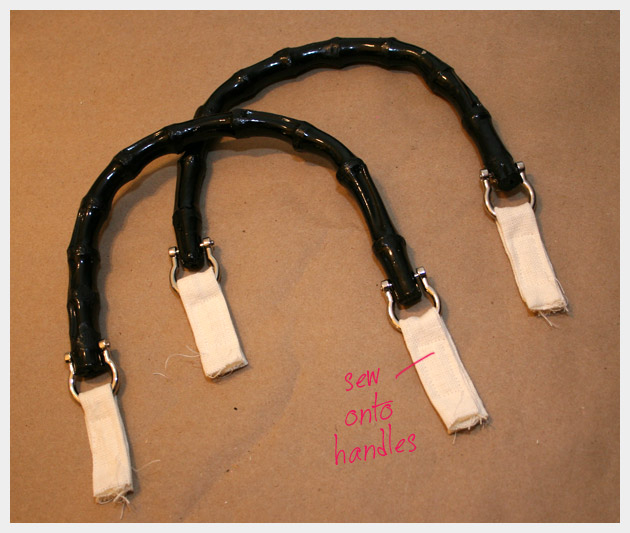
Step 7
Using your hot glue gun, glue these to your covered book cover.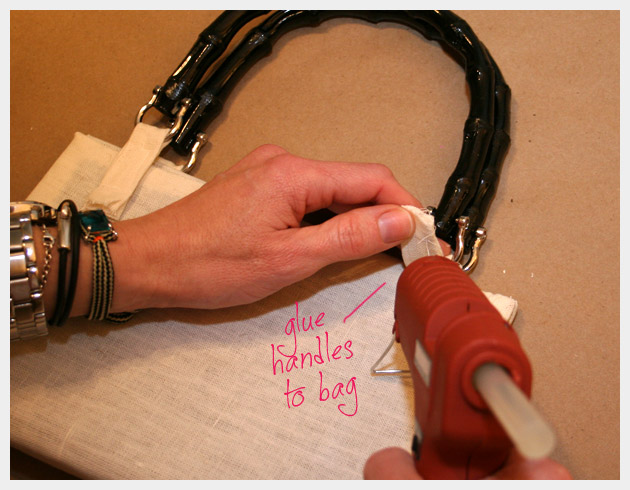
Step 8
Sew these by hand around the edges to secure.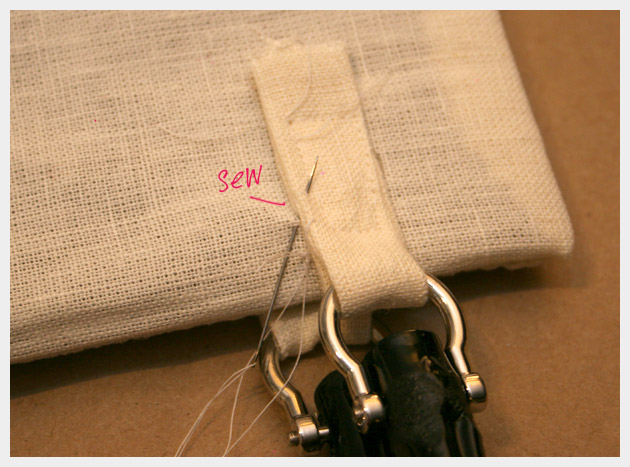
Step 9
Sew the 3 pieces your coffee sack fabric together leave at least a half inch selvage on all seams. Leave seams on the outside, you will fray the edges later.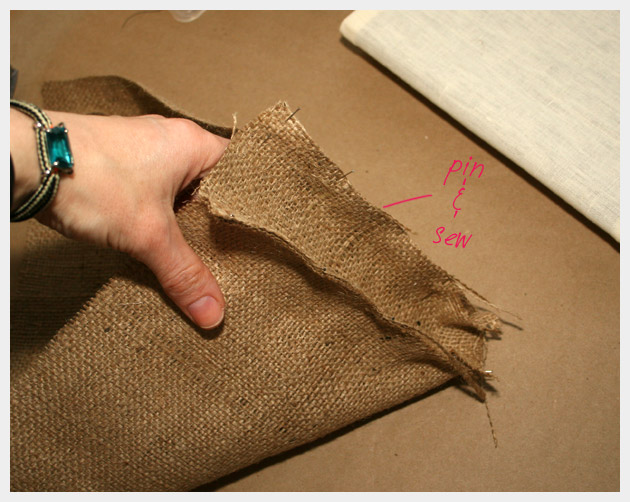
Step 10
Cut random pieces of your coffee sacks. I placed them on the bag and pined them together to decide my placement before sewing them together.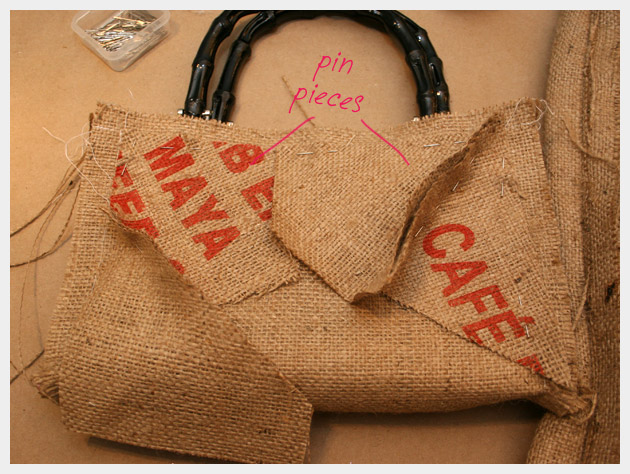
Step 11
Once you know how you want all your pieces laid out, sew them together.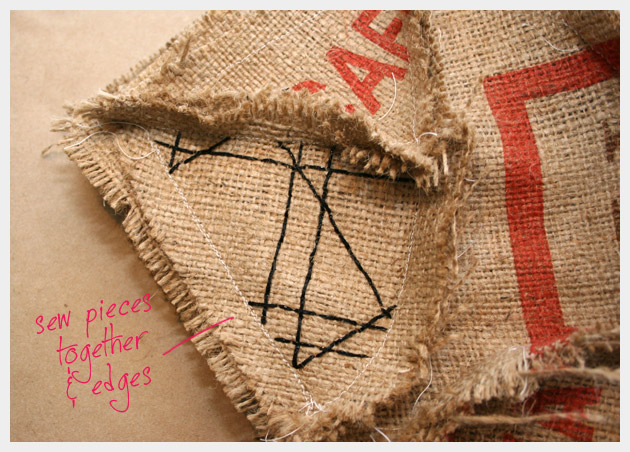
Step 12
Pin these to the coffee sack fabric you sewed for the bag cover.
Step 13
Decorate with your yarn sewing the pieced fabric to the coffee sack cover. Once you are finished with your decorative sewing, glue all your knots to keep them from unraveling.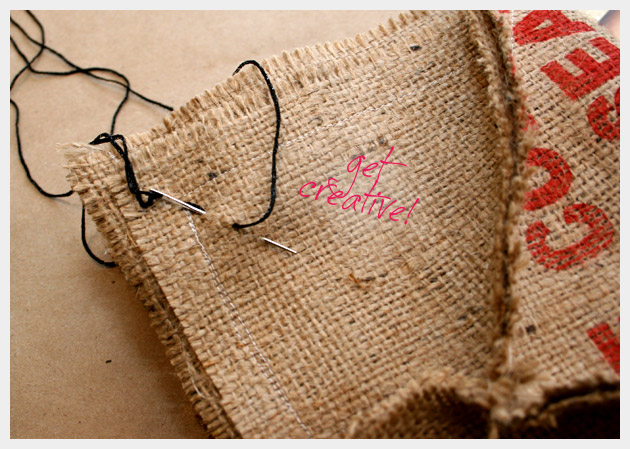
Step 14
Using your hot glue gun sew any loose areas of the pieced coffee sack to your base coffee sack.
Step 15
Fray all loose edges of your coffee sacks.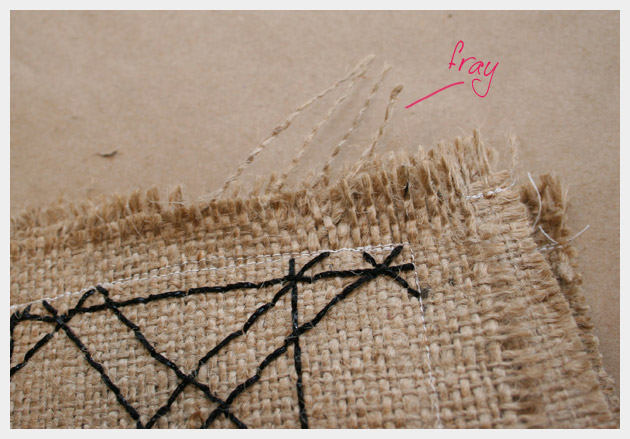
Step 16
Slide your covered book into your decorated coffee sack cover and glue along the edge.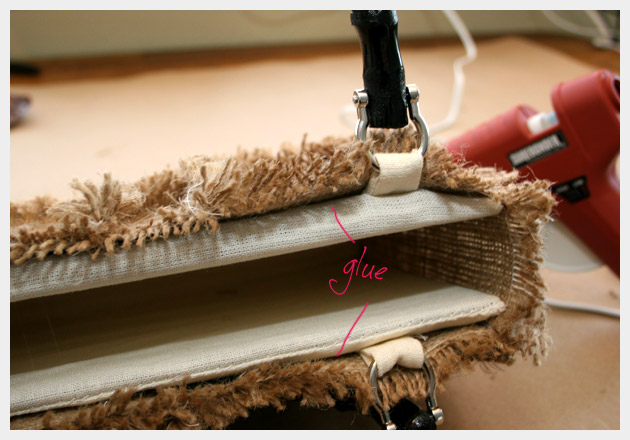
Step 17
As extra security sew the coffee sack cover to your covered book.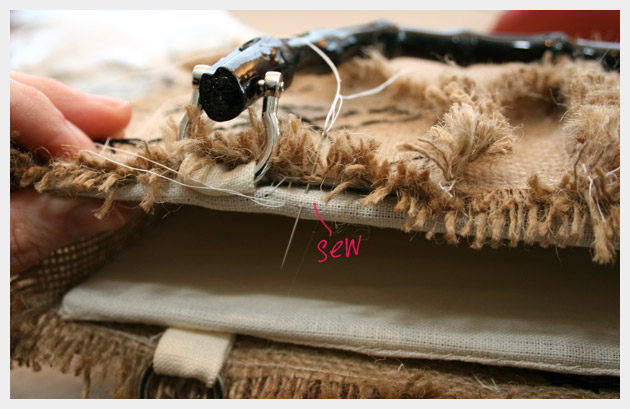


Hi Cathy, beautiful DIY.. love it.. Is there an email id where I can contact you? Your twitter does not have direct message enabled.
Hi Vidhya, Thanks! You can contact me at cathy@trinketsinbloom.com. I’ll get my twitter fixed too, thx! ;)
Oh i love this bag-I so think this is amazing Thanks for sharing
Hi Dawn,
Thank you. I’m so glad you like it.
Cathy
Love it! Thanks for figuring it out and for giving a D.I.Y. New to your page but love what I’ve seen so far :)
mickey
Hi Mickey,
Thank you so much!
xoxo
Cathy
Wonderful tutorial! Great pictures too. You did a great job explaining what you did and included great pictures to back it up. For a visual learner like me, pictures are everything! Can’t wait to try to make one.
This is such a quality DIY! I’m tired of seeing “quick & easy” ones that turn out all crappy. Thank you for sharing. (I shared your post via FB and Twitter.)
Hi Ashley,
Thank you so much and I really appreciate you sharing this!
xoxo
Cathy
I love it , it is really nice and cheap . I want to have it ,too :)
Love it! But where did you fing the sack?
Hi Erin,
Thanks! I bought mine at a place here in Seattle Called “Second Use” http://www.seconduse.com/node/2194962.
They have them on their website, I’m not sure if they ship them but they might. If you can’t find actual coffee sacks most fabric stores sell burlap by the yard and you could always print it.
Good luck! Let me know how it goes.
xoxo
Cathy
All your DIYs are so amazing! Thank you so much for sharing your great ideas. xx
I’ve been holding onto one lonely hardcover encyclopedia, saving the pages for a collage progect. Now the cover will have a home too! Someone just gave me an awesome burlap coffee bag too! Love it when everything comes together. This is on top of the progect list!! Thanks!
Hi Lori,
Sounds perfect! Sometimes things just fall into place. Be sure to let me know how it turns out. I’d love to see it!
xoxo
Cathy
wow….this is real DIY…love it…and thank you for sharing!
Thank you so much!
xoxo
Cathy
LOVE IT and great idea.. i think my husband so happy if i make this bag..he no need to buy expensive bag for me.. =)
As you said I fell in love with this purse when I saw. So I bought handles, fabric, a thick cartoon and found coffee sack. Now the only thing I need is some time to make this beautiful purse. I am looking forward to use it soon. thanks a lot
love
Simla
This is so fantastic!!! Great work.
Thank you so much Danijela!
xoxo
Cathy
This is just fabulous! I am all about upcycling, so will definitely try something similar one day!
Love, Love this.
This is so AWESOME.Thank you very much.
Do you sell these adorable purses?
Looks great, wondering how wide it opens up? Is it big enough? Could you make the slide panels pie shaped?
Fantabulous. I’ve had you book marked for some time. I’m planning to do a coffee bag purse. Shh…I’m painting and stenciling burlap to make it look like a coffee sack.
Lovet it! Thanks for sharing :)
A hug – Alentejo/Portugal
[…] by https://www.trinketsinbloom.com/coffee-sack-purse-diy/ […]