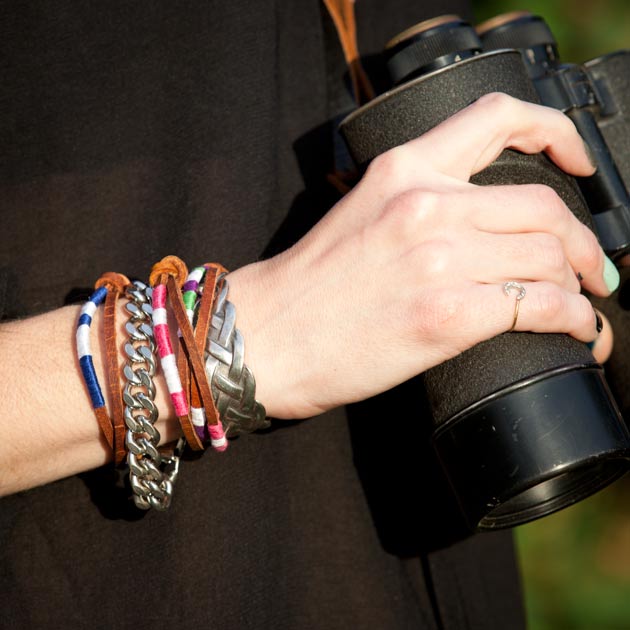
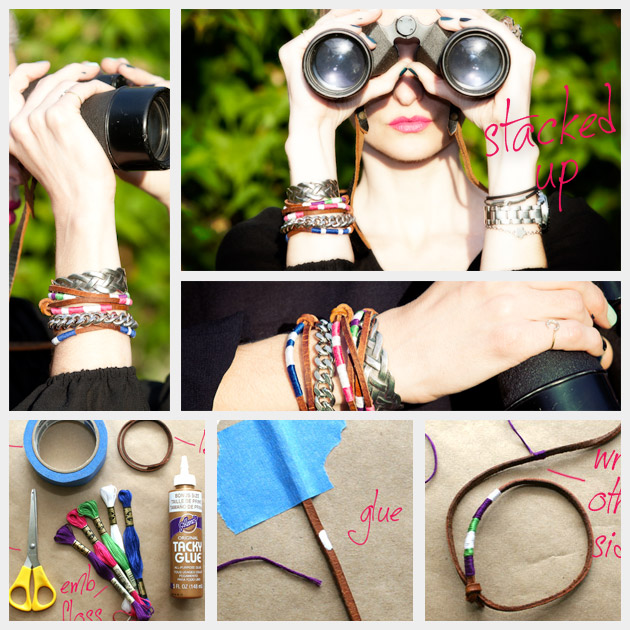
I was so excited to share these DIY Leather Friendship Bracelets with you. They are so quick to make and look amazing stacked with other friendship bracelets, chain bracelets, you name it!
You can never have enough friends, or friendship bracelets for that matter.
They say “more is more” and with these bracelets you can add a pop of color to your arm candy while keeping it subtle with leather, you CAN have it all!
VIEW DETAILED INSTRUCTIONS >
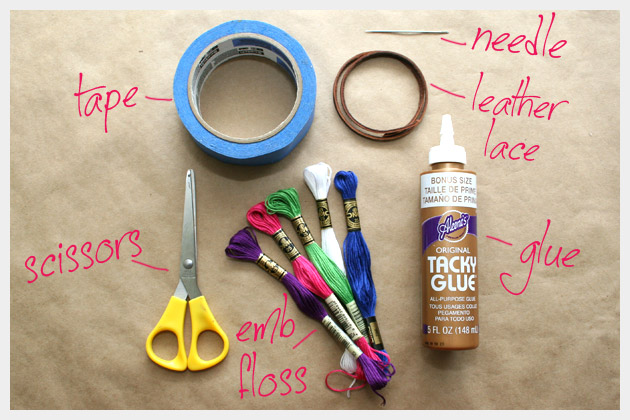
What youll need to make your Friendship Bracelets:
- 1/8″ Leather Laces – I used 20″ long pieces for each bracelet
- Embroidery floss
- Glue
- Scissors
- Tape
- Needle
Check out my Amazon shop for links to all supplies.
Step 1
Measure your wrist by wrapping the leather lace around your wrist loosely twice and then add an extra 4 inches for knotting.
Tape one end of your leather lace down and starting at least 2 inches down, place a drop of glue on the leather lace and attach the end of your first color of embroidery floss.
Step 2
Continue wrapping your embroidery floss around your leather lace until you have made a stripe as wide as you want with your first color. When its as wide as you want, cut the end leaving about a half inch tail and glue that tail to your leather lace.
Step 3
Take your 2nd color of embroidery floss and glue the end down on top of the previous colors end. Wrap until you have made this stripe the width you want and secure the end as you did in step 2.
Continue doing steps 2 and 3 until you have about 2 inches of color stripes with your embroidery floss.
Step 4
When you are finished wrapping, take your needle and run the end of your embroidery floss through your wrappings. If you want you can add a small drop of glue to make sure your embroidery floss doesnt come unwrapped.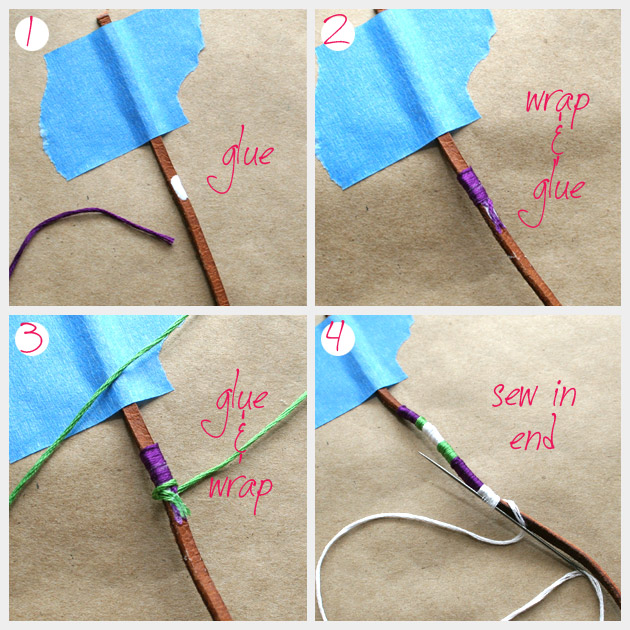
Step 5
Tie the end of your lace that is closest to the wrapping around the other side of the leather lace. Just make a simple knot. It should be tight but the leather lace should slide through, this is how you will adjust your bracelet.
TIP: Before tying your leather lace, get it wet with water and move it around to make it softer and easier to tie. This will also help the knot to hold.
Step 6
Leaving at least 2 inches on the other open end of your leather lace, start wrapping your embroidery floss around repeating steps 1, 2, 3, & 4.
Step 7
When you have finished wrapping your second side of your bracelet, tie the open end to the other side of your friendship bracelet.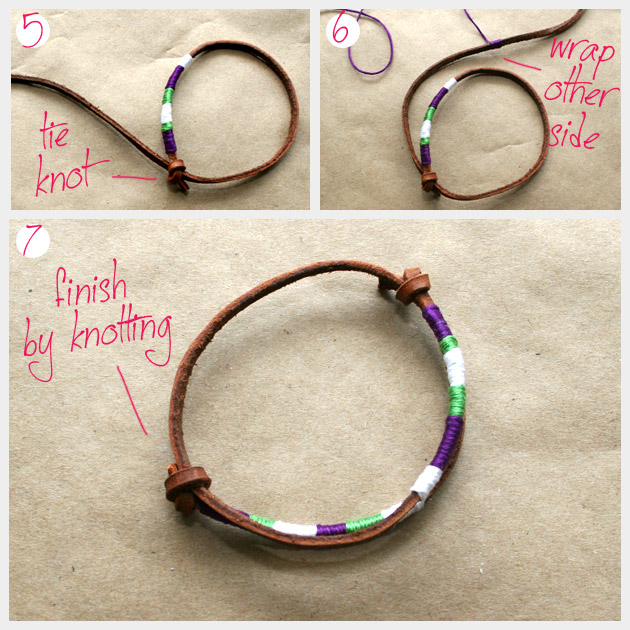
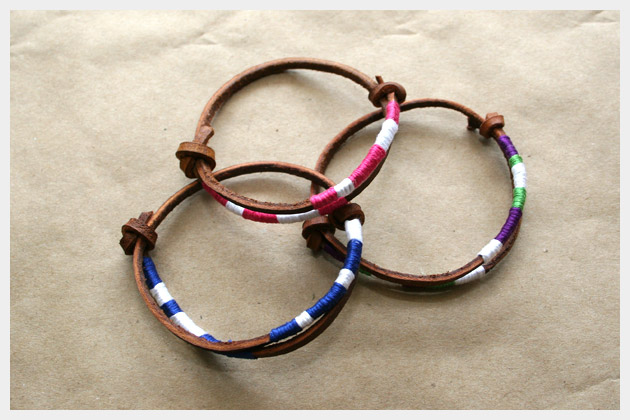
These leather friendship bracelets are so fun and easy to make. You can make several in just about any color combination you can think of. On top of that you can make them in minimal time! So invite your friends over and have a party! LETS MAKE BRACELETS!

Fantastic idea!!!
However, I found that by winding the floss by doing a chinese ladder holds quite strong, and it’s a bit easier to wrap. I’ll definitely be doing this for all my girl friends :D
You have some amazing DIYs!
Thank you so much Maegan!
xoxo
Cathy
Awesome tutorial thanks!
great DIY ideas! love all of them :D
These are awesome! I’ll have to give it a try!
wow that bracelets! :D very cool
I tried this today and after one failed attempt [my own mistake], I tried something a little different. Instead of gluing one end down and then starting a new color, I took 3 different colored strands, knotted them, and then wrapped 1 color around the leather bracelet AND the other two colors. When I got the desired width, i tied it off and switched colors. It looks very similar, but I didn’t to do all of the gluing. Thank you SO much for this tutorial, I’m making several of these for Christmas gifts and several for myself as well :). Wonderful craft.
wow!!!so nice.i try it.
wow!
wwwwowwww
wow! these are so pretty! I put a link to your blog on mine for 8 DIY Bracelets Projects
Great work. They’re so beautiful. I’m having leather cravings and will definitely be trying these.
Great idea. Will be trying this. Did you do a slide knot to make the bracelet adjustable? If not what kind of knot did u do? Thanks!
i am like your products, i also can make it for you