Im always looking for extra touches to liven up the basics in my wardrobe and this Victorian inspired Lace Choker DIY is just what I needed.
It’s a great statement piece that works with either a T shirt and jeans or an evening look.
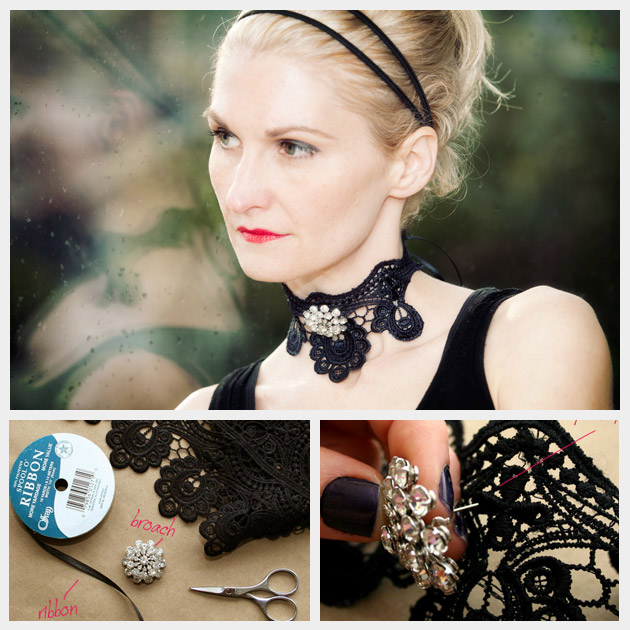 We all know accessories can make or break your outfit, but a great statement piece can elevate a simple jeans and a t shirt look into something special. This DIY tutorial is so simple, the next time youre getting ready to go out and need a little extra something you can make it in less time than it took you to pick out your shoes!
VIEW DETAILED INSTRUCTIONS >
To see the step by step instructions and pictures click here.
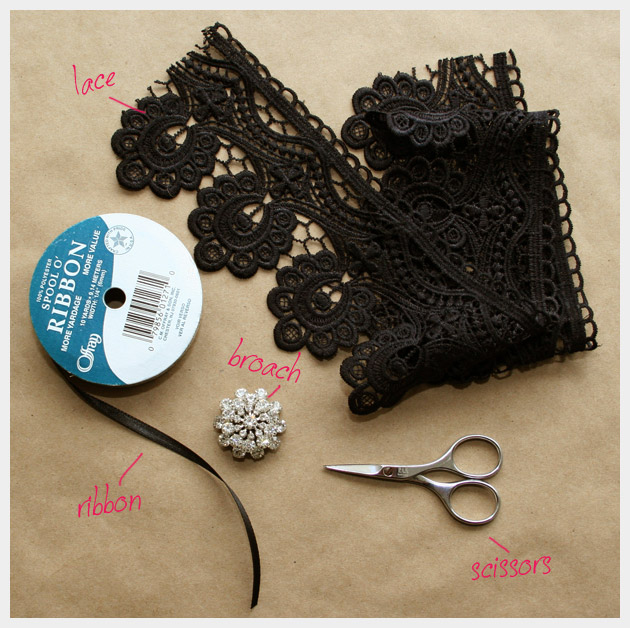
What youll need to make your Lace Choker:
- About 10.5 inches of lace (more or less depending on how much space you want to leave open in the back)
- Ribbon – I used 2 pieces 16.5 inches long each
- Broach
- Scissors – small embroidery scissors are best
- Sewing machine or needle and thread
Step 1
Carefully cut out the part of the lace that you want to use.
Or if you like your lace the way it is you can skip this part.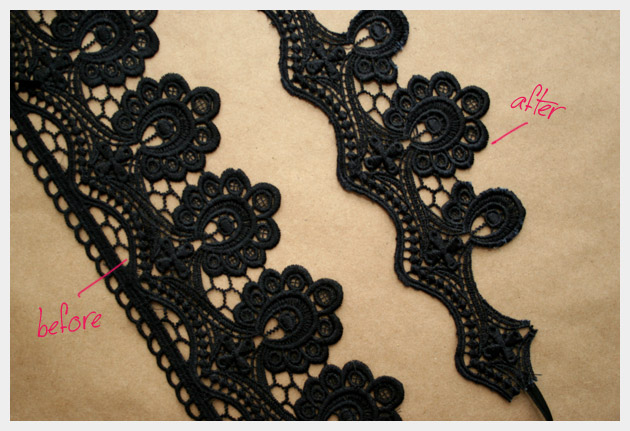
Step 2
Sew 1 piece of ribbon to each end of the lace. This is a very small amount of sewing so its up to you whether you machine stitch it or sew it by hand, just make sure its secure.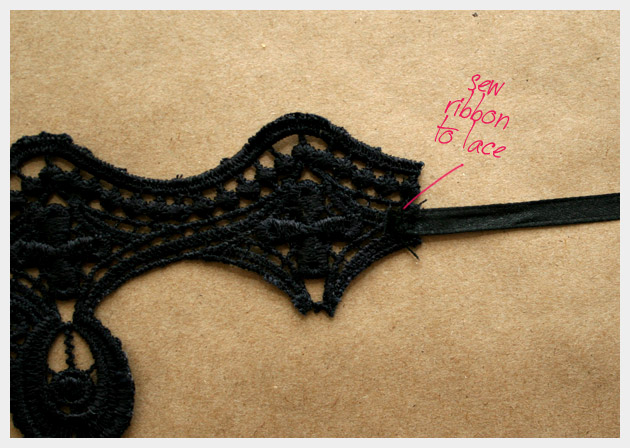
Step 3
Pin your broach to the front center of your choker and you’re done!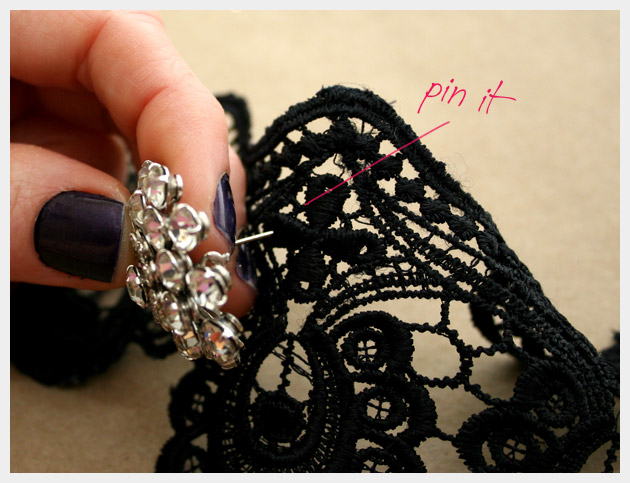
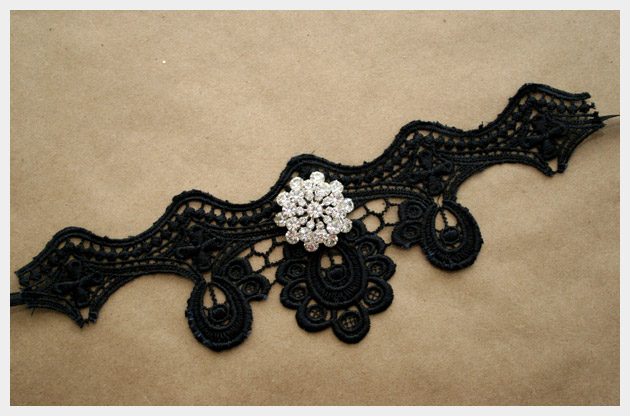
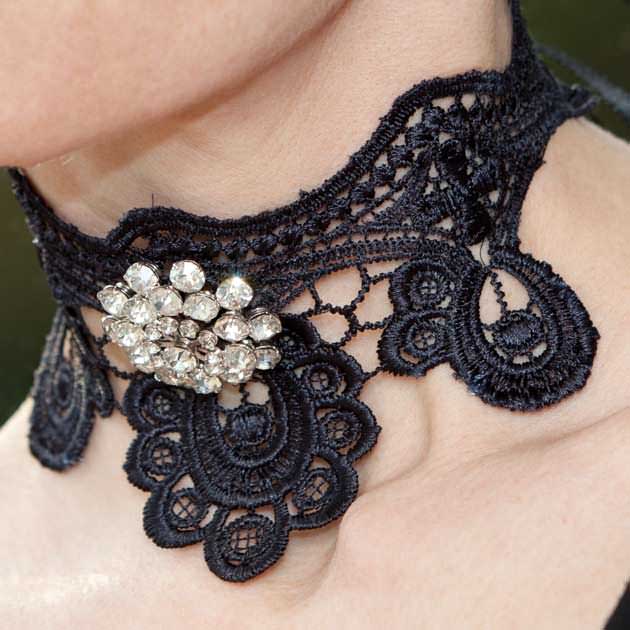
I love how many different things I can wear this lace choker with. It works to spice up a basic tee or creates an elegant accessory to an evening look. Once youve made it you can also change your broach to update the look or add a pop of color.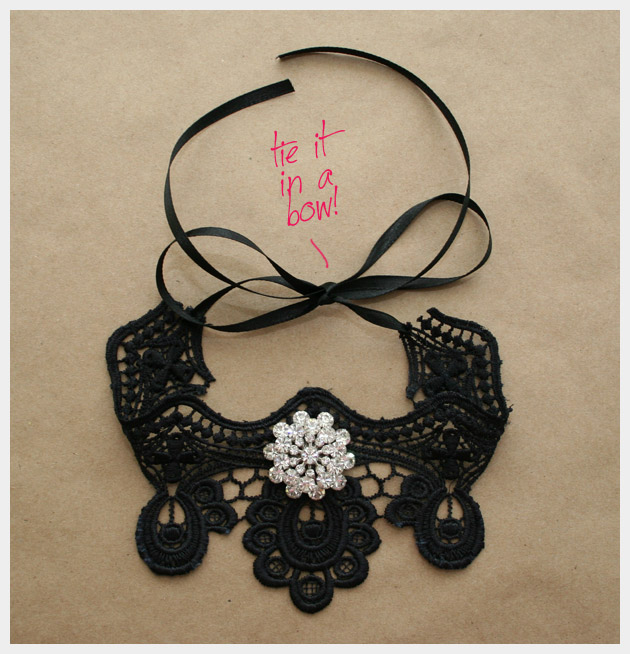
Have fun with it!
Let me know what you come up with, I’d love to hear your ideas.

Very nice. I just need to find some decent lace, oh and a decent broach :p
We love this! Today is our Saturday Showcase. You can link up anything Fashion & accessories. We have two link ups- one for bloggers who have a Fashion craft post to share and the other link up for those who are selling their Fashion crafts on their blog or ETSY, etc.
We would love for you to share this!
http://bowdabrablog.com/2012/05/05/saturday-showcase-diy-fashion-ideas/
I couldn’t find a spot for printing the directions. Thank you
Wow!!! Cool. You are very talented and creative. Love the way the choker turned out. Thank you for sharing the method. Love the pictures you added to the post.
This is amazing, thank you so much for sharing.
Your projects are all so beautiful, and so simple to make..it’s really inspiring!
Wow…it’s simpler than I thought. Even I could do this. The ribbon tie-up is brilliant since it’s easier to put on/take off, it can accommodate different neck sizes, and I think it looks daintier and softer than a clasp. Thank you…now I don’t have to worry about my poor sewing skills getting in the way of making something elegant.
I love this! The brilliant thing with this in my opinion, is that you could quite easily turn them into cuffs which would look just as gorgeous!
I love your whole website and I’ve definitely seen a few things I’m going to have a crack at!
Thank you Daisy!
I agree, cuffs would be gorgeous! Great idea!
xoxo
Cathy
I made a similar one inspired by your DIY. Please check it out http://craftornothing.wordpress.com/2014/01/09/diy-lace-choker-necklace/
I liked the design on the lace I will have to do that sometime.
So Pretty! It seems easy to make by following your steps. I will definitely make this. Thanks and keep sharing.