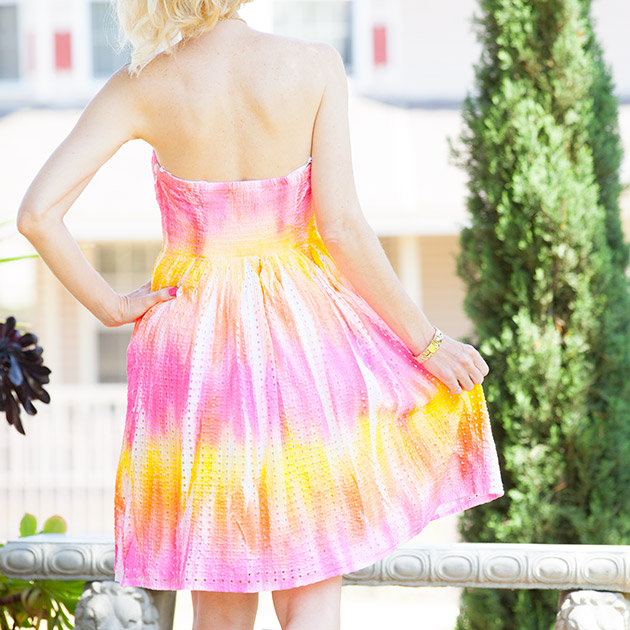
The super creative people at i Love To Create have done it again, with their latest product: Tulip’s ColorShot! I had so much fun making this dress and mixing up the colors in this Colorshot Dress DIY using this new fabric spray paint!
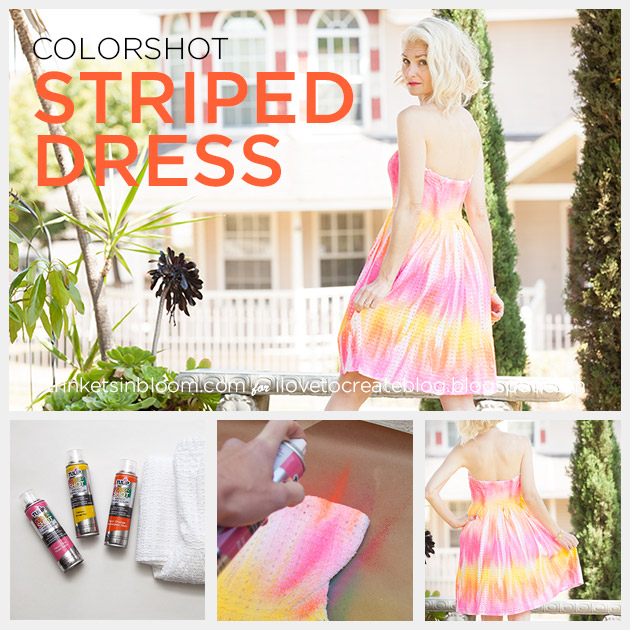
Click through to see how I did it and how you can make your own!
TOOLS & MATERIALS:
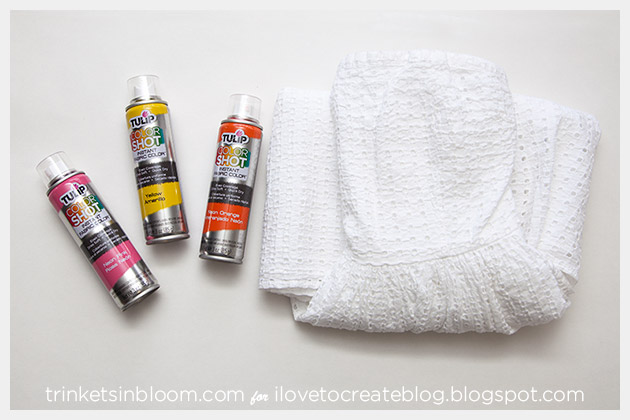
It is recommended that you use ColorShot outdoors with good ventilation.
Be sure to put down a lot of paper and move or cover anything you don’t want paint on. It is still a spray paint.
step 1
Lay your dress out flat.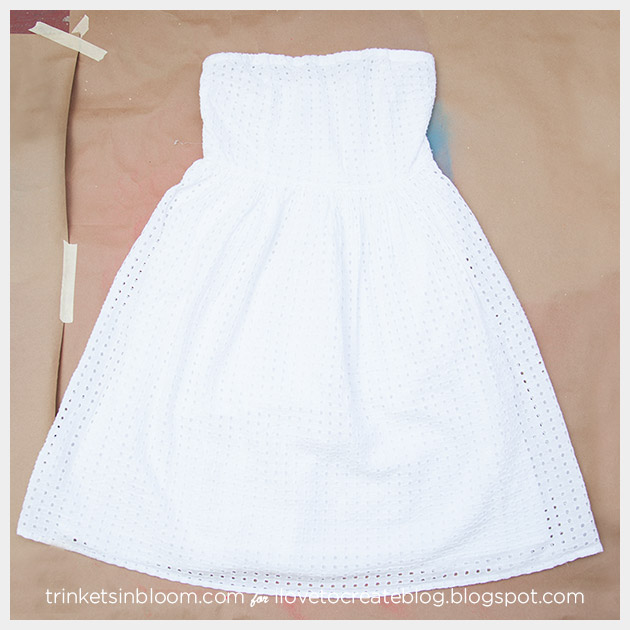
step 2
Starting with your first color, spray in short bursts in a stripe across your dress.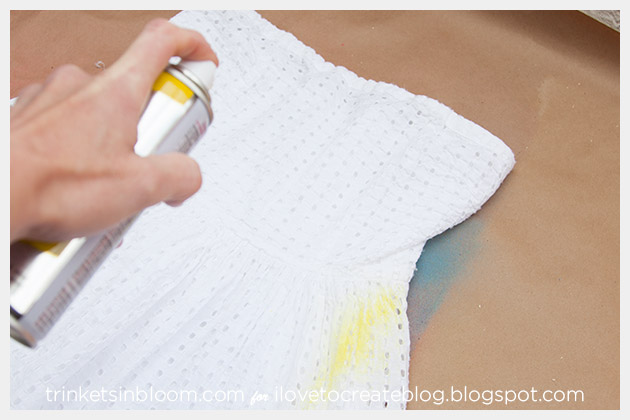
A short burst will give you a vertical line.
As you can see the color comes out a little different than a traditional spray paint, it’s more of a vertical line.
Spray all of your stripes in your first color.
Let dry.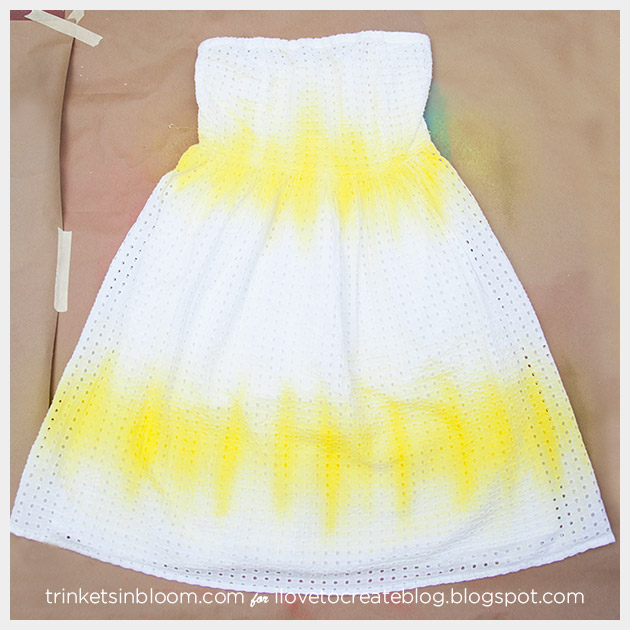
step 3
Using your second color and slightly overlapping your first color create the stripes for your second color.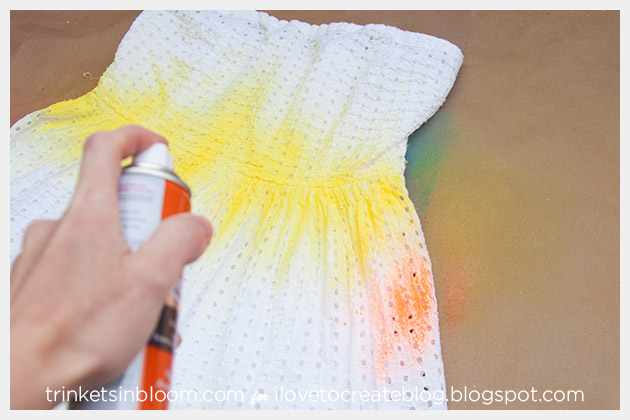
Let dry.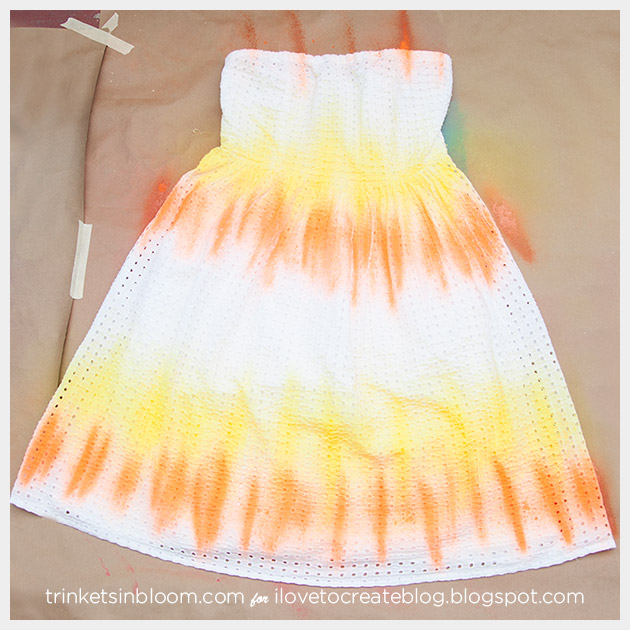
step 4
Use your third color to fill in and make stripes in that color.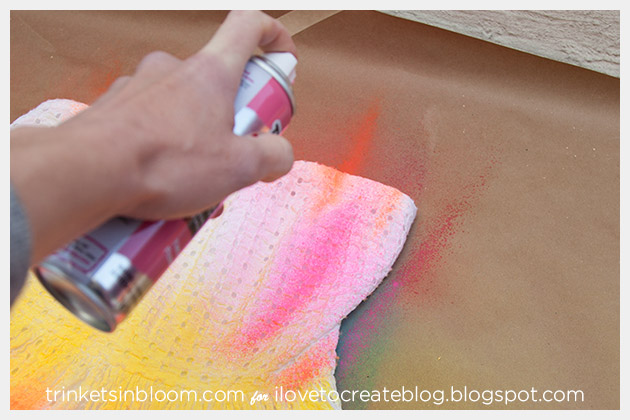
Let dry.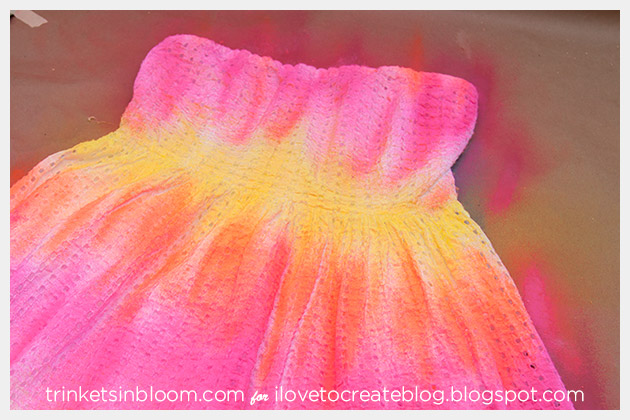
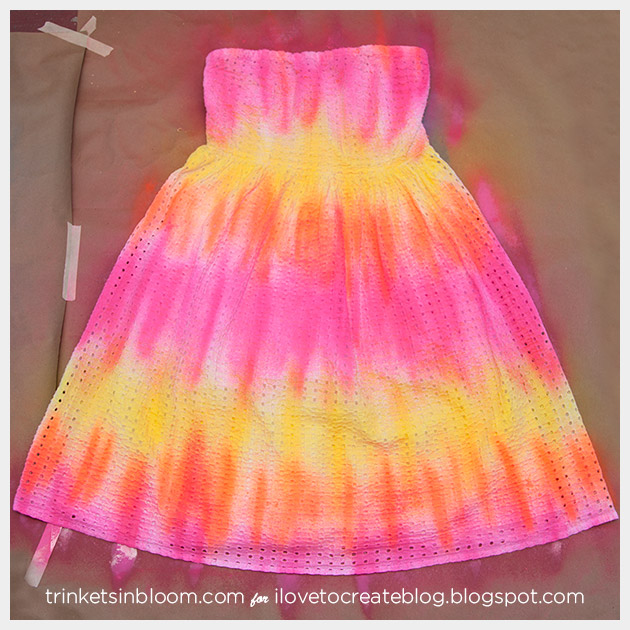
step 5
When the front is dry, flip your dress over and repeat steps 2, 3 & 4 on the back.
This image shows the actual finished color the best.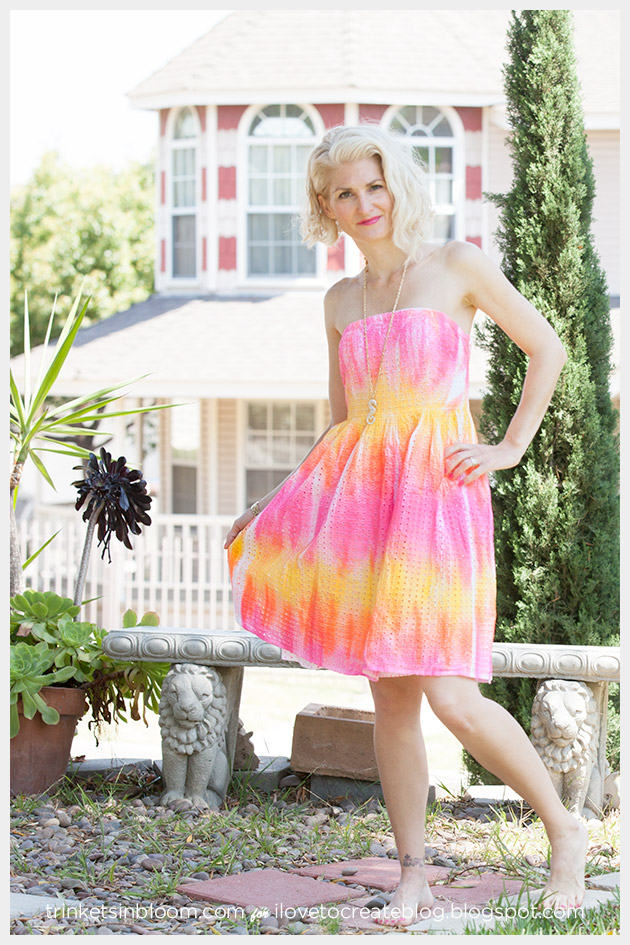
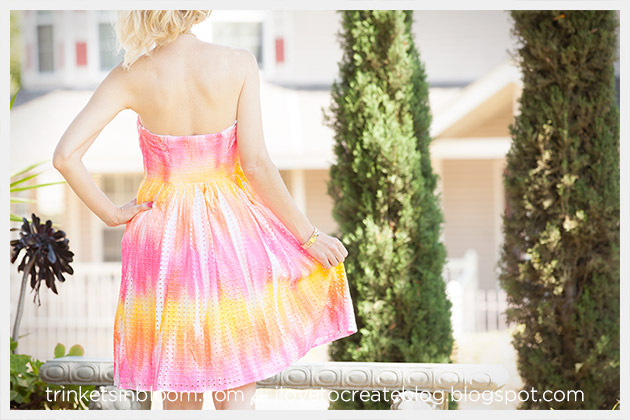
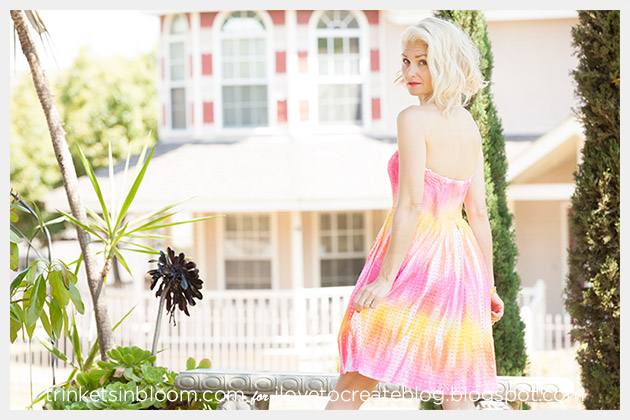
I have to admit I really wasn’t sure what to expect with ColorShot and I wasn’t too sure how well it would turn out. But I was truly amazed that I was able to get the look I wanted. I really had a lot of fun with this stuff!
I do recommend that after your garment has completely dried you wash it according to the recommendations on the ColorShot and your garment. If you don’t wash it, the color can get a little sticky.
i Love To Create asked me to make a few projects to help them promote ColorShot, so I will be sharing a few more projects using ColorShot in the coming weeks. Be sure to check back for more DIYs!
This is a sponsored post. I have been compensated for this post, however all opinions and tutorial are mine.

