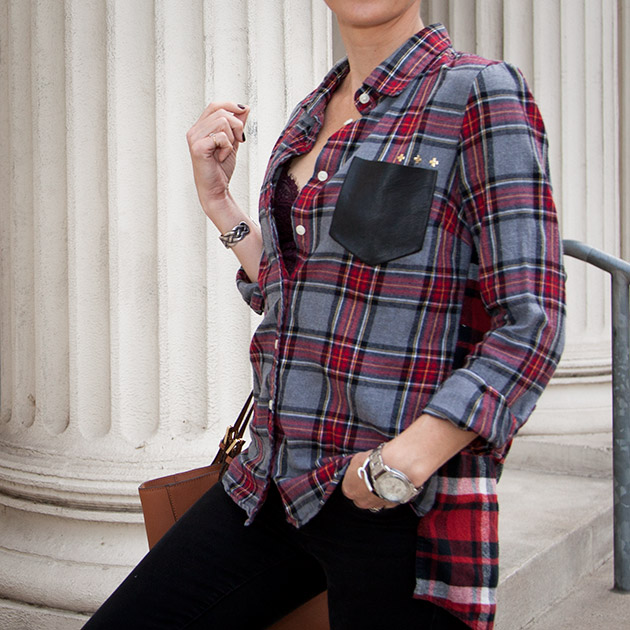
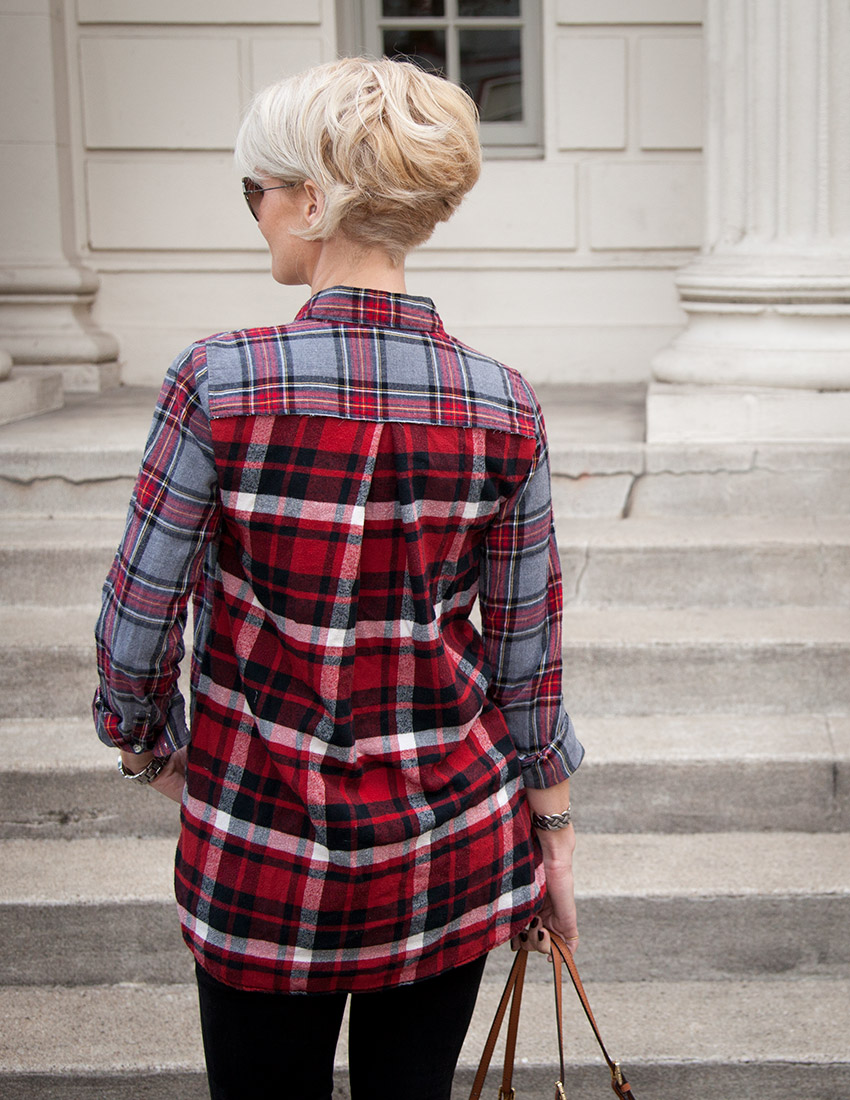
Happy November! It’s time to get cozy with this Patched Plaid Shirt DIY. It’s a fun way to mix up your plaids and stay cozy and chic at the same time! Let’s get started!
Supplies you’ll need:
- 2 Plaid shirts (I used one of mine and one of my husbands)
- Scissors
- Pins
- Leather
- Studs
- Sewing Machine
- Fabric tape
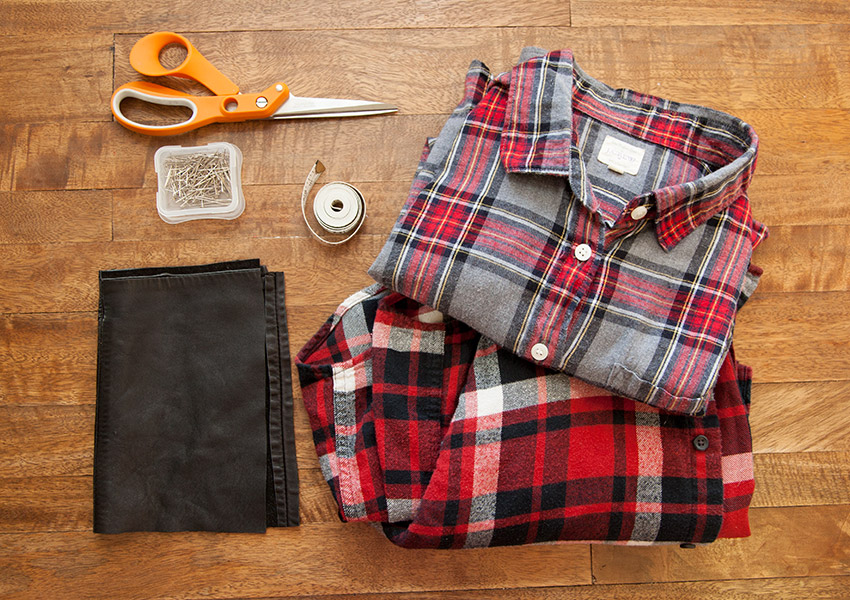
I used one of my shirts that is a bit fitted and one of my husband’s shirts which is larger and longer to give me more length in the back.
step 1
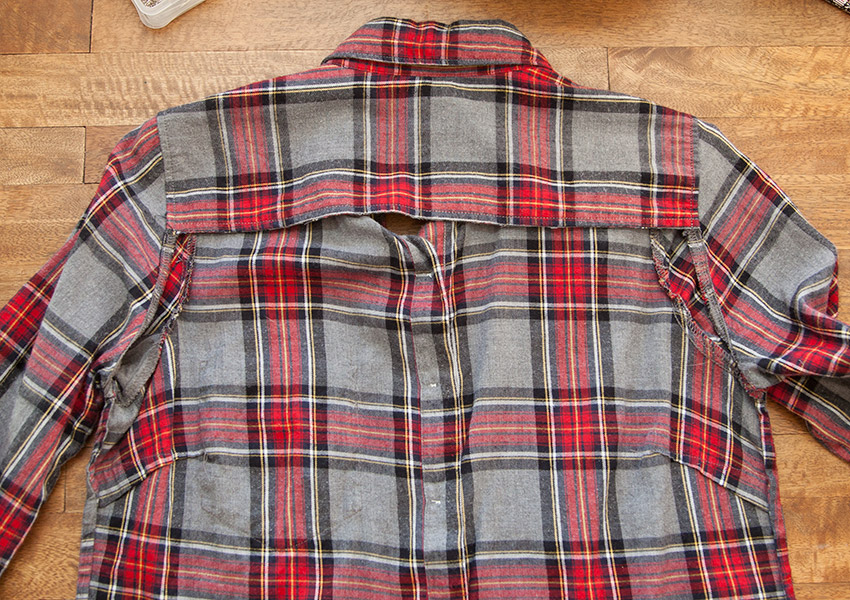
Cut the back out of both your shirts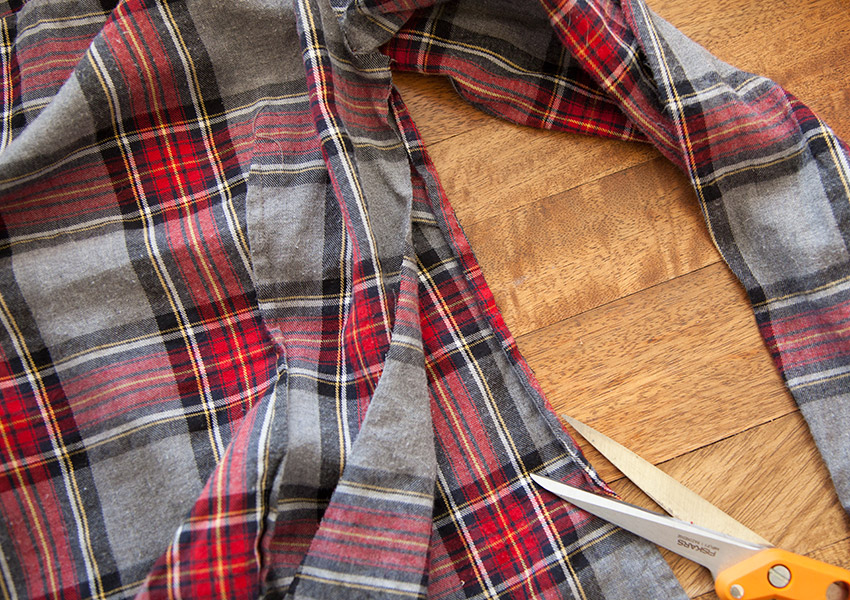
step 2
Measure the top of your larger shirt and find the center point.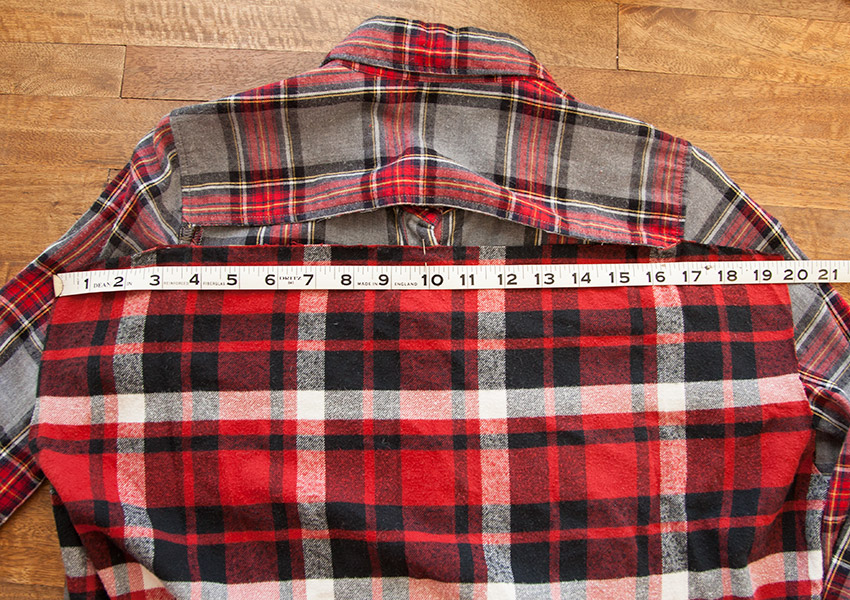
Measure the top of your smaller shirt and using the difference in the measurement use that to make your pleat.
My larger shirt was 3 inches wider so I made 2 – 1 and a half inch pleats on either side of my center point.
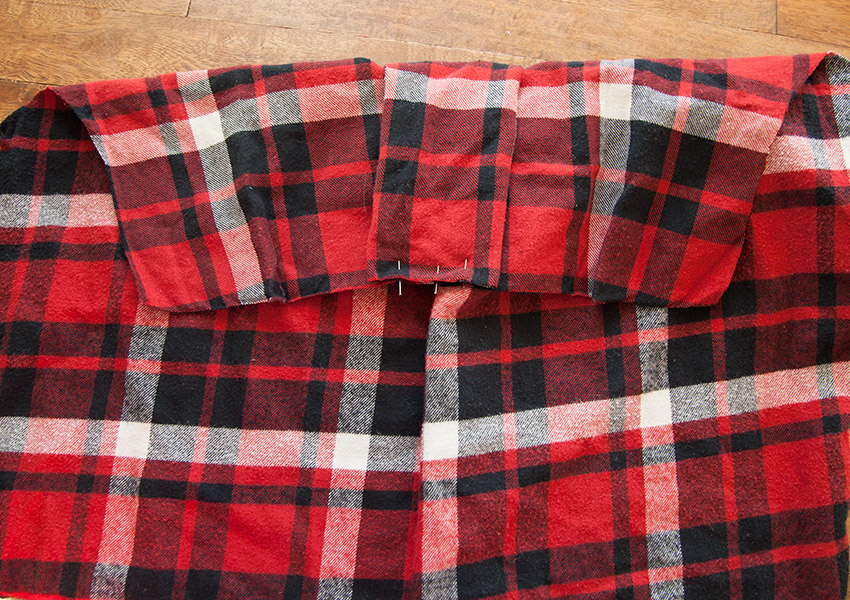
Pin your pleats in place.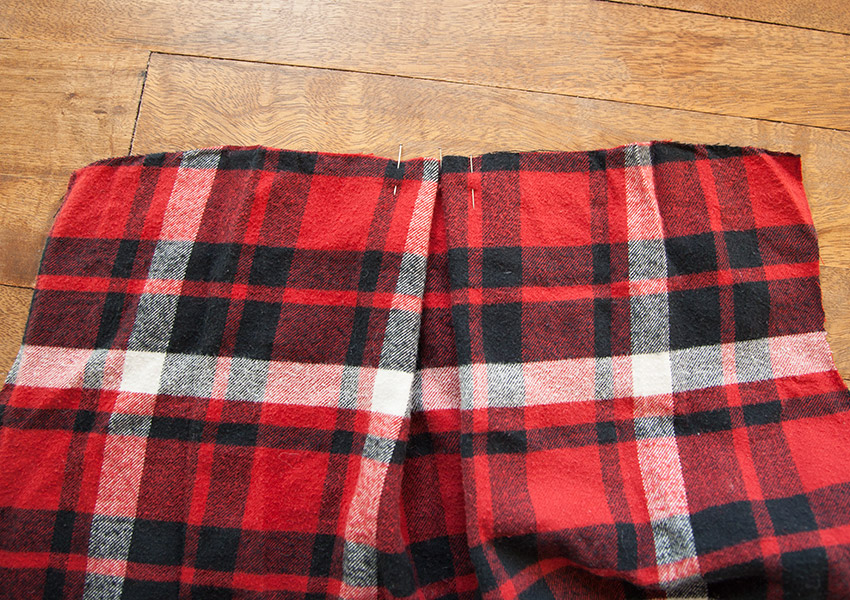
step 3
Pin your larger back into place on your smaller shirt.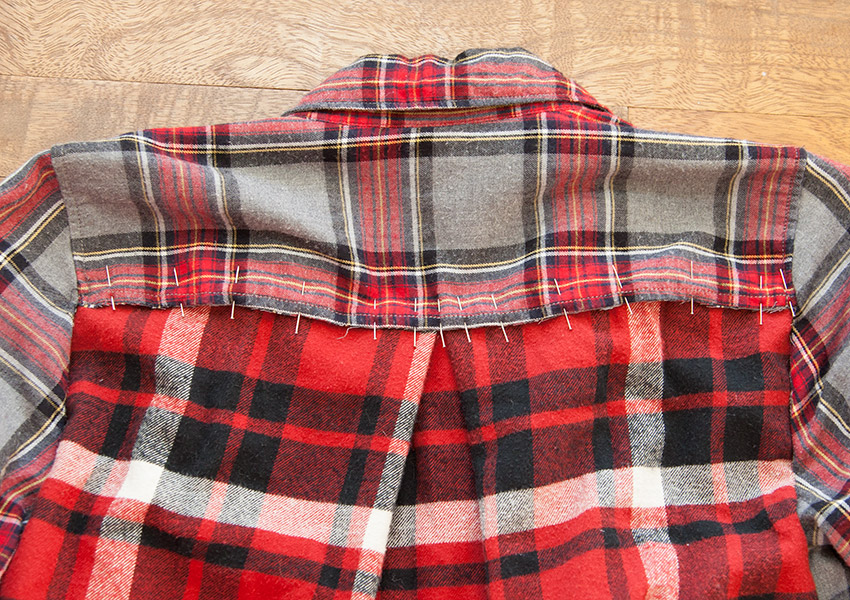
Pin across the top back, around the arm holes and down the sides.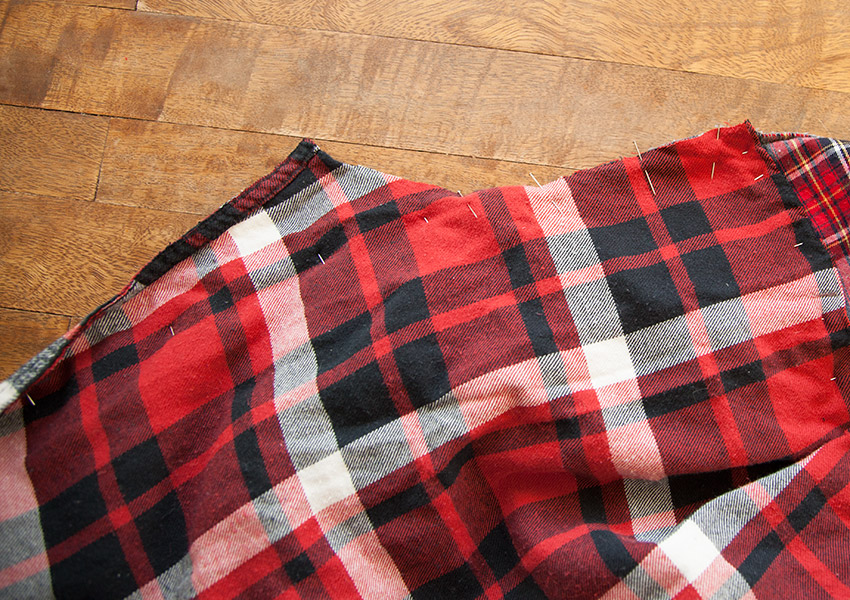
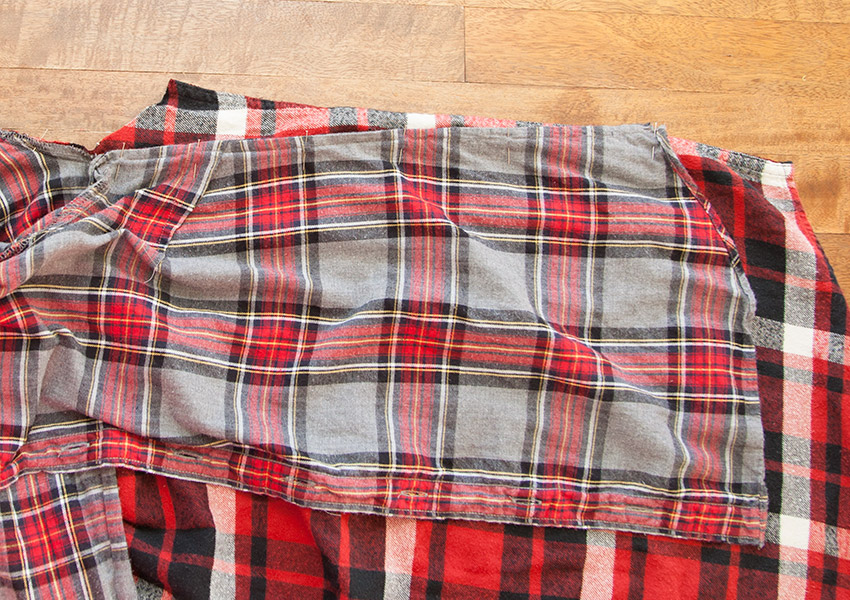
step 4
Sew the larger back in place.
step 5
Cut off the pocket.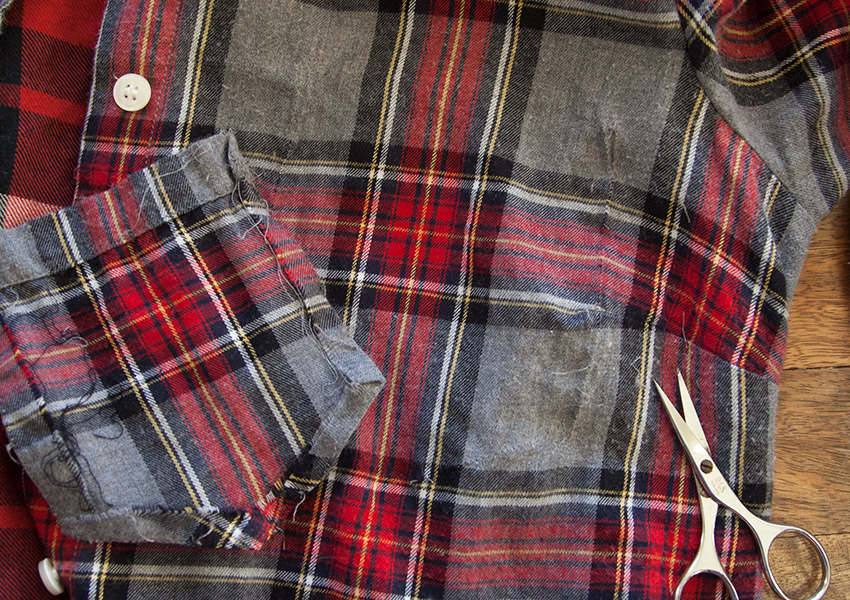
Use the original pocket as a pattern for the leather pocket.
Make sure you leave a small hem around 3 sides.
step 6
Using the fabric tape fold a small hem around your pocket on 3 sides.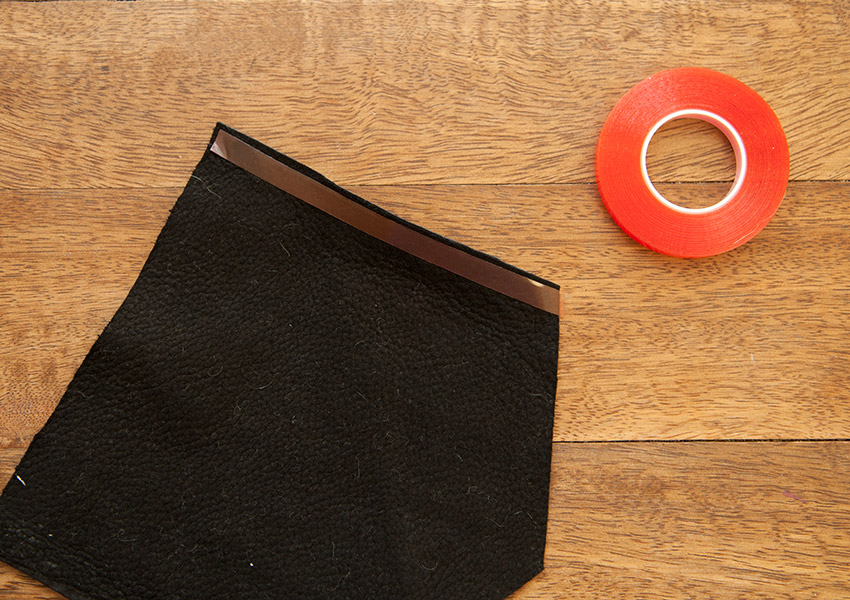
step 7
Use the fabric tape to attach your pocket to your shirt.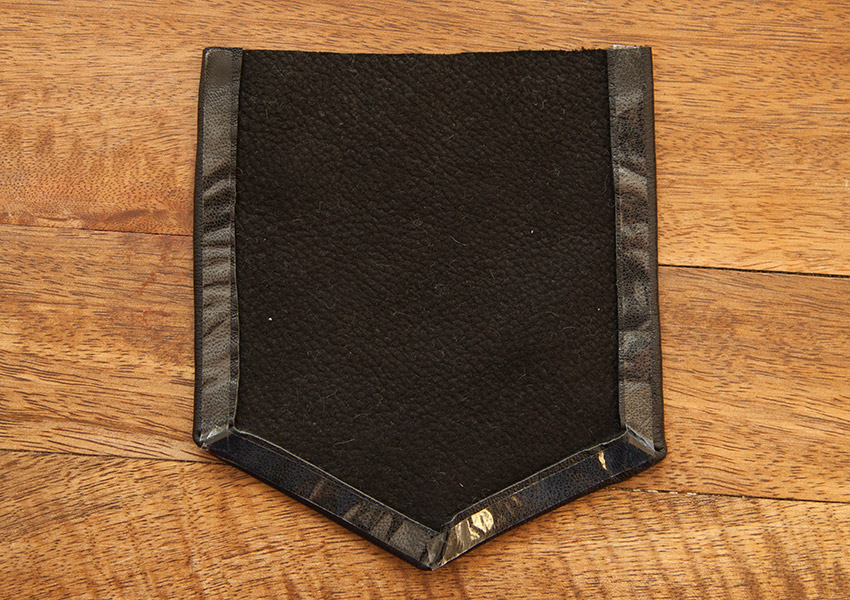
step 8
Layout your studs where you want them by your pocket.
My studs were hot fix so I was able to iron them on.
You can do this by placing a thin cloth over them and using a hot dry iron, iron them onto your shirt keeping the iron moving slowing while pressing firmly.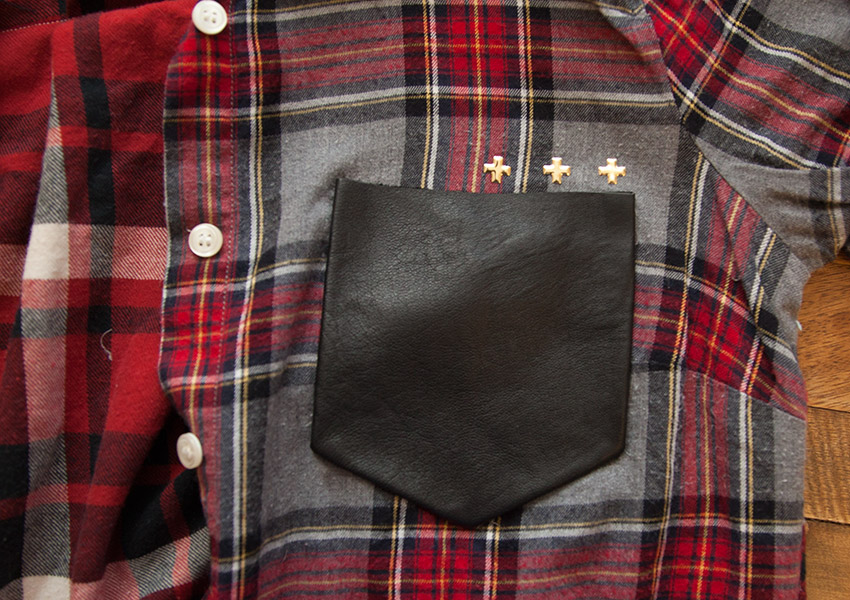
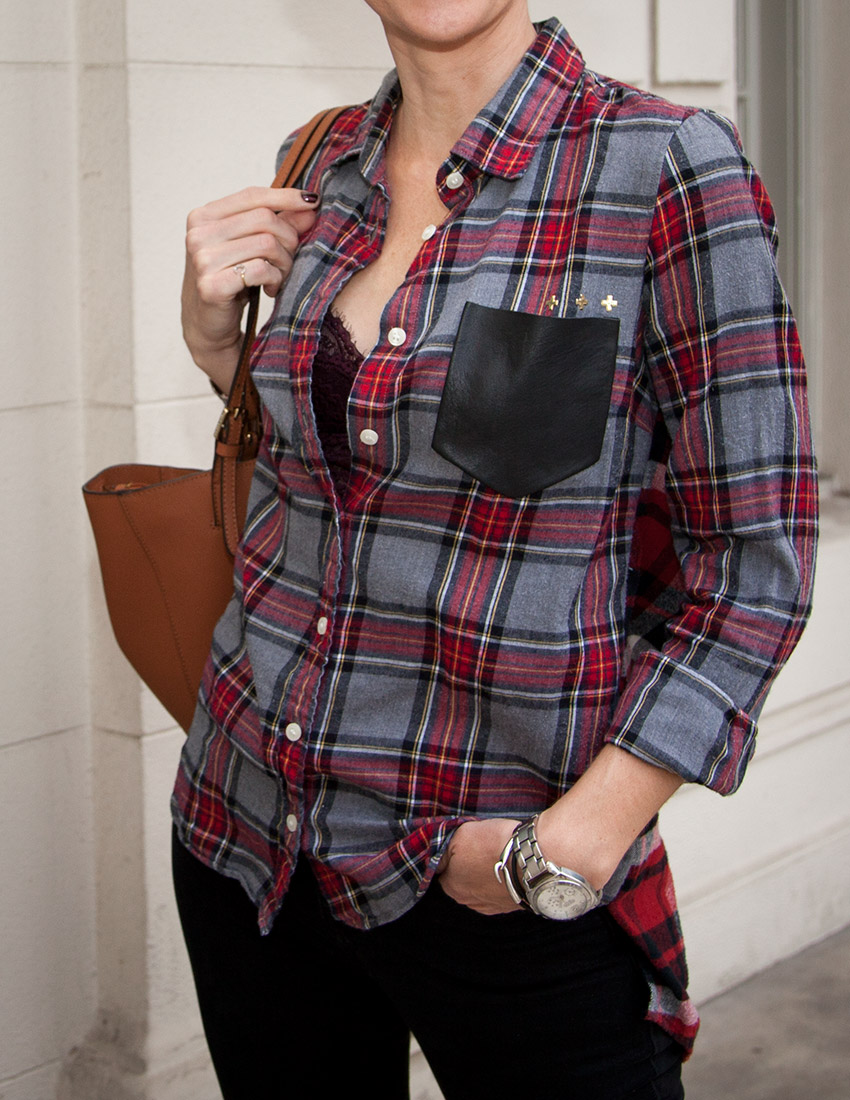
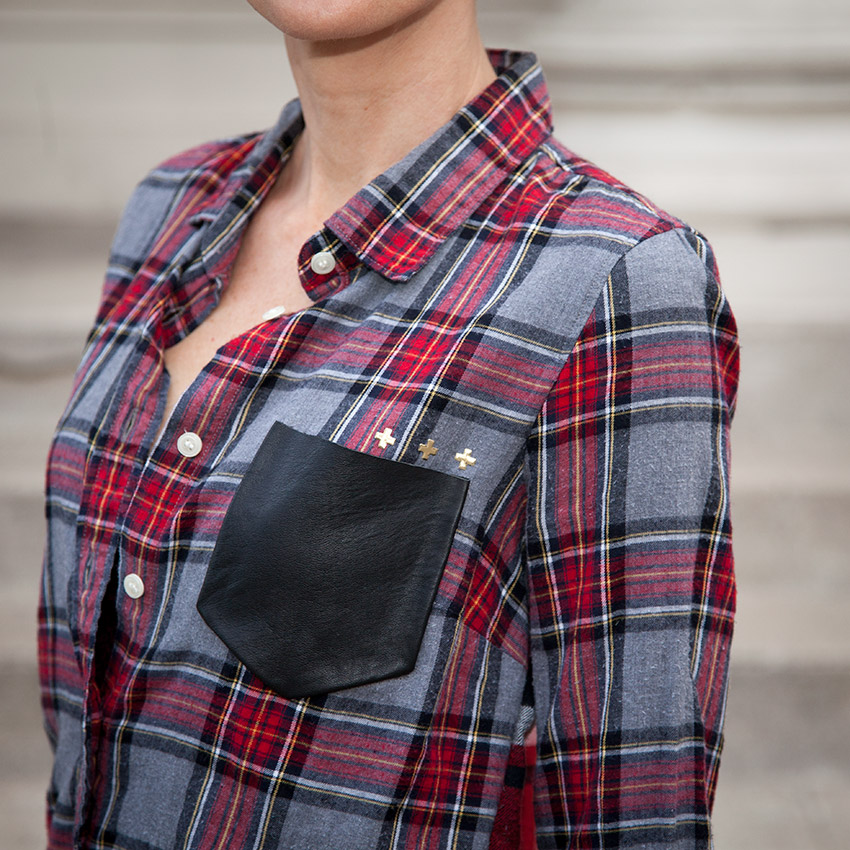
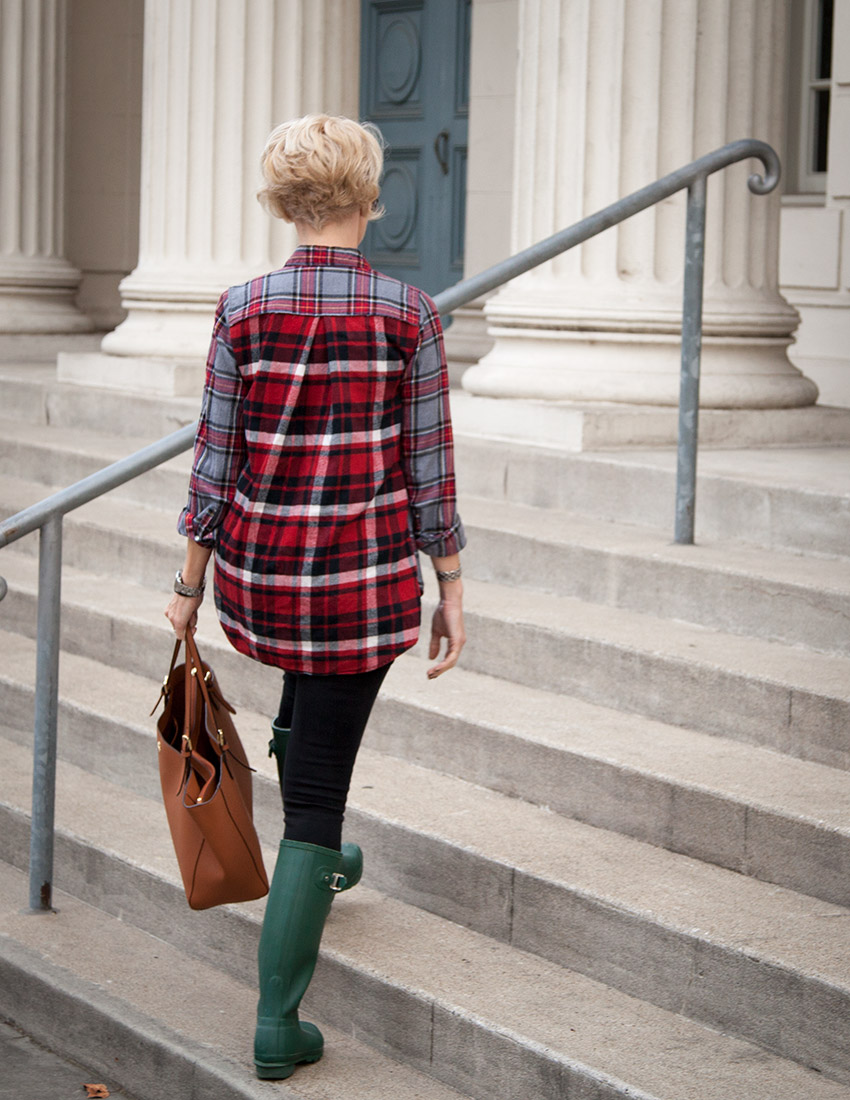

Do you ever look through your closet and you have those shirts that you still like but you NEVER wear them? Well that is totally what inspired this DIY. My husband had volunteered his shirt about a year ago for another project and I really liked the fabric so I held onto it, but I had no idea what to use it for. My shirt was one of those shirts that when I saw it I liked it but everytime I put it on it just wasn’t right. So my brilliant idea was to combine the two! I think it definitely improved them both and I’m sure I’ll wear it a lot more than before.
Do you have something in your closet that’s just dying for a DIYover?

