I have some really exciting news to share with you guys today, I’m finally releasing my first ebook Rock Your Wrists 25 DIY Bracelets! Get ready to make some awesome bracelets!
To get your own copy click here.
To get your own copy click here.
To read the full tutorial and see more pics check out the post I did for i Love To Create.
It’s really fun to cover a pouch or bag with lots of colorful designs. I was inspired by this dress from Dolce and Gabbana. I LOVE the playful designs and mixes of color.
This is a fun pouch that can be used as a cute makeup pouch or a pencil case.
One of the really cool things about Tulip’s Dimensional Paint is that you can sprinkle glitter on top of it or press beads or pearls into it before it dries to give it a really unique personalized touch.
Check out the post I made for i Love To Create to see the tutorial and more pics.
While I prefer it with almond milk and agave nectar, (really? cream and sugar would be much more poetic) I’ve found that it also makes a really great body scrub.
You can find versions of coffee scrubs in most beauty departments but I really love to make my own (and it’s a great way to use up the leftover coffee grounds). It’s so easy and only takes 3 ingredients that you probably already have on hand.
The amounts you use will depend on how much you want. I recommend going easy on the oil or your mix will get too runny.
Put coffee grounds and sugar into a mixing bowl.
For the coffee grounds you can either use fresh grounds or use your leftover grounds from this mornings coffee.
Heat the coconut oil over a medium low heat until just melted.
Remove from heat and pour over your coffee grounds and sugar.
Mix until all ingredients are mixed together.
Use in the shower.
Rub into your skin in a circular motion and make sure to rinse thoroughly.
This scrub smells so great and I find it to be really invigorating. Kinda like a second cup of coffee!
According to the “experts” (a.k.a. random blogs and websites, you know where we get all our information), a coffee scrub is really great for circulation and the temporary appearance or disappearance of cellulite. Any scrub, including a coffee scrub, will make your skin smooth and silky. Plus the coconut oil is a great moisturizer and small amounts will help to improve the look of your skin.
While I’m not an expert on this topic, I do know how my skin feels after using it and it feels amazing! Not to mention it really smells great!
What’s your favorite body scrub? Have your tried a coffee scrub before? Did you like it? Leave a comment and share your experience.
To see the full tutorial click over to i Love To Create.

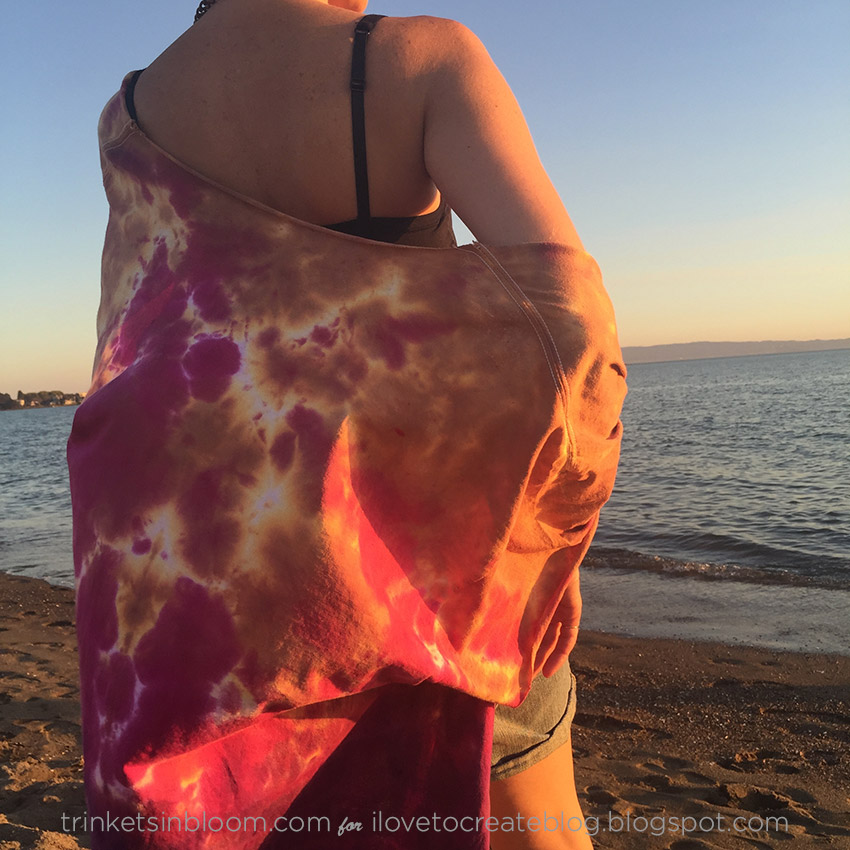
I LOVE kimonos! They were the perfect layering piece for the summer and now they’re making a great transition into fall in slightly heavier fabrics with more intense colors. I love how you can get really great color using Tulip one step tie dye, so often your color looks great until you start rinsing it out and it all washes away. I’ve found that with the tulip dye, if I leave it on for about 3 hours before rinsing I get the strong colors I was hoping for.