
We see chokers on celebrities and style setters all the time, they’re the perfect necklace for most any season, easily customizable, and a fabulous way to add some retro ‘90’s style to your look. In this tutorial you’ll learn how to easily make an on trend DIY Macrame Choker. Let’s get started!
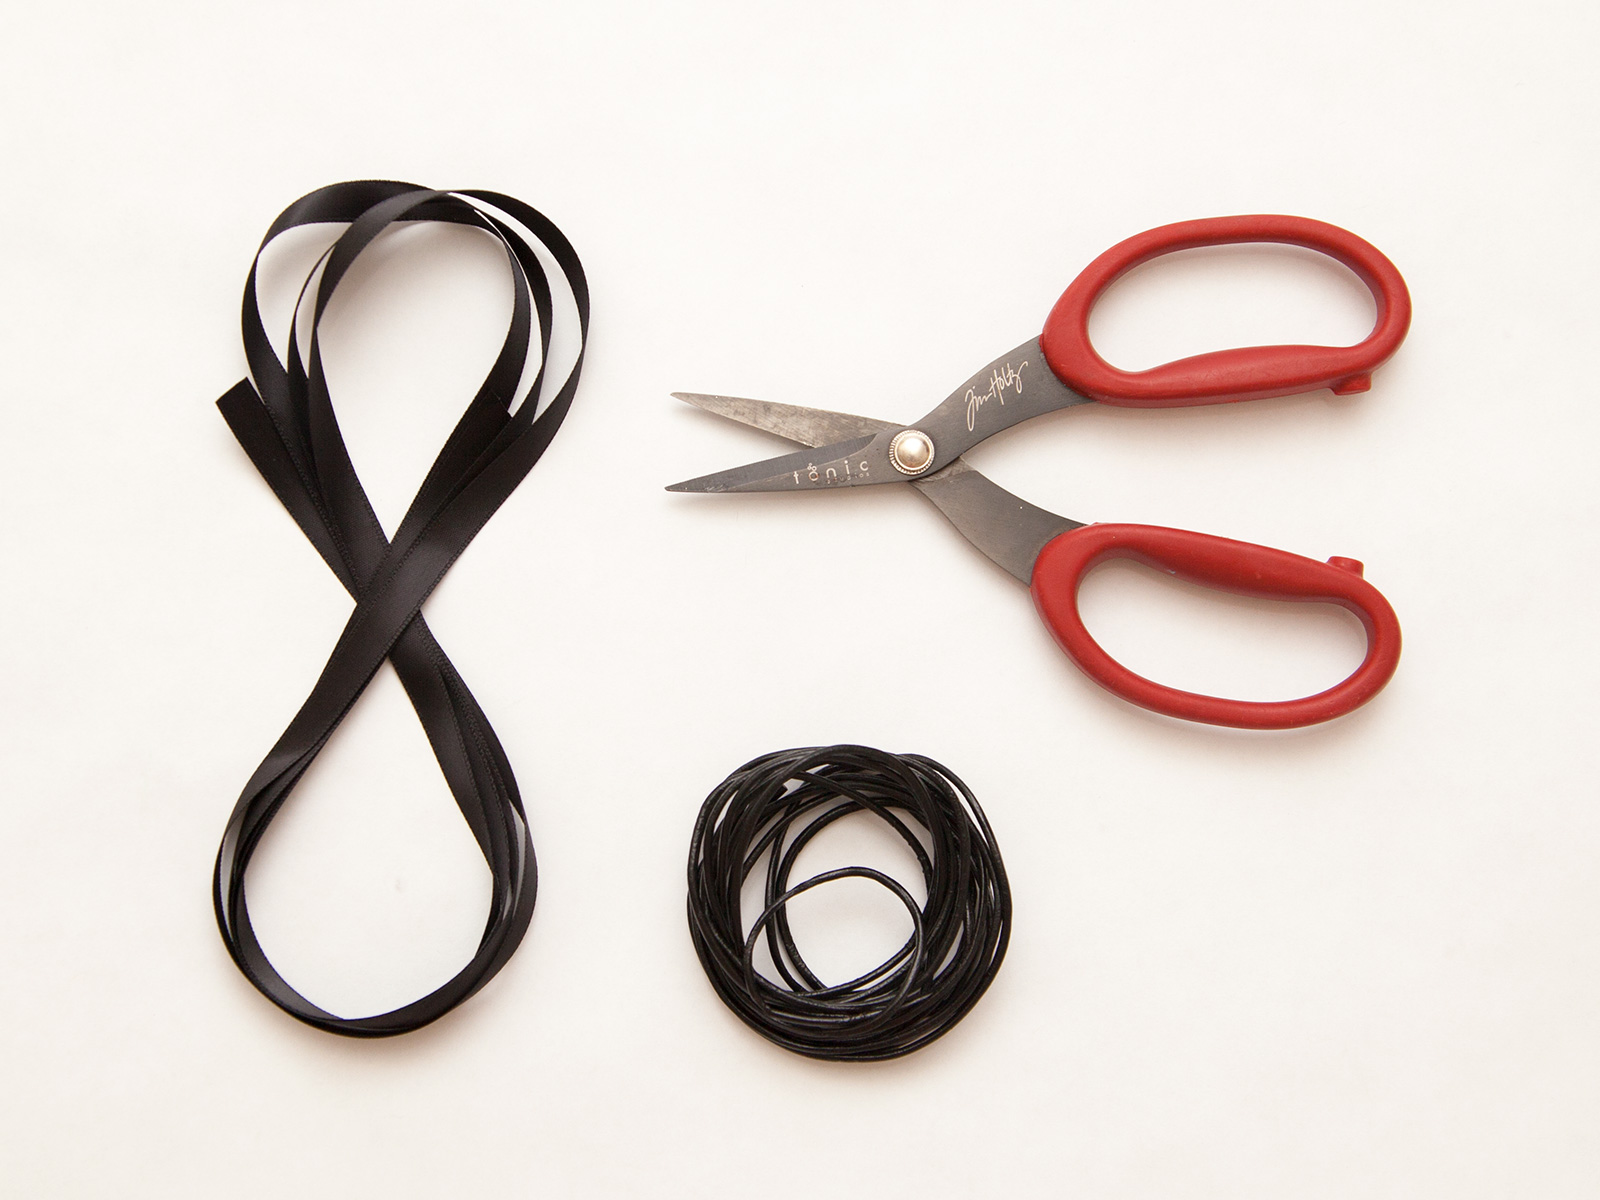
SUPPLIES YOU’LL NEED:
- Ribbon
- Leather cord
- Scissors
- Tape
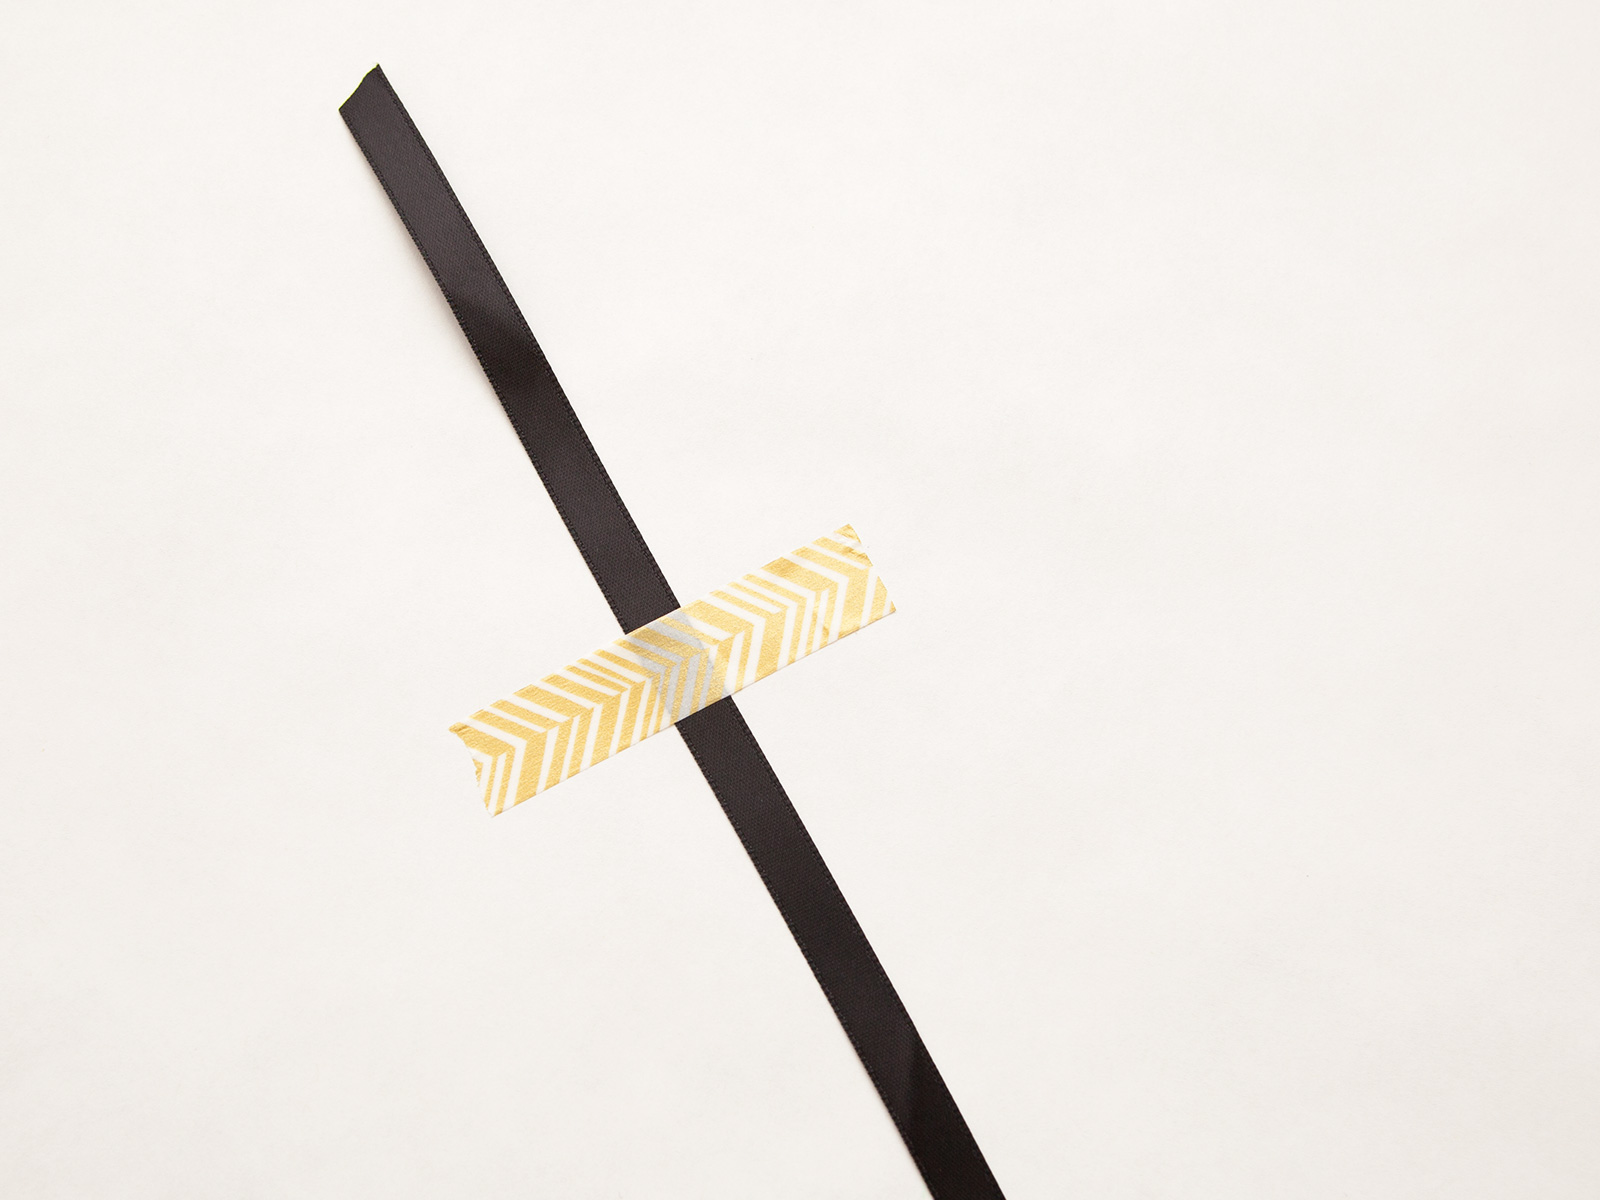
step 1
Tape one end of your ribbon to the table or hard surface.
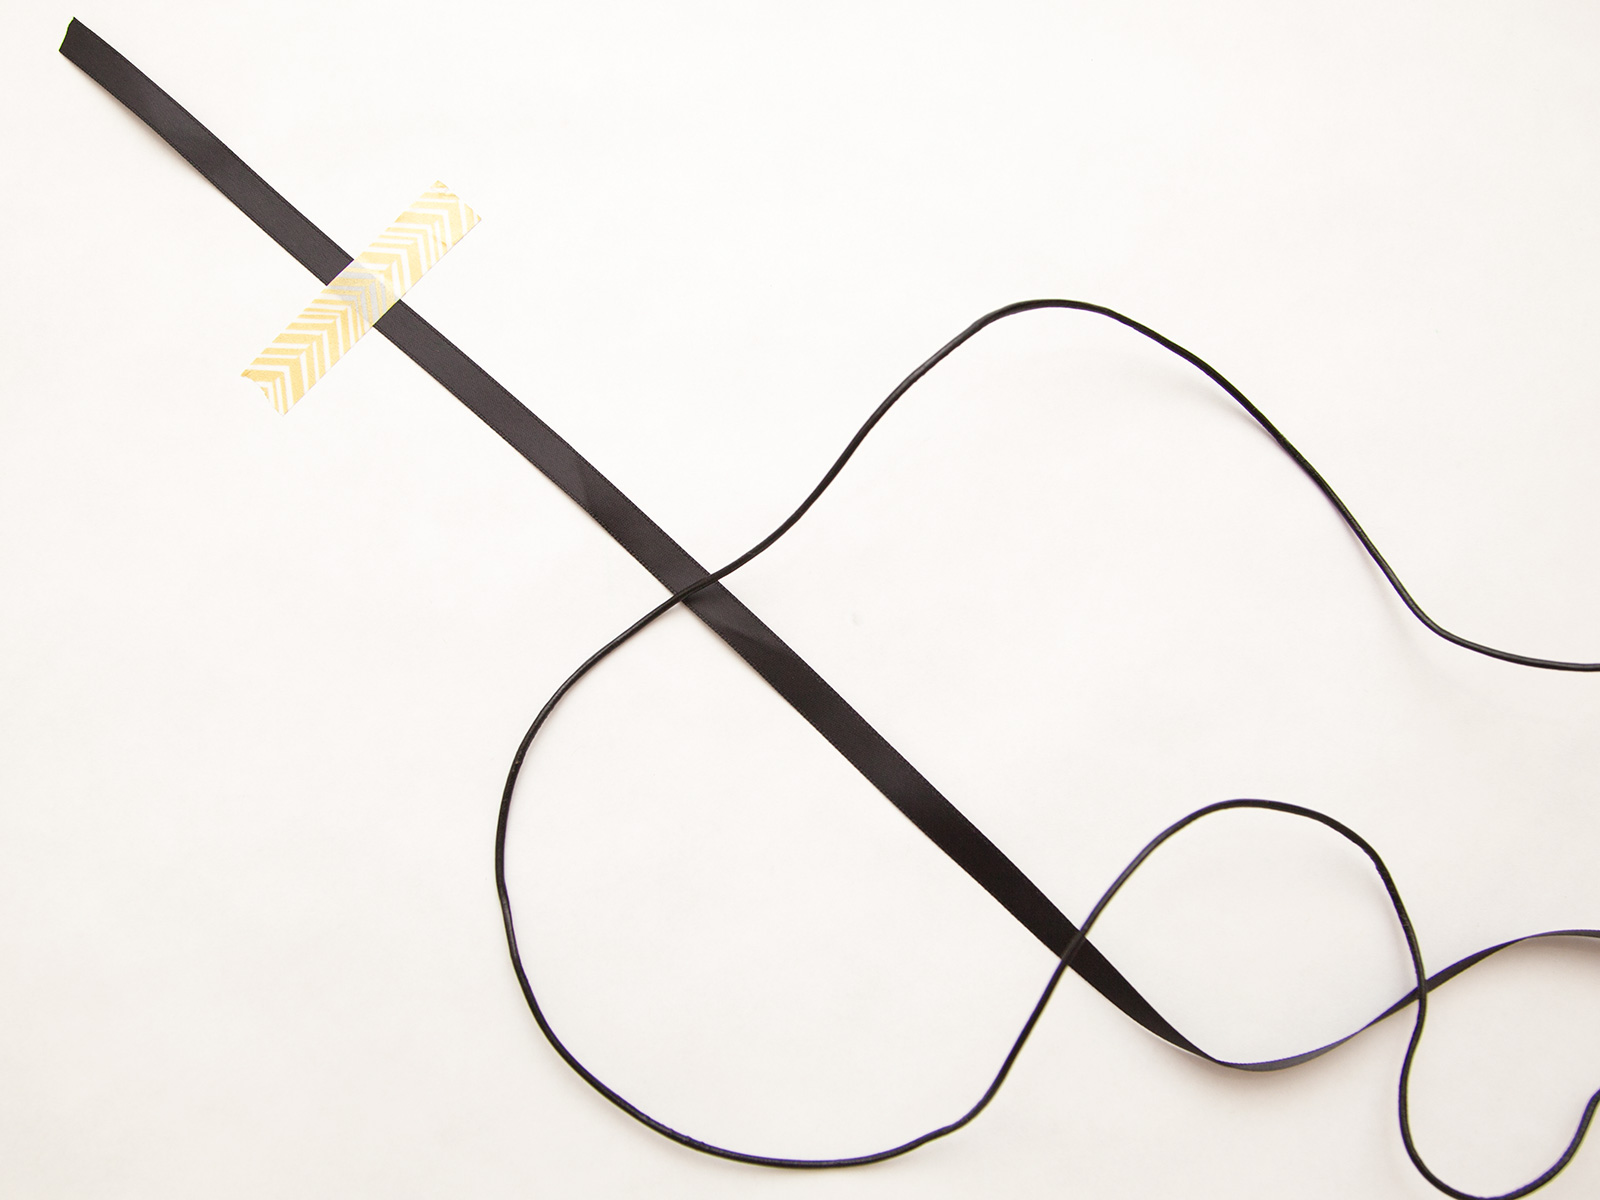
step 2
Using about 1.5 yards of your leather cord fold it in half.
step 3
You’ll be using a simple square knot around your ribbon.
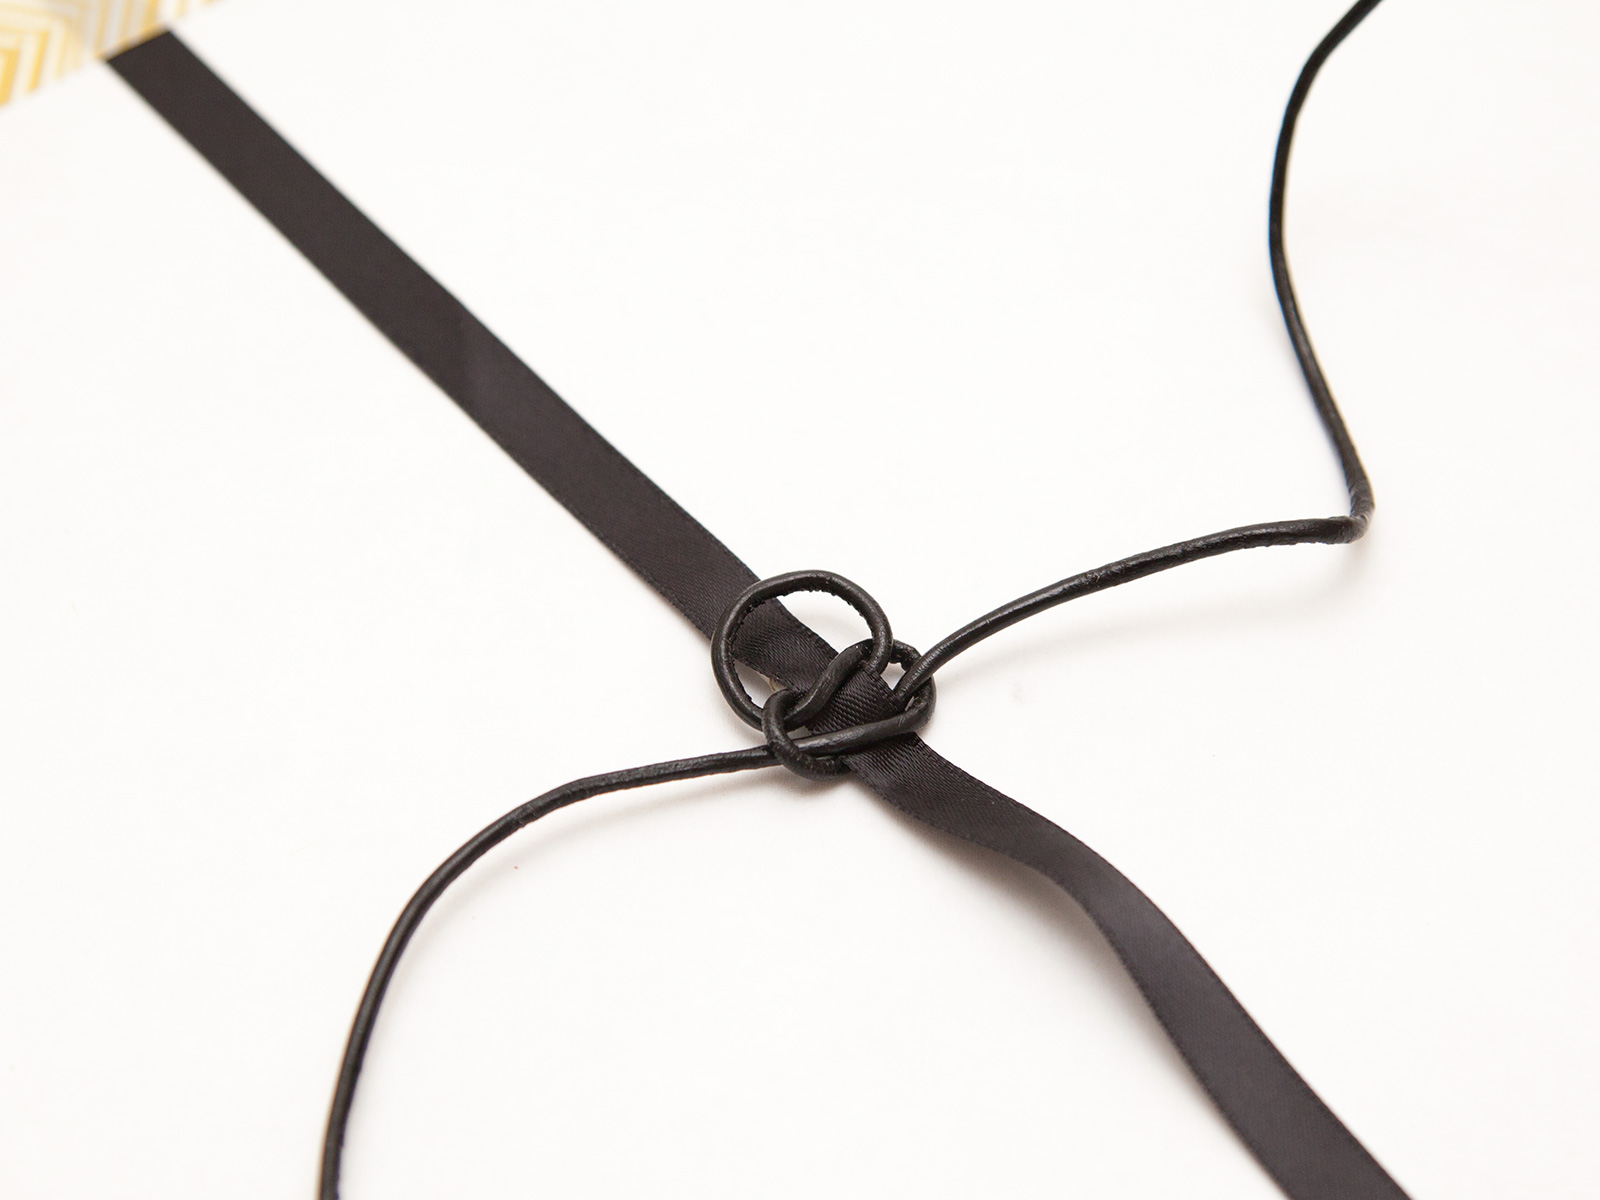
step 4
Keep making square knots around your ribbon until it’s as long as you want it.
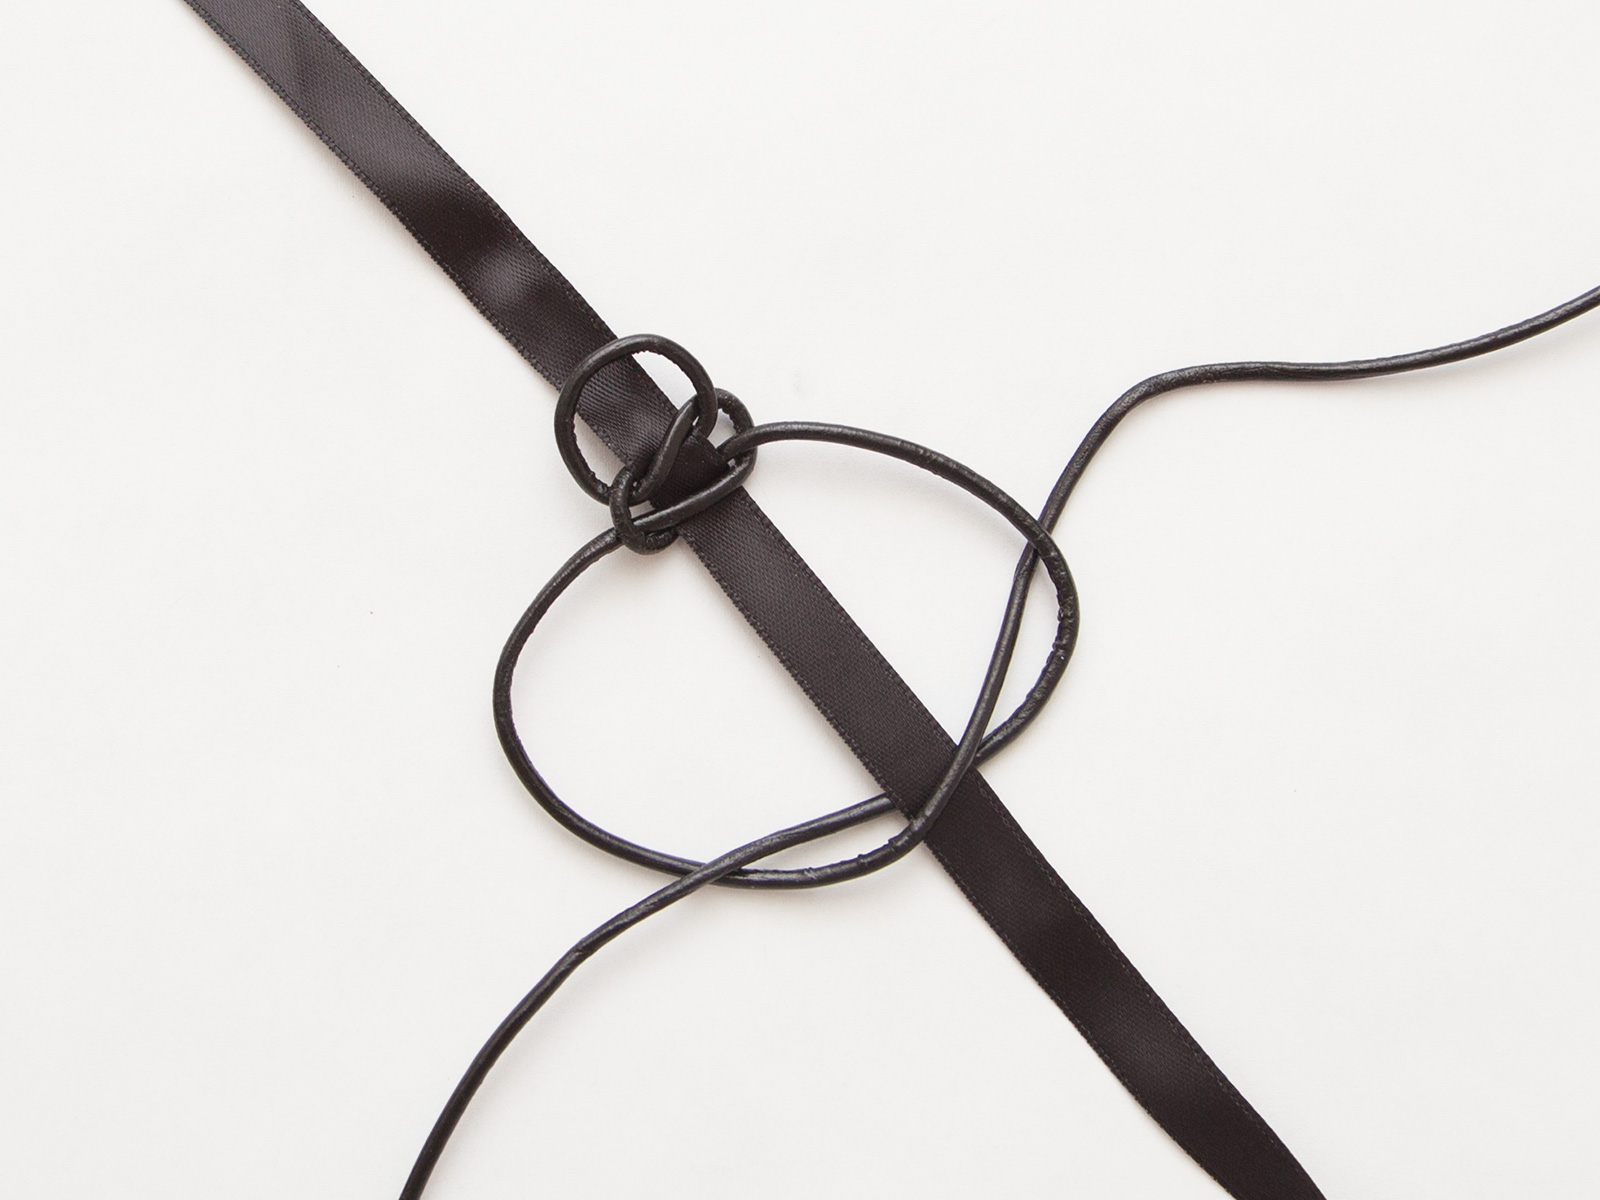
step 5
Feed your ends through the back side of your knots and trim.
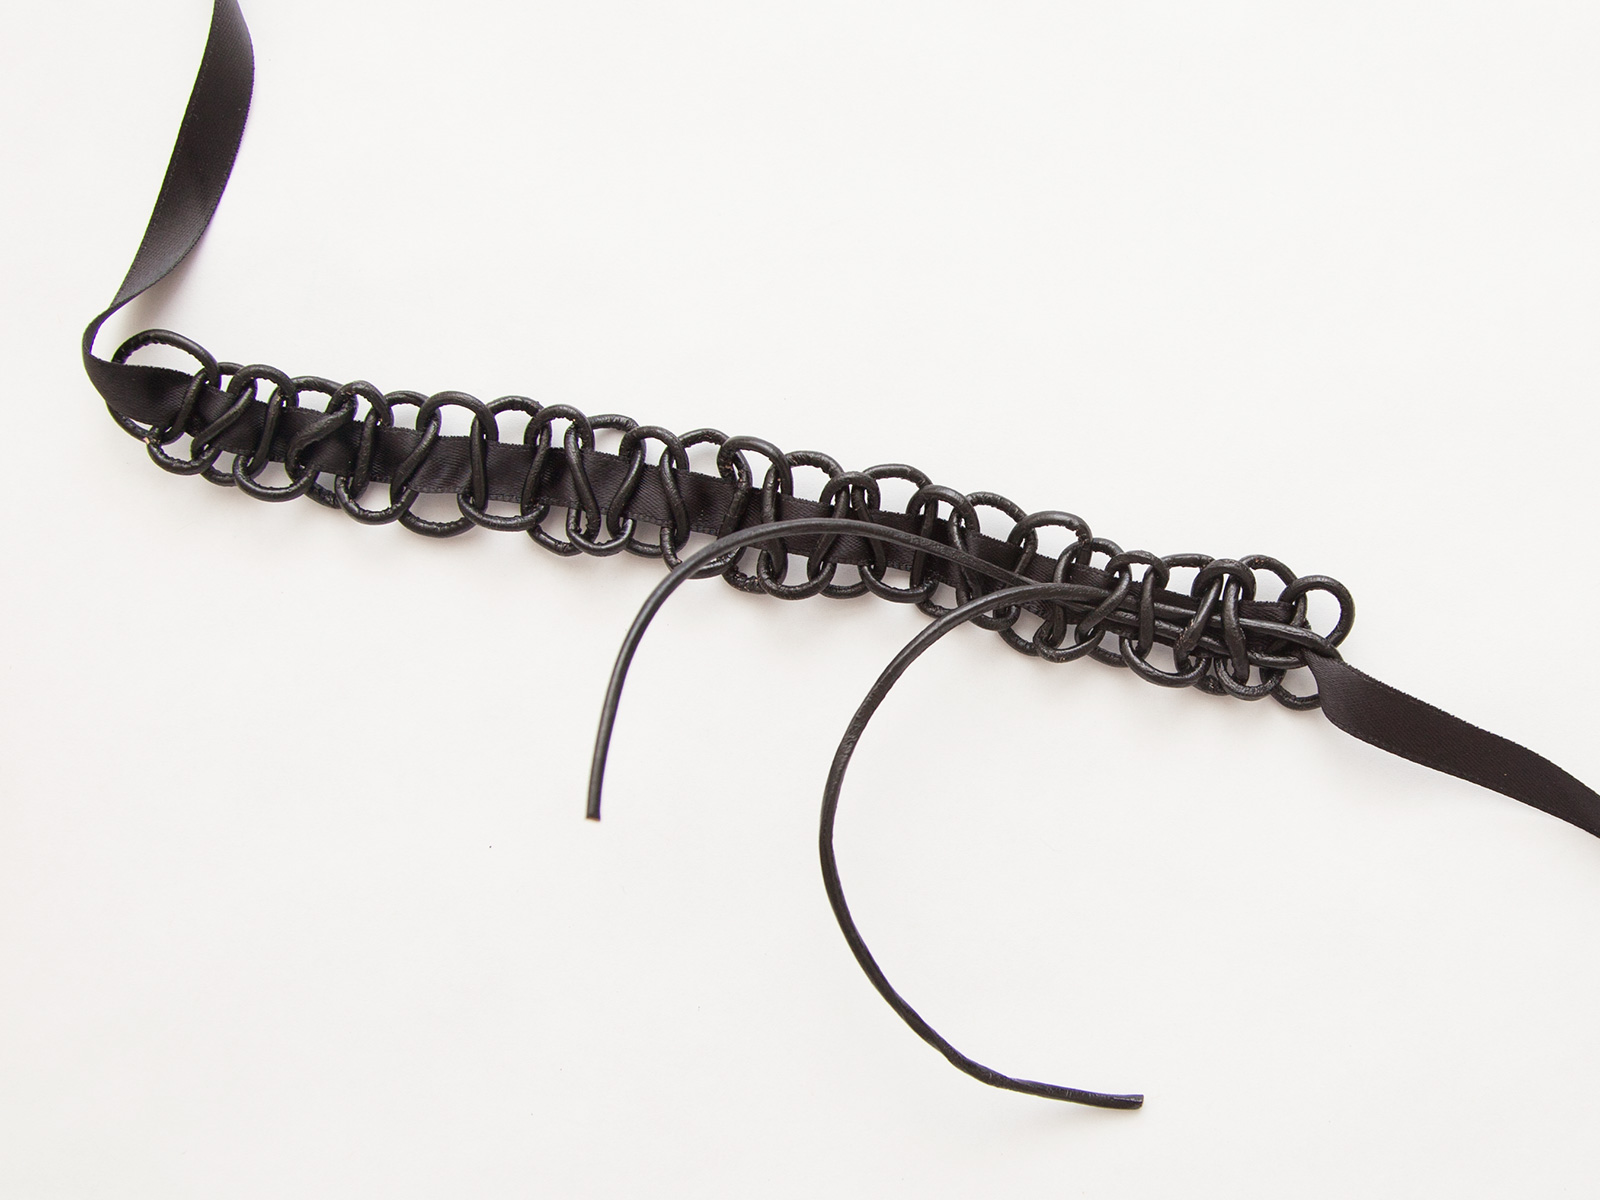
step 6
If you need to you can slide your macrame down your ribbon to center it.
step 7
Tie your ribbons around your neck, trim off any access.


While chokers have been around for centuries, they definitely made their mark in the ‘90’s. I love mixing up trends, old and new to create a unique style that’s all your own. What’s your favorite way to wear this trend?

