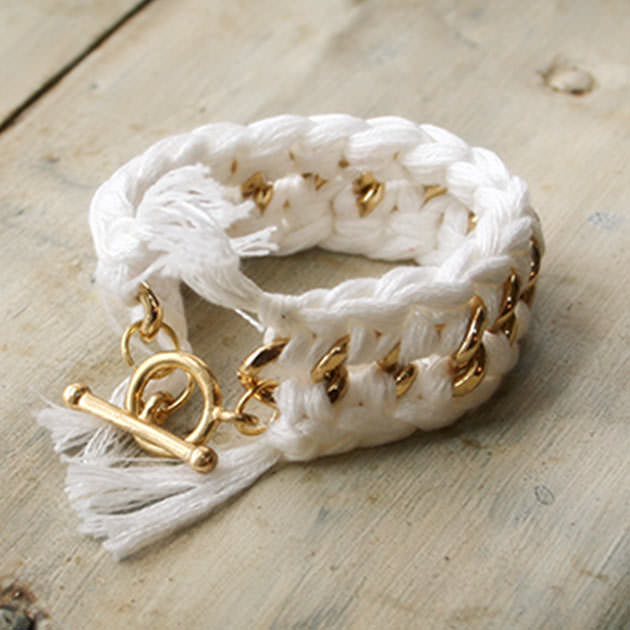
This DIY Crochet Bracelet in white and gold is a perfect complement to most any outfit. This simple DIY tutorial will show you how to easily make your own.
LET’S CROCHET >
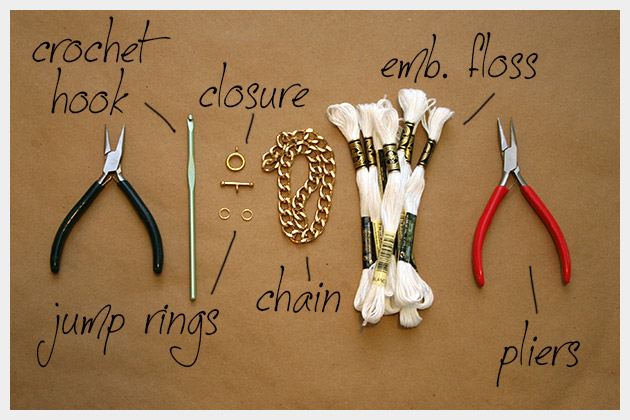
Supplies to make your DIY Crochet Bracelet:
- Large chain
- 1 Toggle closure
- 3 Jump rings
- Embroidery floss
- Fray check or another liquid fabric glue
Check out my Amazon shop for links to all supplies.
step 1
Measure your wrist and cut your chain by opening one of the links in the chain.
I recommend making your chain shorter than you normally would. This bracelet looks best a little snug, you dont want it to dangle too much.
Remember that your jump rings and closure will add an extra inch to your bracelet.
step 2
Add your jump rings and your closure.
Put one jump ring on the side with the circle closure and two jump rings on the side with the bar.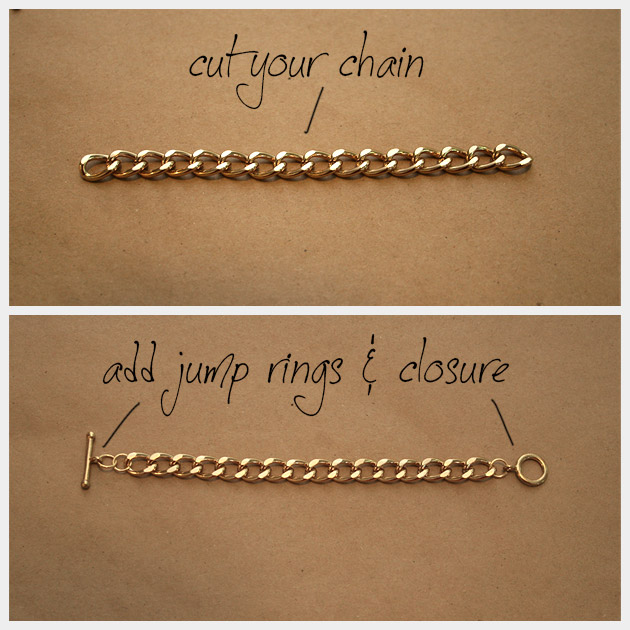
step 3
Youre ready to crochet.
I used 6 strands of embroidery floss together to get the look I wanted.
Make your loop to start your crochet, (you can see a tutorial here) then continue single crocheting in each link down one side of your bracelet.
When you are finished, pull your yarn through and knot it. Leave a tail.
step 4
Repeat step 3 down the other side of your chain.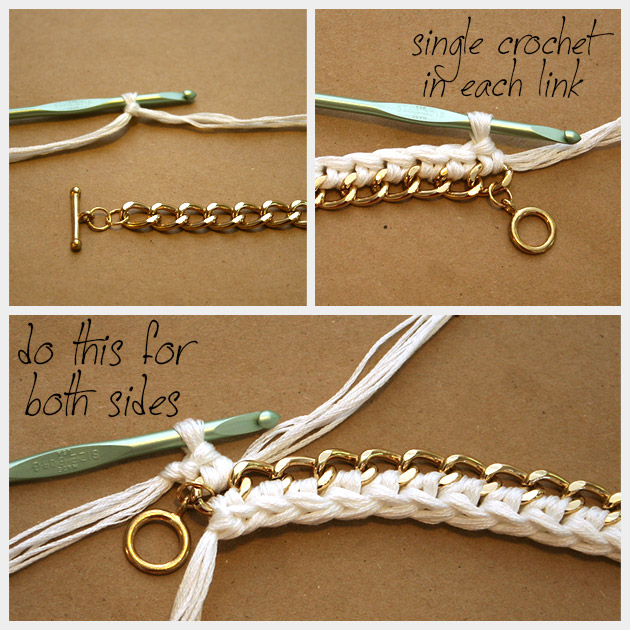
step 5
Add a drop of fabric glue to each end knot, this will make sure they dont come loose.
Cut your loose threads to about one inch and pull the strands apart to make them look like tassels.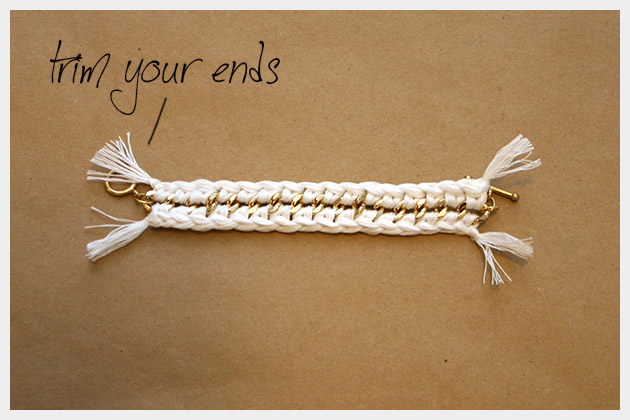
I love white in the fall and winter and this bracelet is the perfect complement to most any outfit in white and gold. I was inspired to make this bracelet by a photo shoot from the August issue of Town and Country magazine.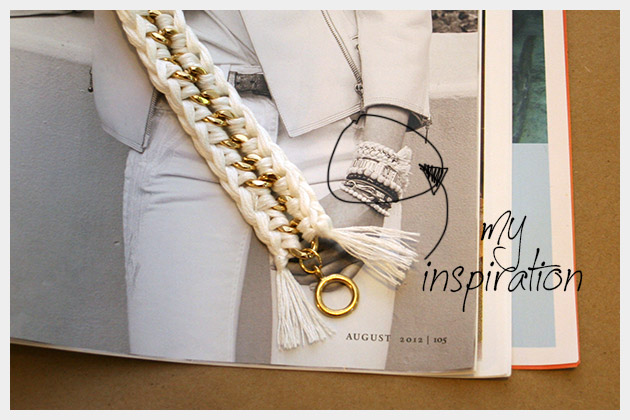
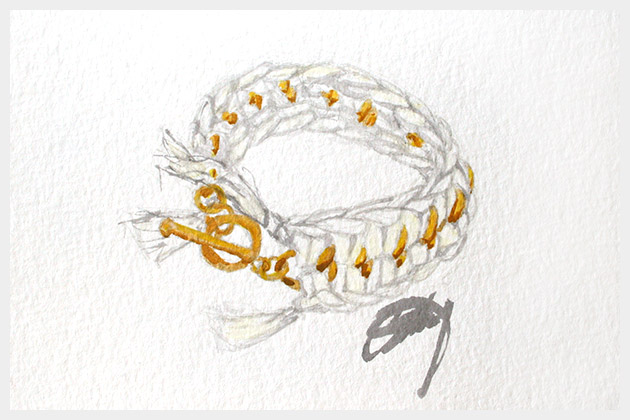
You can stack this bracelet with other gold bracelets or mix it up with multiple colors and metals.
For more bracelet ideas check out this page.

Another amazing DIY, Cathy! I’ll definitely be trying this. I especially love how you used embroidery floss rather than yarn!
xx
Lia
Smart n Snazzy
Beautiful and so simple! I think I’ll try it too
This is so pretty, I love your painting of it too. amazing.
xx Tanya
http://aciddreamsandsugarhighs.blogspot.com/
Such a simple, yet effective idea! Stunning!
i’m going to make this
thank you darling :*
so cute! I have been trying to pull this off but can’t! Post a video? :-)
Love it, love it, love it !!!
Love that bracelett! I just posted a Link to the Tutorial and to your Etsy Shop here in my german blog:
http://schoenstricken.de/2013/01/metall-armband-umhakeln/
I hope that is ok for you.
Best from Berlin, Jessica
Hi Jessica,
Thank you so much! Of course that’s ok.
You have lot’s of great projects on your blog! I love it!
xoxo
Cathy
do u have any tutorial how to do single crochet?
Hi thx for the tutorial..question – how long are your flosses? what’s the ratio of the floss to the length of the chain?
Thanks Diana! I actually used 6 skeins of floss, which I know can be wasteful except that I’ve used the leftover floss for other projects. That said, the crochet does take up a lot of the floss, you will need to have your floss at least 5 to 6 times the length of your chain, depending on how tight you crochet.
xoxo
Cathy
Cute tutorial.. Where do you buy you gold chain and toggles?
What size crochet hook?
Hi Marilyn,
I used a G (6), use the size that works best for you, just make sure it fits through the chain.
Cathy
Muy linda. Y fácil gracias
Thanks for the info. Own crochet
Bracelet . I’m going to make it.
Marquetta
What is the size of the chain ?
Hi Mei!
I used a 12mm chain similar to this one: http://www.mjtrim.com/jewelry-chains/12mm-metal-chain
I hope this helps.
xoxo
Cathy
Hey this looks epic, I’m sure my girlfriend would love it. I started on it, but I came up with a couple questions.
Did you do three strings on each side, or did you do 6 on each side? So like did you spread out the floss and then cut it in half and used half on each side? (I think I have the same exact embroidery floss as you. )
When you make the knot and it’s on the crochet tool, do you pull the knot through the chain as well (Sorry I’ve never crocheted in my life)?
Hi Yoshi,
Thank you!
I used 6 strands on each side. I worked directly from 6 skeins of floss.
When you start crocheting you make the knot on your crochet hook, then you pull the floss through the chain as you crochet. Look at this tutorial https://www.trinketsinbloom.com/diy-crochet-beaded-bracelet/ is has better photos of the crochet process (even though it is a little different it still shows you how to crochet through the chain).
I know your girlfriend will love it! Let me know if you have any other questions.
xoxo
Cathy