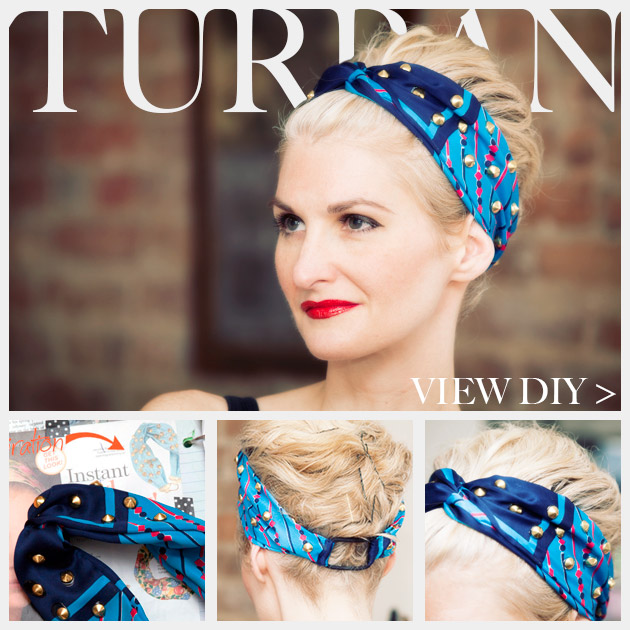
This “no sew” DIY Studded Turban is fun to make and even more fun to wear!
GO DIVA >
Bring out your inner diva,
with a DIY Studded Turban!
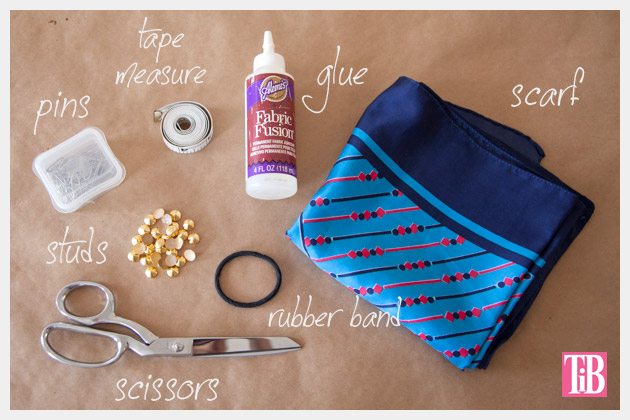
Supplies to make your DIY Studded Turban:
- Large Scarf
- Studs – I got mine at M & J Trimming
- Scissors
- Tape measure
- Fabric glue – I like Aleenes Fabric Fusion
- Aleene’s Jewel-it glue – I Love To Create
- Rubber band for hair
- Clothespins – optional but helpful
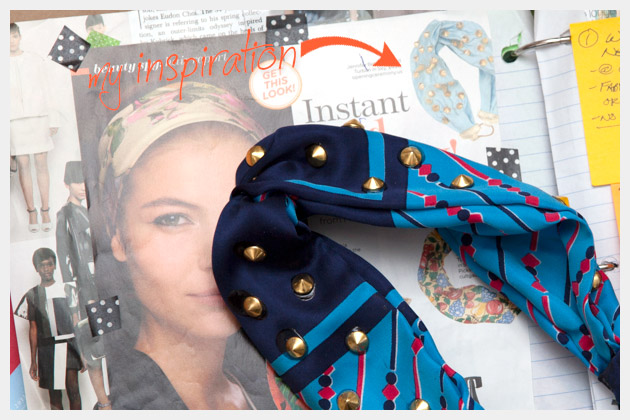
I was inspired to make this DIY Studded Turban by the April 2013 issue of Lucky magazine.
In their “beauty spy: hair report” they show the inspiration turban for this project. The original is by Jennifer Behr for Opening Ceremony and it retails for $495. You can make your own for less than $10, (depending on your scarf).
step 1
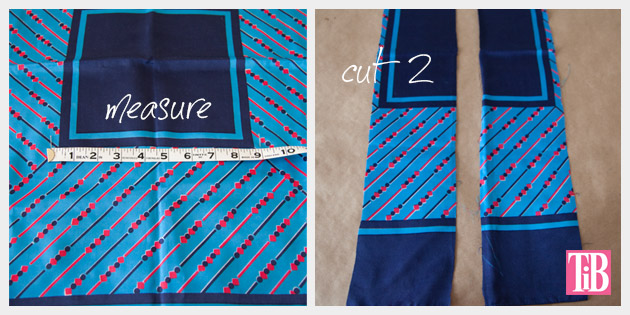
Lay your scarf out on a flat surface and measure out two long strips.
I made each of my strips 4.5 inches wide by the length of my scarf which is 28.5 inches.
step 2
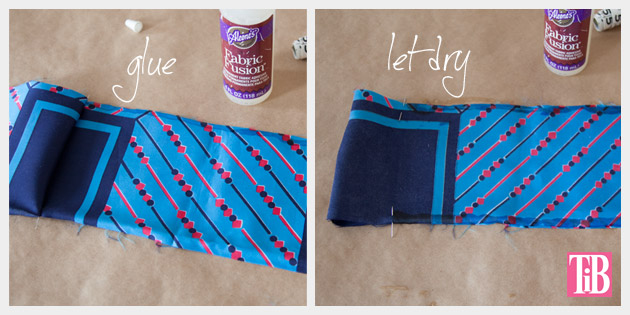
Fold one strip in half with the right (pretty) sides facing each other
From the fold measure 2 inches and put a pin on both sides.
Open your strip and put a line of glue all the way down each side.
You may want to put pins next to your glue to keep it in place.
Let your glue dry for at least an hour.
step 3
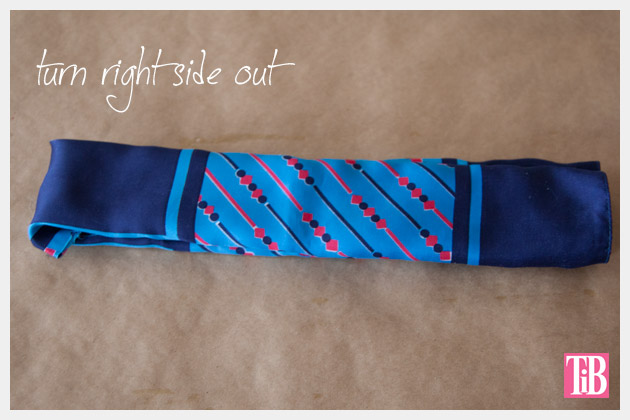
When your glue is dry enough to hold, turn your scarf right side out.
Do this very gently you dont want to pull it and possibly pull the glue apart if it isnt completely dry.
step 4
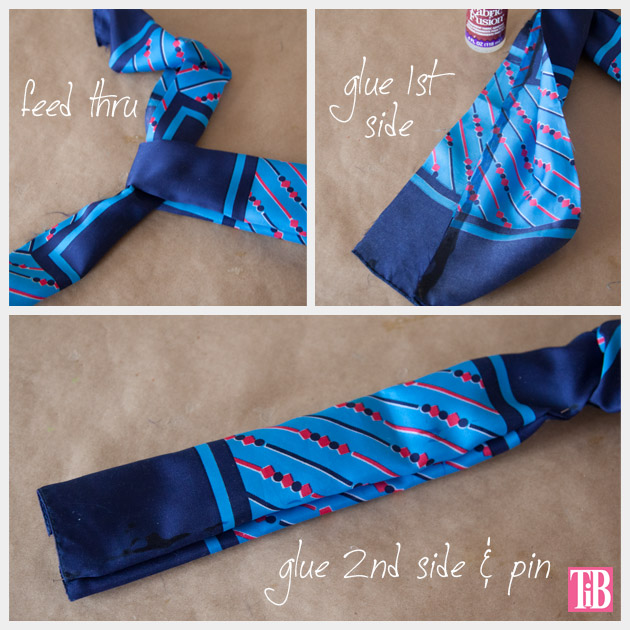
Take your other scarf strip and put it through the hole (loop) in the top of the first scarf strip.
step 5
Smooth out this second scarf strip and glue one side. I recommend putting pins in this one to help it hold while it dries, since this one isnt laying flat.
Let it dry for at least an hour.
step 6
When your first side is dry, take out your pins and glue the other side.
Pin if necessary and let dry for an hour.
step 7
When the glue is dry youre ready to add your studs.
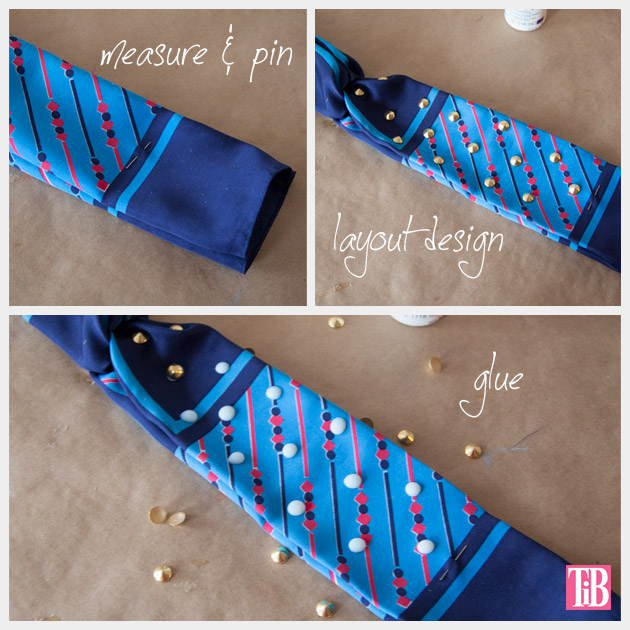
Smooth out your first side of your turban and layout your studs. You may want to iron it to smooth out your seams.
When you have all your studs where you want them, put a small drop of your Jewel-it glue where you want each stud.
TIP: Do not put a lot of glue on your scarf. The shiny twill fabric will really show any extra glue and it wont look nice.
You may want to let your glue sit for a few minutes before pressing your studs into the glue.
Repeat on the other side.
Note: If you check out the link to the studs I used they are iron on studs. I did not iron mine on, because my scarf is polyester and using a really hot iron on poly is a bad idea (it will melt). So if your scarf is silk or cotton, go for it, iron them on. If it’s polyester I recommend gluing them.
step 8
This is where you will add your rubber band.
Measure your turban around your head, keep in mind that you dont want it too tight or too loose.
Put a pin to mark where you will fold your ends over.
step 9
Fold a small hem on each of your ends and glue.
Then fold your ends around your rubber band and glue.
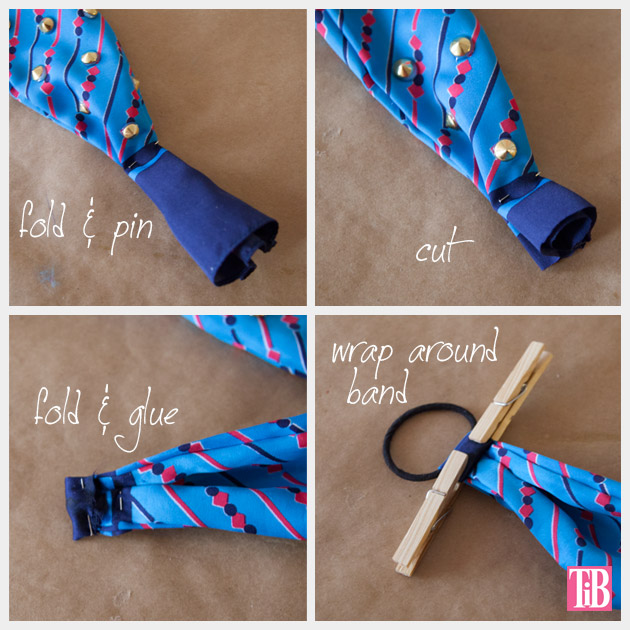
TIP: Use straight pins or if you have them clothespins to hold your hem around your rubber band to dry.
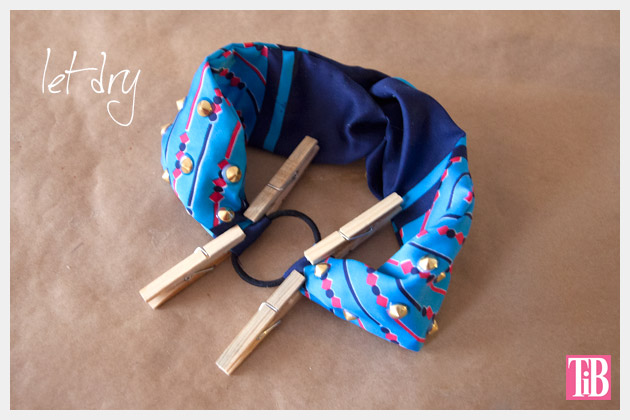
Let dry.
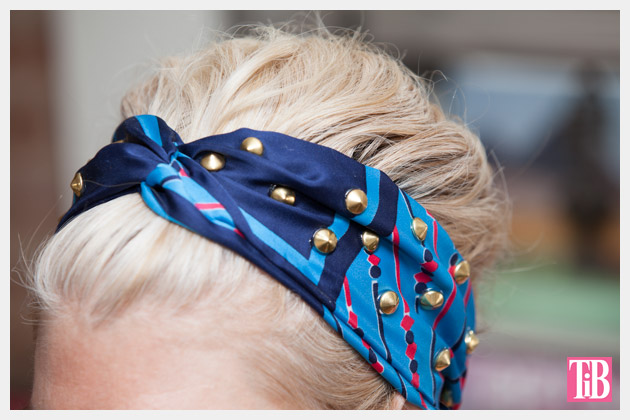
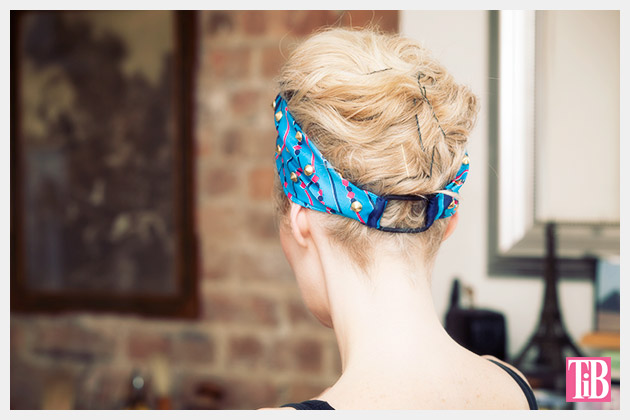
This tutorial was supposed to be posted on Friday but unfortunately life got in the way. So Scarf Week spilled over into this week.
I love accessories that can transform you to a different time or feeling. They make you feel put together without much effort. This DIY Studded Turban takes the look of a vintage head wrap and makes it edgy with gold studs.
I was really surprised and happy with the way this project turned out. With the exception of waiting for the glue to dry it is also very quick to make.
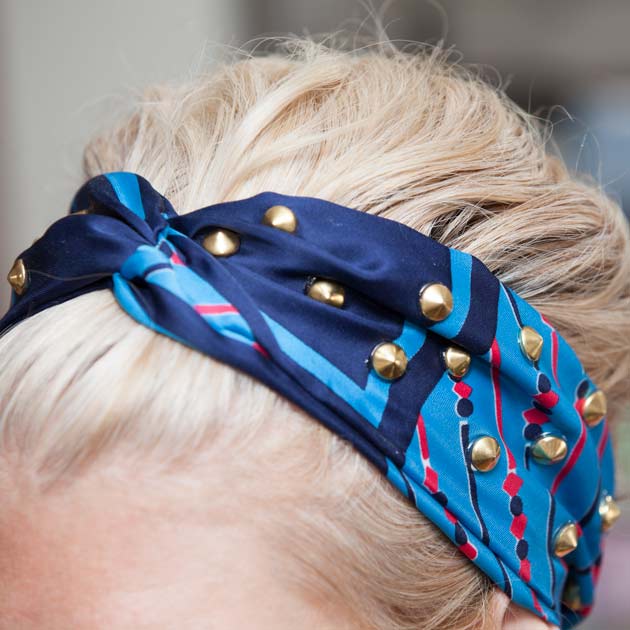
The original inspiration turban is solid, but it turns out very cute on a printed scarf as well. This gives you lots of options

This turban looks like a designer piece! I love it! I am a jewelry and accessory designer and I can’t find anything wrong or anything to improve on this! I learned how to make jewelry and accessories by attending classes by Dragonfly Designs (http://www.jewelrybydfly.com) in South San Francisco. They taught me everything I need to learn like copper etching, enameling, stamping and drapping, bead stringing, wire work, resin pendants, finger knitting and hair jewelry!
that looks trés chic!
I linked to your tutorial on my blog – thanks for sharing!
♥, doro von Hand zu Hand
wow!! this is very unique and creative..great idea! like it a lot :)
I studded a top and handbag, please have a look at: http://whatscraftdoc.blogspot.co.uk/2013/04/diy-stud-stud-stud-handbag-and-top.html
:)
I have one of these myself – and my girls love it! How come I never thought to make them their own! Thanks for the inspiration!