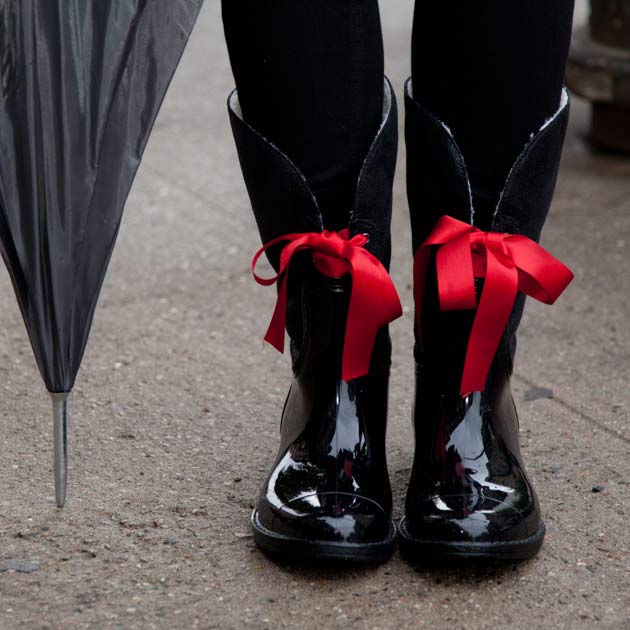
In the fall we all need a good pair of rain boots. This Embellished Rain Boots DIY will keep your feet dry and happy, adorned bright red bow.
Get ready to sing in the rain and stomp in some puddles, DIY girlied up rain boots with bright red bows.
GET READY TO STOMP IN SOME PUDDLES >
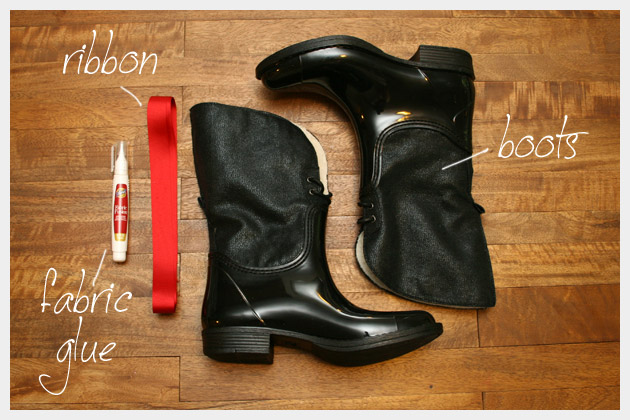
Supplies to make your Embellished Rain Boots DIY:
- 1 Pair rain boots (I got mine at Target)
- 2 Yards of 1 inch gross grain ribbon ( I got mine at M & J Trimming)
- Aleenes fabric glue (c/o I Love To Create)
- Scissors
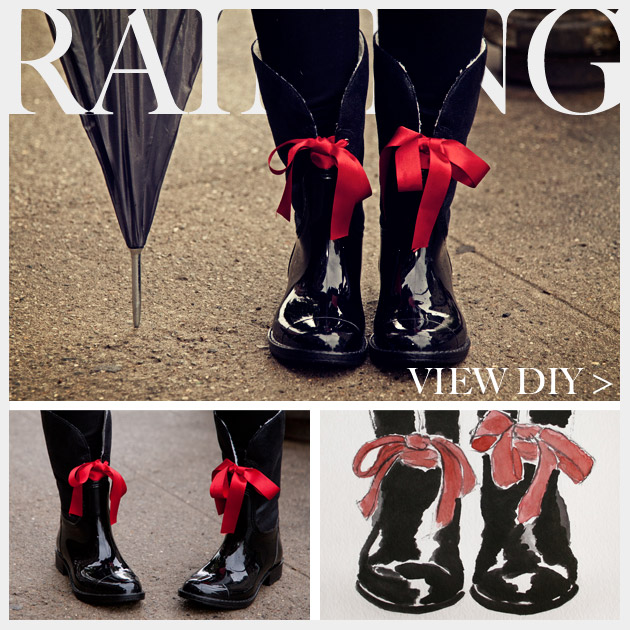
I’m working on illustrations of all my DIYs. What do you think?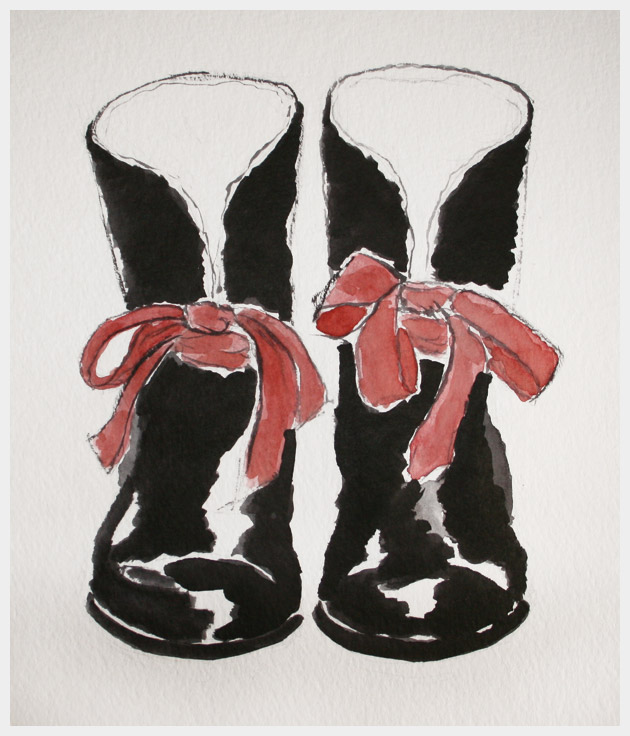
For this project I found a pair of rain boots that already had grommets and lacing on the front of them. If you are using all rubber rain boots without pre existing grommets you can cut a long narrow ‘V shape in the front and add 2 or 3 grommets on either side to lace your ribbon through.
This is a REALLY simple DIY, but I wanted to show you how easy it is to make simple changes or improvements to improve and embellish your accessories. Something as simple as a bright red ribbon can really brighten your day and add value to a simple black rain boot.
step 1
Remove existing laces.
step 2
Cut your ribbon into 2 – 1 yard pieces.
step 3
Lace your ribbons through the grommets on your boots and tie big bows.
step 4
Take your Aleenes fabric glue and put some glue into the center of your bow, this will keep them from coming untied.
You can also add a small amount of fabric glue to the ends of your ribbon, this will keep it from unraveling.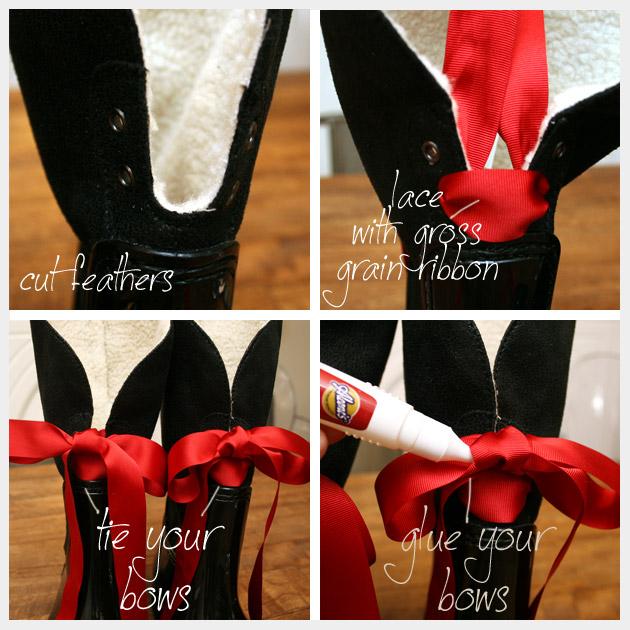
Get ready to sing in the rain and stomp in some puddles, with these DIY girlied up rain boots and their bright red bows.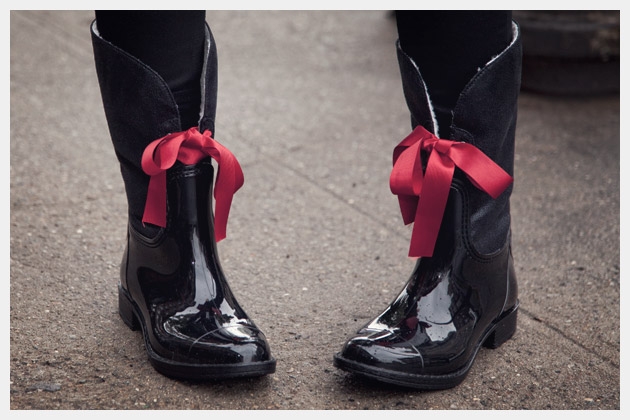
Having fun with Photoshop, these boots really lent themselves to a vintage look. Don’t you think?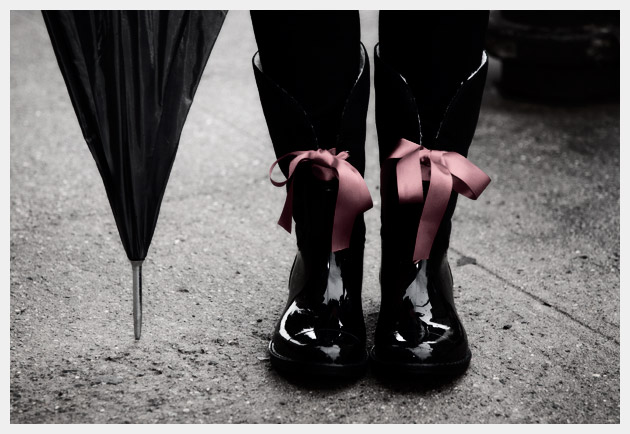
Not every DIY project has to take hours and sometimes we just need a simple improvement to make us feel good. They say its the little things that count, so my new goal (one of many) is to make at least one small improvement everyday.

rain boots are already adorable, but adding ribbon to them is brilliant! love the look!
These are so cute! And I love your idea to illustrate your tutorials – it really sets your blog apart!
Hi Lindsey,
Thank you so much!
xoxo
Cathy