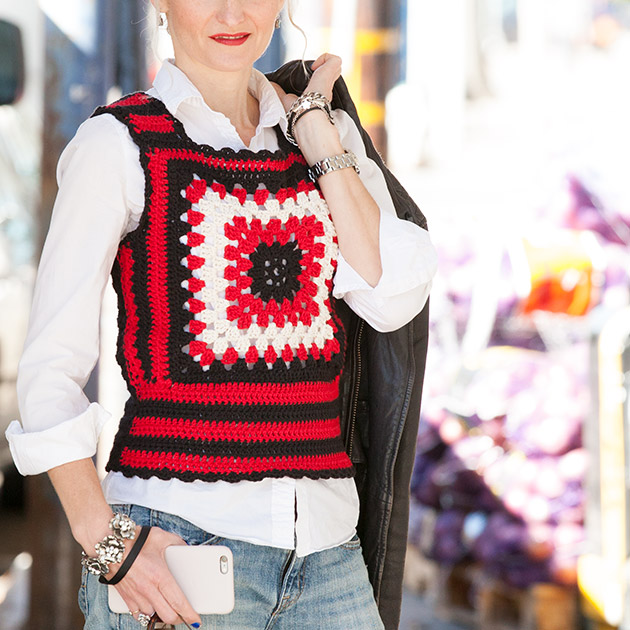
I’m seriously in love with this top! Over the weekend I finished this Miu Miu DIY Crochet Top and after a few redo’s and tweaks I got it just the way I wanted it.

If you haven’t been following along I’ve posted here with my inspiration for this top and here where I started making it.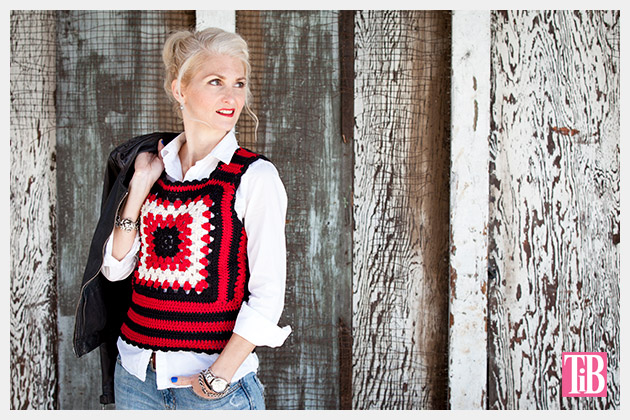
I didn’t make up the pattern for this top but I did make some tweaks and updates to get the fit that I wanted and to make it look more like the Miu Miu version.
I’ve written up the pattern at the end of the post. Or you can follow this pattern or this one.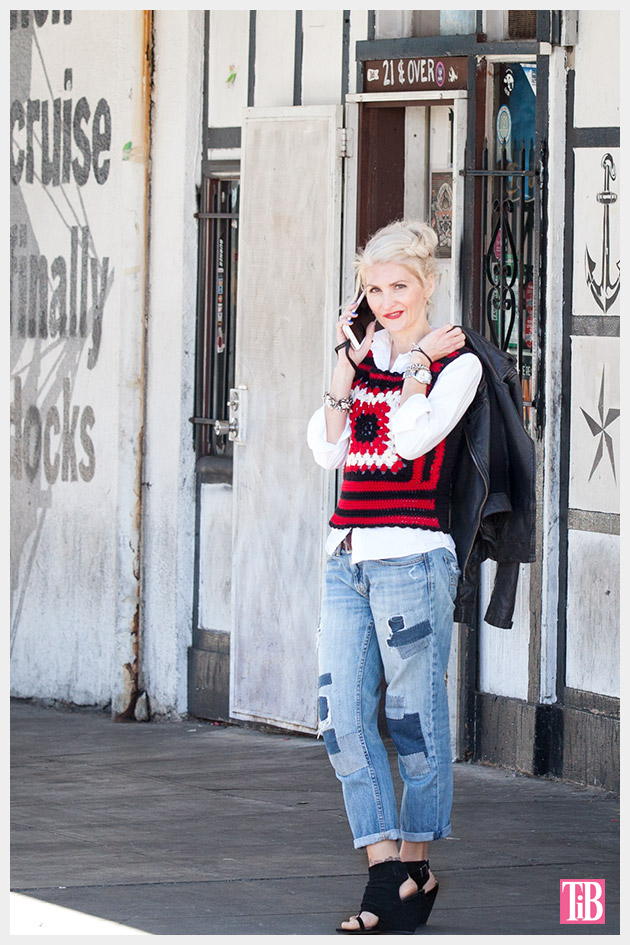
This is a great top for layering. I’m starting to wonder why I haven’t worn many vests before.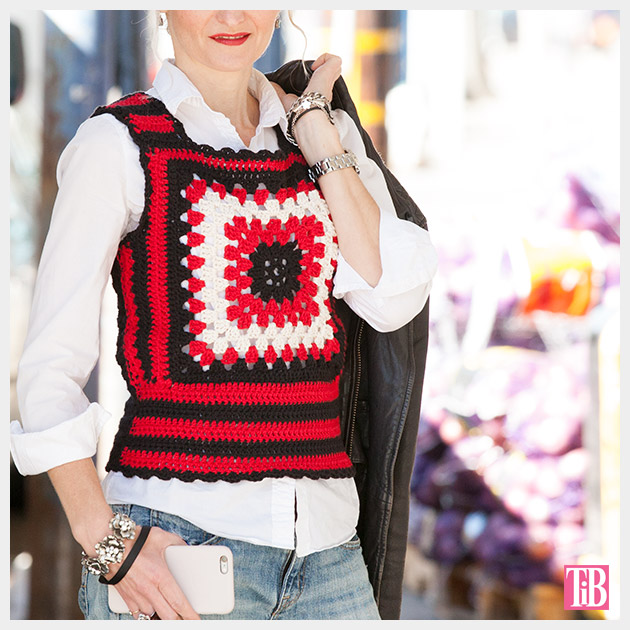
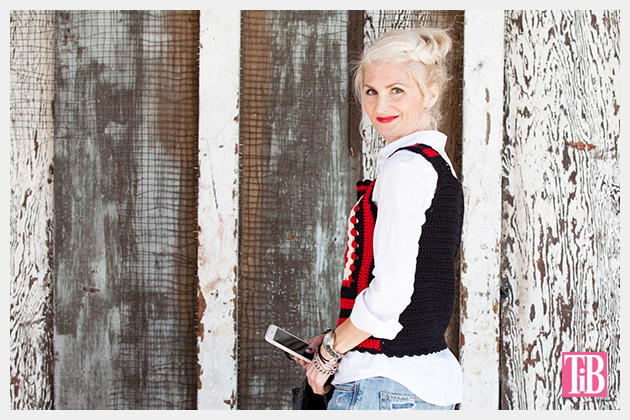
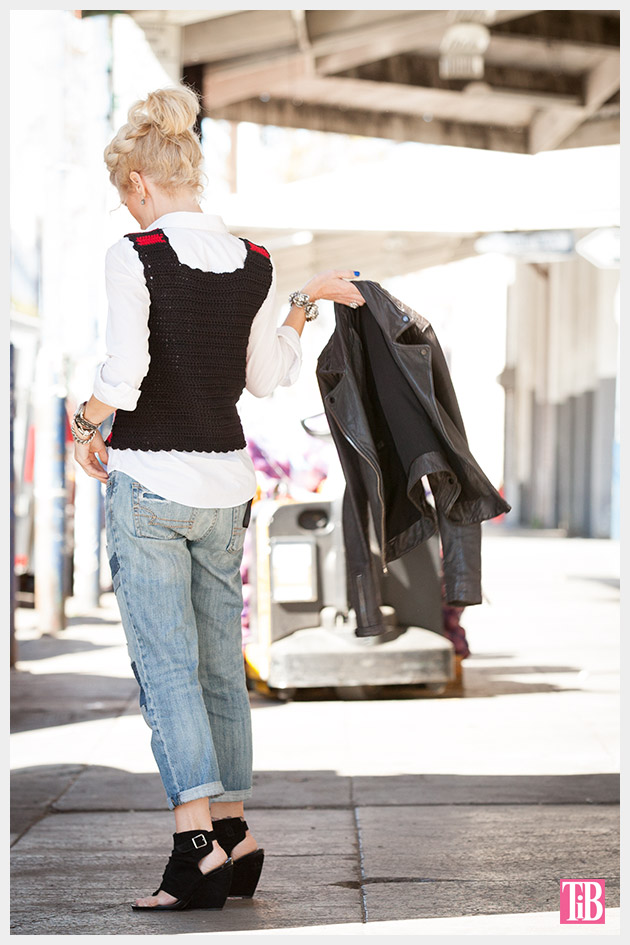
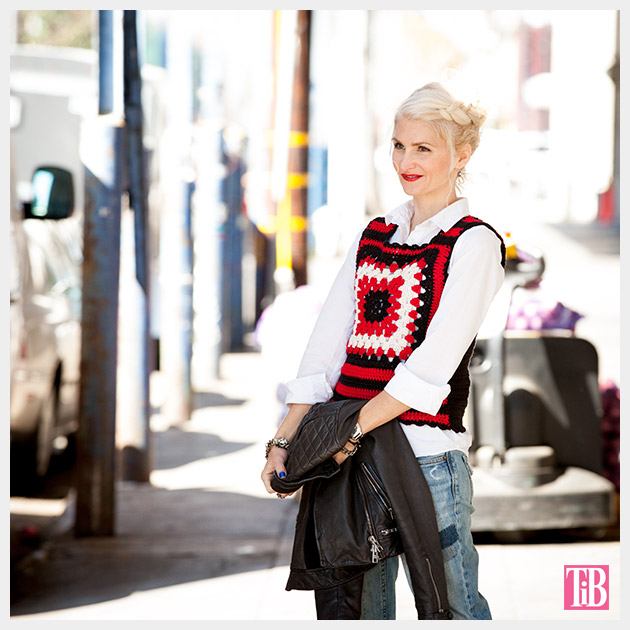
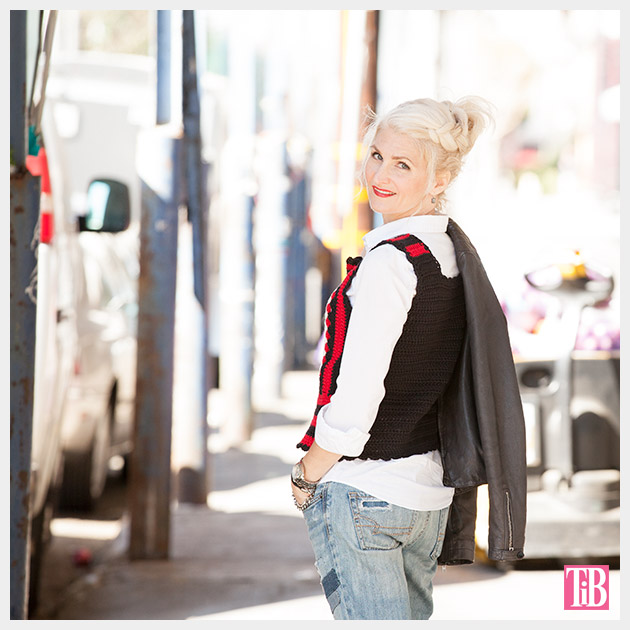
I’d like to give a special thanks to Lion Brand Yarn for giving me the yarn to make this top. I used their Kitchen Cotton and it’s really nice to work with. This sweater is super comfy and looks great.
PATTERN
As I mentioned before I followed this pattern for the front granny square and the sides. I followed the size small. After making the large granny square for the front and the stripes on the sides I kind of just winged it. The following pattern is what I did. I hope it makes sense. Let me know if you have any questions.
For the shoulder straps: I started at the top left corner of the large granny square and slip stitched into the first stitch, chained 3 and did 9 double crochets in the following 9 stitches, using my black yarn. Chain 3 turn and do double crochets all the way across in the same color.
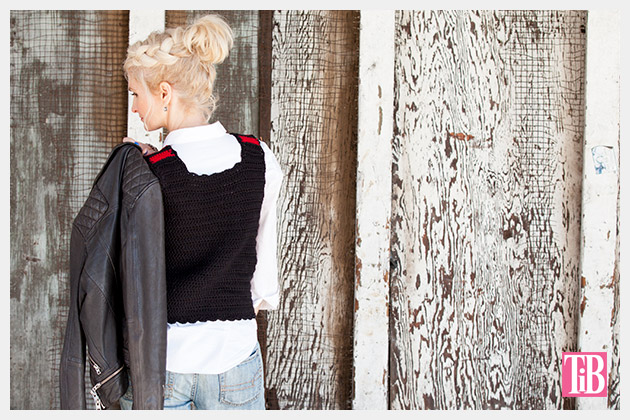
Repeat this making 2 rows of each color alternating your colors. I started with black then did red, black, red, black, red. This actually ended up making the shoulder straps longer than I wanted them, but in the end I liked the red stripes going over the shoulders to the back.
So the same on the other side of the front for the second shoulder strap.
For the front waistband: Using my red yarn and working on the bottom of the large granny square with the front facing me (turn it upside down), I did a slip stitch into the first stitch, chained 3 and then did (only) one double crochet into each side of the double crochets (the stripes). This helped to bring the waistband in, (based on the waistband measurements on this pattern, the waist would have been way too large and not fitted.)
When I got to the area with the black double crochets around my large granny square, I did one double crochet in each stitch. Do this across until you get to the other side with the stripes and again do only one double crochet into each side of the double crochets.
This gave me 52 stitches across the bottom.
You can also make your bottom waistband separate and sew it on later if you prefer. To do that you would chain 52 then chain 3, double crochet into the 4th chain and then all the way across and follow the pattern for striping.
Chain 3 turn and do one double crochet in each stitch all the way across.
Do 8 more rows, alternating your colors in 2 row increments. (2 rows of black, 2 rows of red, until your waistband is the length you want.)
Back: To start I chained 60 plus 3 chains, then did a double crochet in the 4th chain and then did double crochets in every stitch all the way across. (60 stitches)
Do 25 rows of double crochet.
To shape the arm hole: for the 26th row I started with 5 single crochets in the first 5 stitches. The double crochet in each stitch all the way across until you get to the last 5 stitches.
Chain 3 turn and do 7 rows of double crochet, do not do double crochets in the last five stitches that are single crochets.
Back shoulder straps:Double crochet in each of the 10 stitches on either side of your back. Do this for 4 rows.
Do the same on the other side.
Sew your front and back together. Be sure to sew in all your ends.
Bottom trim: 2 single crochets. The in the next stitch do 1 double crochet, chain 1 and do 1 double crochet. Do this all the way around the bottom of your top.
Neck and armhole trim: Follow the same pattern as for the bottom trim but count the sides of the double crochets as only one stitch to work into.
Across the front and back of the top do 2 single crochets, then skip one stitch and in the next stitch do 1 double crochet, chain 1 and do 1 double crochet, skip 1 stitch and repeat your pattern. This will keep your edges tight and keep your trim from ruffling.
If you make this top please leave me a comment and let me know and I would love to see pics!

Love this! I have a few vests/jumpers pinned like this! I new for add this to my DIY List.
You finished it, nice! Love it, so pretty! Thanks for sharing the instructions.
I used to crochet a lot when I was a teenager (that’s right!), but nowadays I somehow lost the passion for it. Maybe bright colorful pieces like yours will bring back my passion. I may try to make with a thicker yarn in order to cut on the amount of work %-) what do you think, would it work?
http://dushonok.com/
I think that your vest is wonderful! Thank you for your creativity and inspiration!
Thanks for figuring this pattern out! I have a question. After following your instructions for the front, I’m left with only one stripe of red on the front side instead of two, as your picture shows. I’m I supposed to add an extra row of double crochets on the front sides in red?