Create some fun on trend Nautical Bracelets DIY with these 3 simple tutorials using supplies from Jo-Ann in honor of National Craft Month.
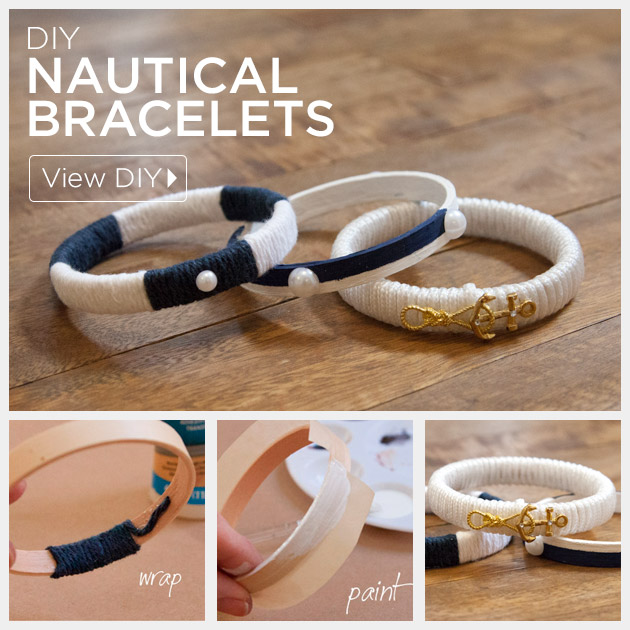
Read through to the end of the post to get $5 off $25 coupon from Jo-Ann Fabric and Craft Stores.
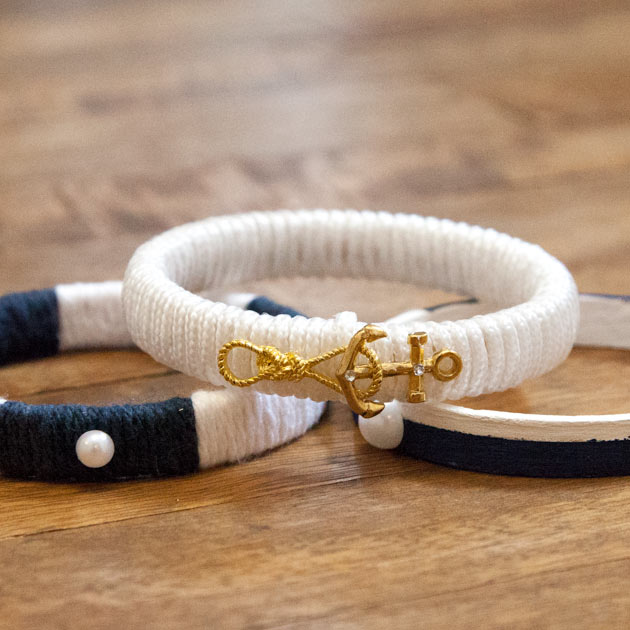
This post was created in collaboration with JoAnn and National Craft Month. I personally think every month should be national craft month! Today is the first day of spring, yay! So I chose to create some bracelets with a nautical feel in honor of spring. I love the crisp clean colors, the mix of white and navy with a pop of gold. These bracelets pair well with reds, corals, turquoise, yellow, most any color you can think of.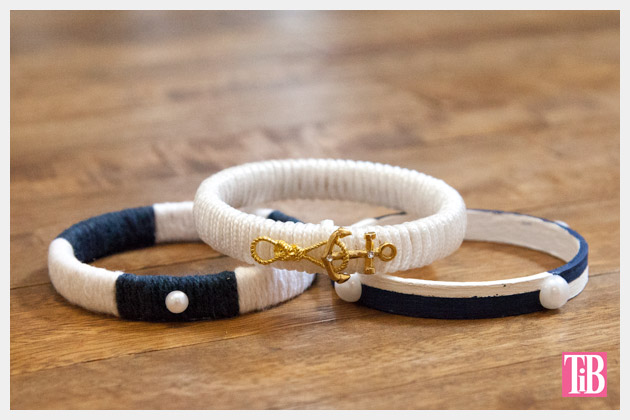
TOOLS & MATERIALS:
- Small Embroidery Hoops
- Yarn
- Acrylic Paint
- Parachute Cord
- Glue
- Pearl Embellishments
- Anchor Embellishment
- Scissors
- Tape
Yarn Wrapped Bracelet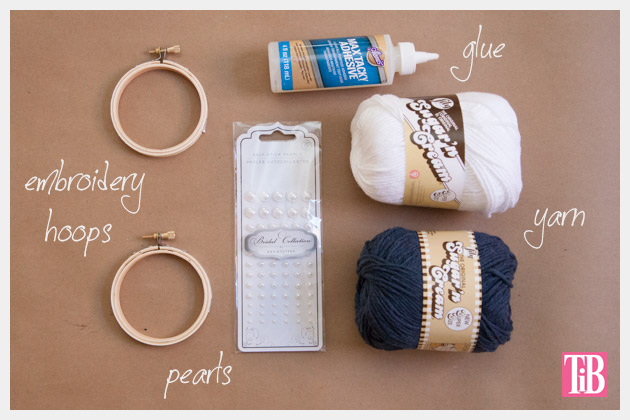
step 1
Open your small embroidery hoop and take out the center hoop, this is the one you’ll be using.
Place a small amount of glue on the inside of the embroidery hoop, and put the end of your first color of yarn in the glue.
Start wrapping over your end, this will help to hold it in place.
Wrap for as long as you want and then add another color.
When you are finished wrapping your bracelet be sure to secure the end of your yarn with glue.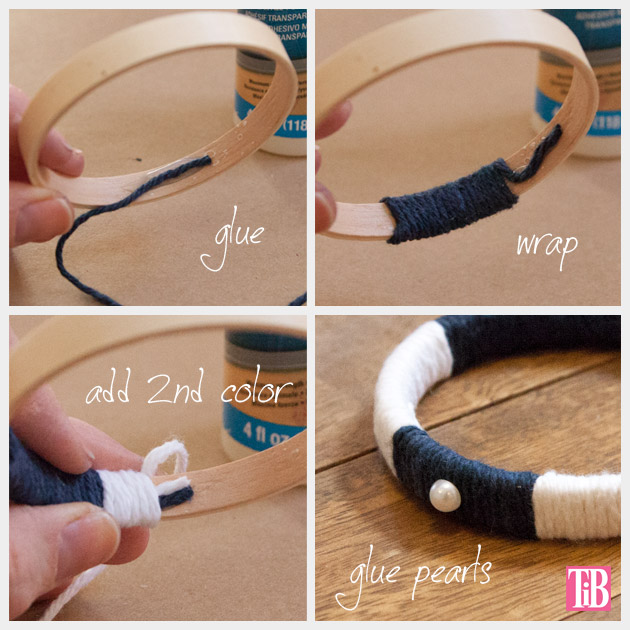
step 2
Add some pearl embellishments with glue.
The pearls I used came from the wedding section at Jo Ann, they are half rounds with sticky backs, but I still needed to glue them on to the bracelet.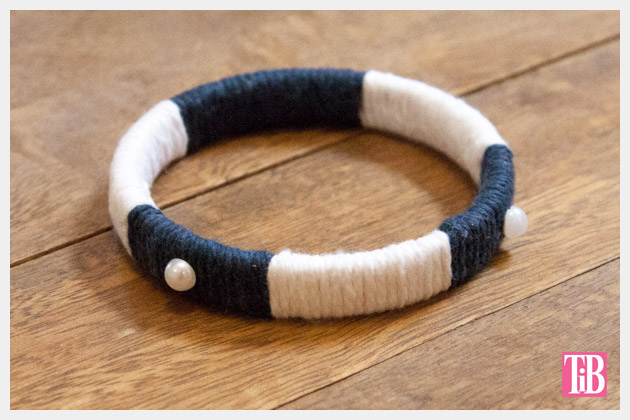
Painted Bracelet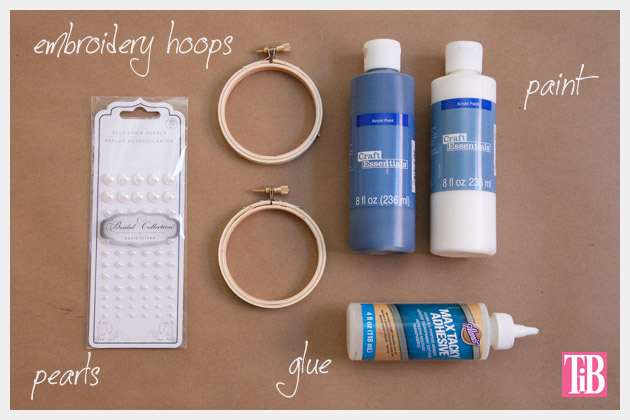
step 1
Open your small embroidery hoop and take out the center hoop, this is the one you’ll be using.
Using your tape cover sections of your bracelet where you don’t want to paint.
Then using your first color of paint, paint your embroidery hoop.
Let your paint dry before removing your tape.
step 2
Remove your tape and tape off your next section and paint.
Let dry.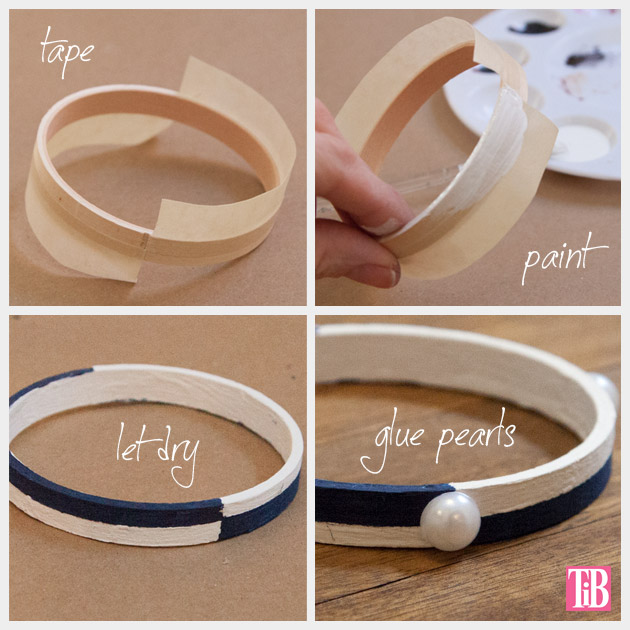
step 3
When you’re bracelet is all painted add some pearl embellishments with glue.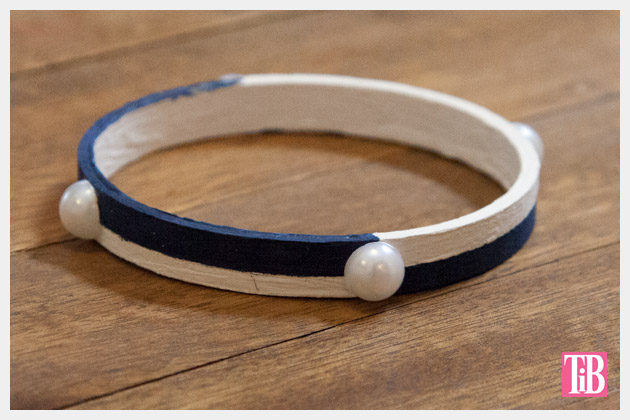
Anchor Bracelet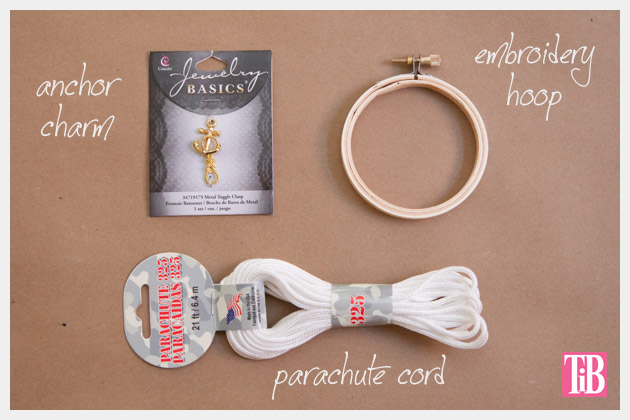
step 1
Open your small embroidery hoop and take out the center hoop, this is the one you’ll be using.
Place some glue on the inside of your embroidery hoop, and put the end of your parachute cord in the glue.
Start wrapping over the end to help hold it in place.
Wrap your entire bracelet with your cord.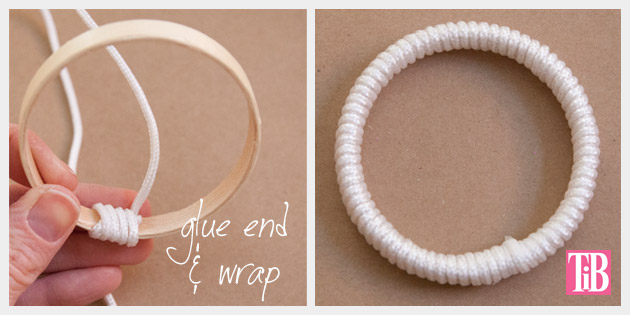
step 2
Using a strong glue glue your anchor embellishment to your wrapped bracelet.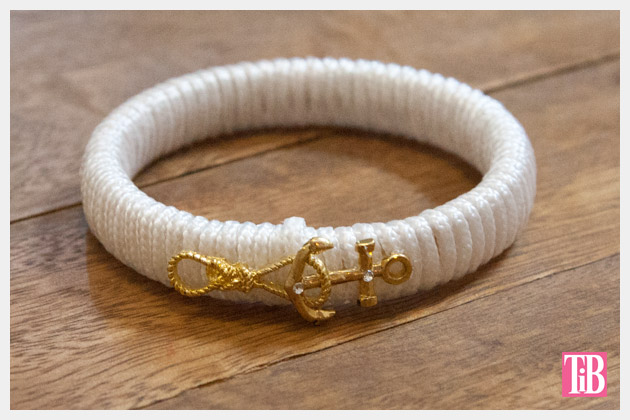
Embroidery hoop centers work great for making bangle bracelets, now we just need to come up with some ideas to use the outer rings. If you have any ideas let me know leave a comment and share your ideas.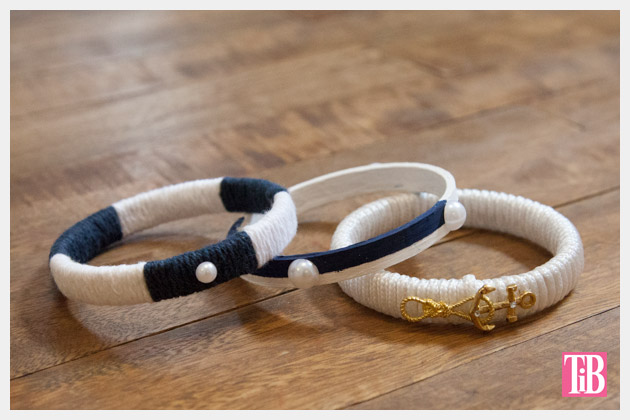
Be sure to use this coupon to get $5 off $25 at Jo-Ann for National Craft Month.
This is a sponsored post, I have been compensated for this post. However, all opinions, DIY tutorial and concept are my own.
Check out my Amazon shop for links to all supplies.

I’m definitely going to make that parachute cord and anchor bracelet
There’s allot fabric stores that have shut down. Where I live close to Athens when I was growing up we had at least two on the Square that I grew up with. I was always allowed to get buttons every time I went. that’s why I love this store today!
Awesome post, thanks a lot really helpful