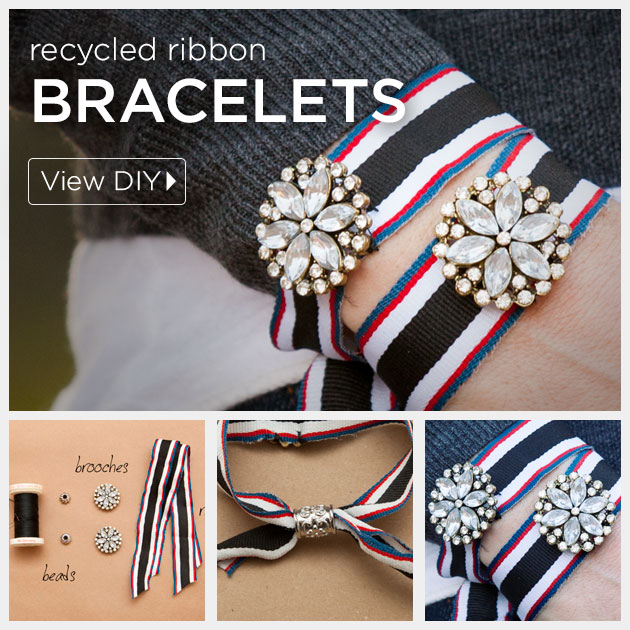
Using ribbons, beads and brooches you can create some fabulous bracelets with this Recycled Ribbon Bracelet DIY.
TOOLS & MATERIALS:
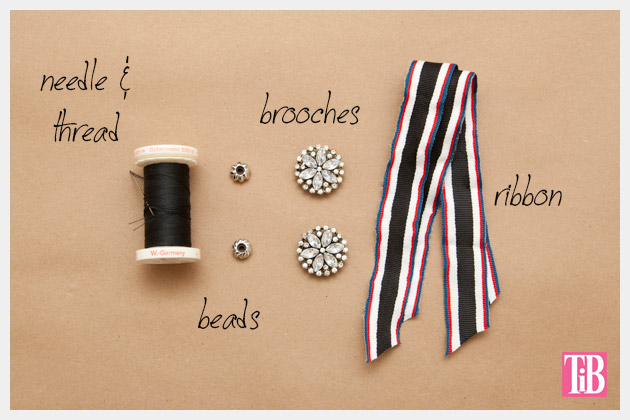
- Ribbons
- Brooches – (you can also use buttons – I bought mine at JoAnns)
- Beads with large holes
- Needle & thread
Check out my Amazon shop for links to all supplies.
step 1
Measure out your ribbon.
You’ll want your ribbon to go around your wrist with a bit of extra for crossing and tying.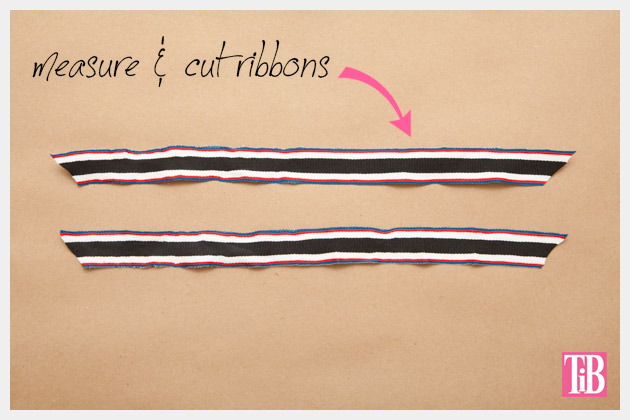
If your ribbon isn’t too long you can wait to cut it until you are finished.
step 2
The brooches I used had holes on the back that I used to sew them on to the ribbon.
Depending on what type of brooch you use, you may only need to pin it on or you could glue it, depending on your brooch.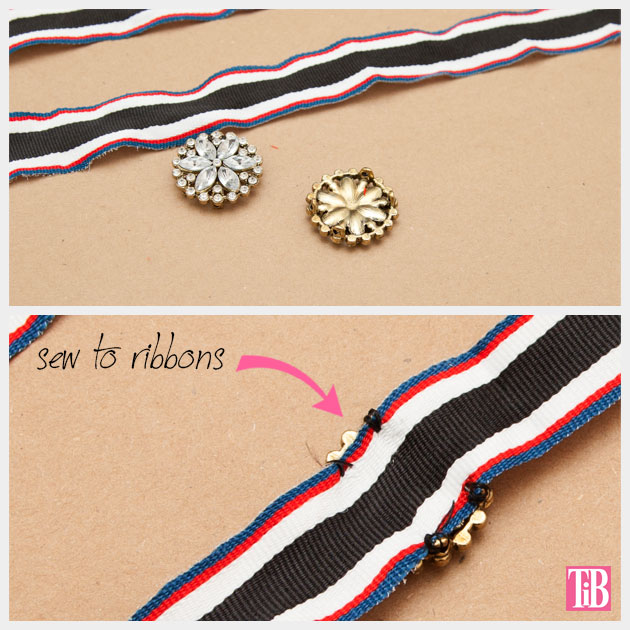
step 3
Using your beads with large holes, you’ll thread one side of your ribbon through the bead going one way and the other end going in the opposite direction.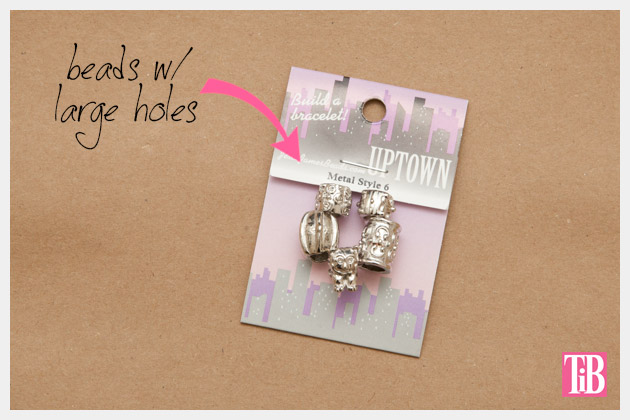
This will make your closure.
TIP:I recommend tying knots in the ends of your ribbons, this will keep them from sliding out of your bead. (another reason to keep your ribbon long while you are working on it.)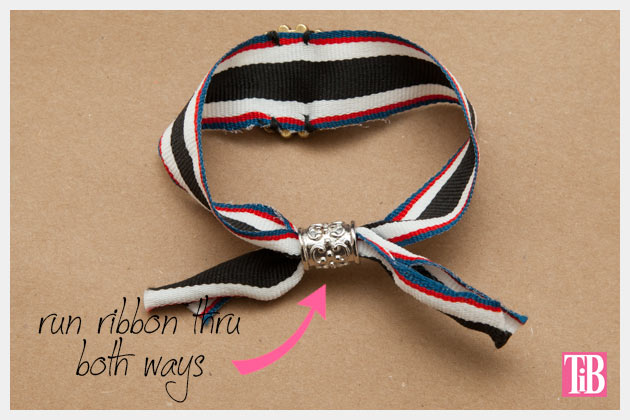
To tighten your bracelet on your wrist just pull the ribbons in opposite directions.
These bracelets are so quick to make you can make a bunch to give as gifts. Mix up your ribbons and add more buttons or brooches to make each one different!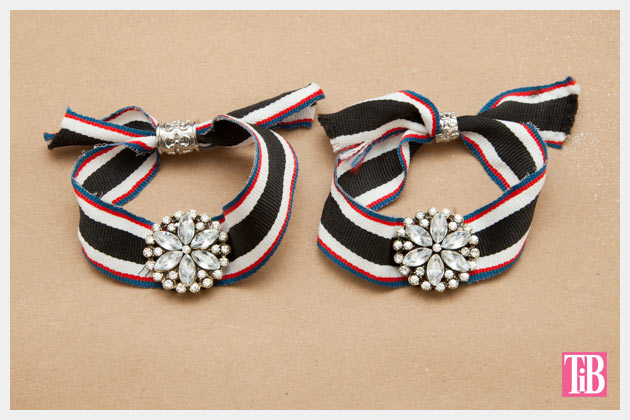
The ribbons I used for these bracelets came from the handles of shopping bags from Tommy Hilfiger. I was about to recycle the bags when I noticed that the ribbon handles were pretty nice and I couldn’t just throw them out! I’m also a sucker for grosgrain ribbon! So be sure to check all your bag handles before tossing them out! You never know what you’ll find!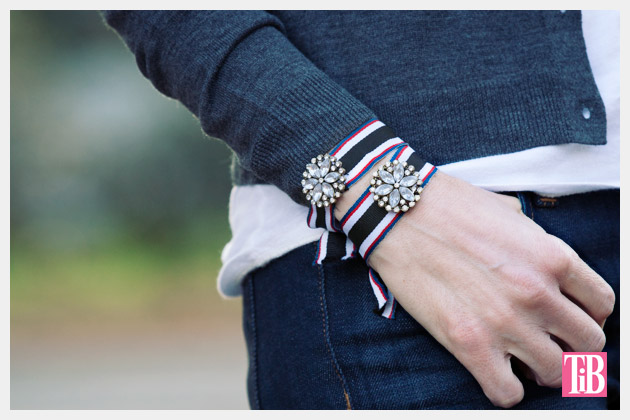
Leave me a comment and let me know how you make your bracelets!
xoxo
Cathy

Nice! I love recycling projects! (in fact I feature some- or plan to- on my blog hapinesswherever.wordpress.com too :) )