“It” bags come and go, but theres always one purse in your closet that no matter what the current trend, you just cant part with it.
Thats why Im so excited about this DIY tutorial post, its brought new life to what used to be one of my favorite purses and I think it will be my new favorite bag for this season. My inspiration for this bag came from the Fendi Peekaboo Satchel, you can make your own unique version without breaking the bank.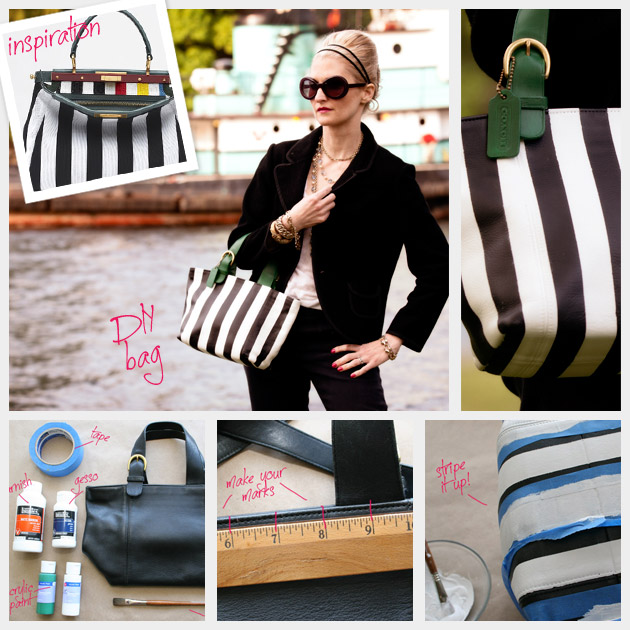
VIEW DETAILED INSTRUCTIONS >
To see step by step instructions and photos click here.
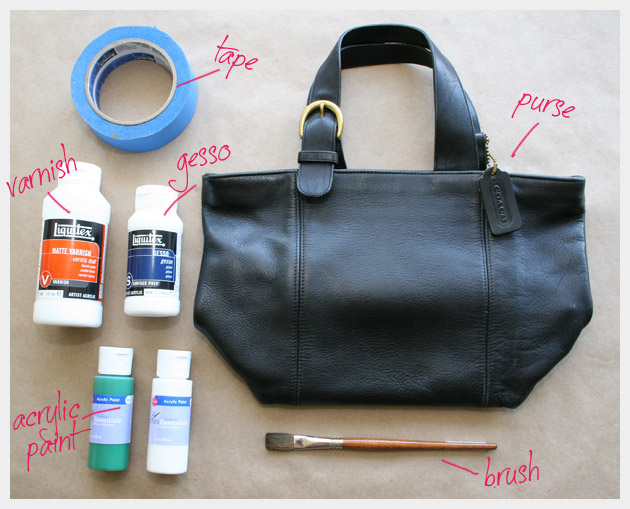
Supplies to make your DIY Striped Leather Purse:
- 1-leather (or faux leather) purse
- Gesso
- White acrylic paint
- Green acrylic paint (or color of your choice)
- Matte Varnish
- Paintbrush
- Pallet for paint
- Painters tape (I used scotch blue but Ive heard gorilla tape is better – what’s your fave?)
- Ruler
- Pencil – I used a light colored eye liner, (they wipe off easily)
Step 1
Make sure the surface of your bag is clean and dry. Measure 1 inch stripes and mark using your pencil and ruler. The style of your bag will determine how you will make your stripes. I started with the center panel and made my stripes continue from one side to the other around the bottom of the bag.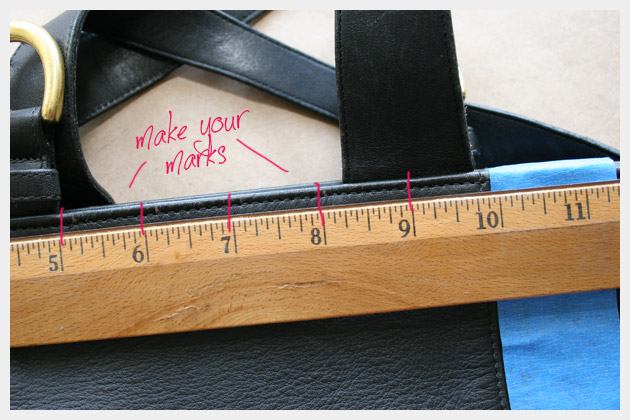
Step 2
Depending on the width of your tape (mine is kind of wide) tape off as many sections as you can to paint at a time or cut your tape in half long ways.
Its best to work slowly and carefully to make sure your stripes are exactly the way you want them.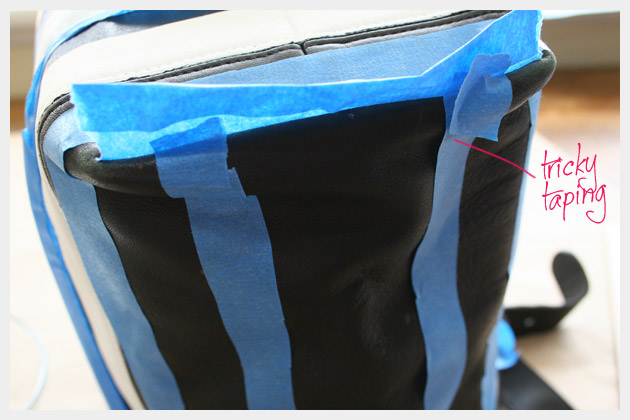
Step 3
Start with your gesso and paint a thin layer over each of your taped off stripes. Wait for it to dry and paint a 2nd coat.
Step 4
Once your gesso is completely dry and while your stripes are still taped off, paint your stripes with your white acrylic paint over the top of the gesso.
Let dry.
I only painted one coat of white acrylic paint, use your judgment to see if you need a 2nd coat. If your 2 coats of gesso covered without your bag showing through, you should be fine with one 1 coat of white paint.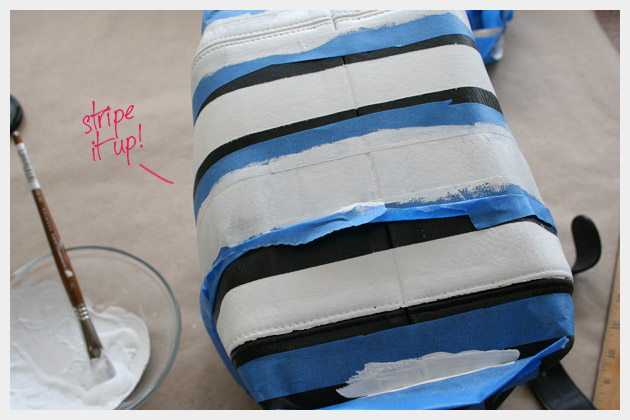
Step 5
Continue taping and painting your stripes until your bag is completely striped.
Be very careful not to put tape over any stripes you have already painted, it can pull the paint off.
TIP: if your paint bled under your tape you can dab it with olive oil and let it sit for a few minutes before carefully scraping it with an x-acto knife or brushing with and old toothbrush. Just be very careful not to damage the surface of your bag.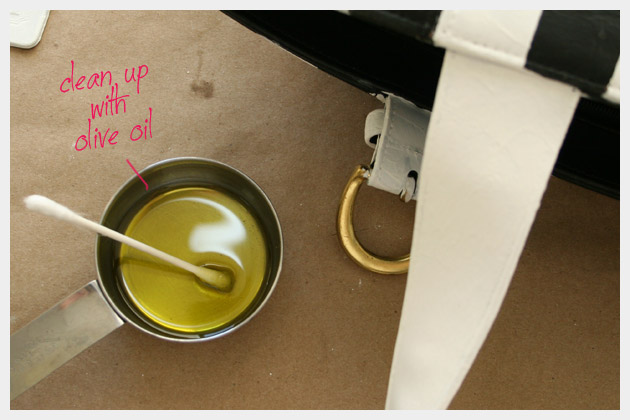
Step 6
Paint your handles with gesso. Just as you did with your stripes you will want to paint 2 coats letting the coats dry in-between.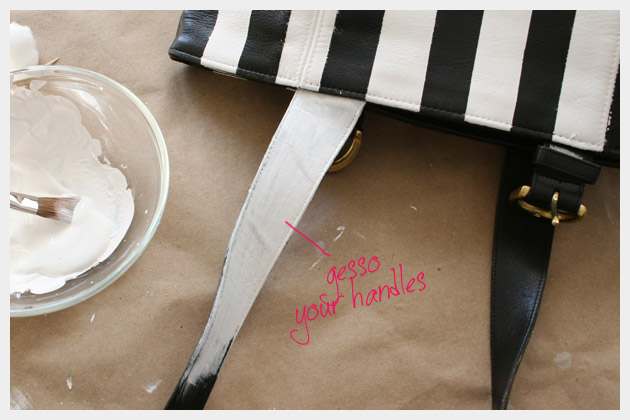
Step 7
Using your green paint, paint the handles of your purse. Let the 1st coat dry and paint a 2nd coat, you may need to paint a 3rd or 4th coat.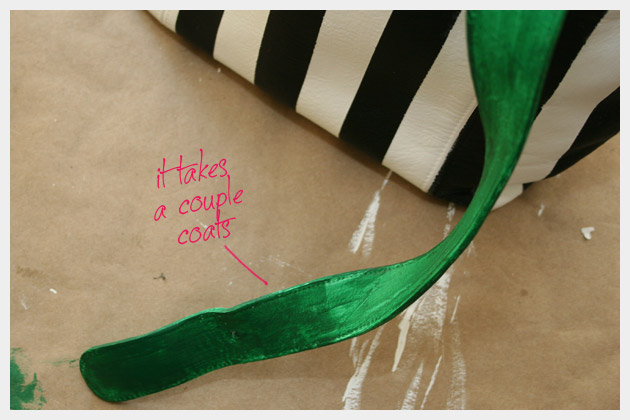
Step 8
Once all your paint is dry, take off all the tape and paint a coat of your varnish over your whole bag
Dont forget to paint any tags or extras, they help to add the finishing touch.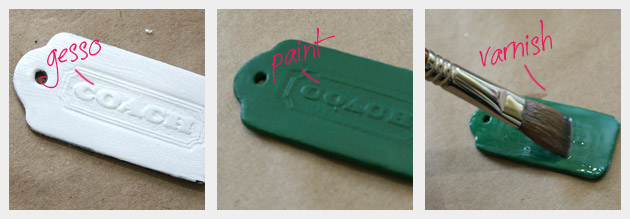
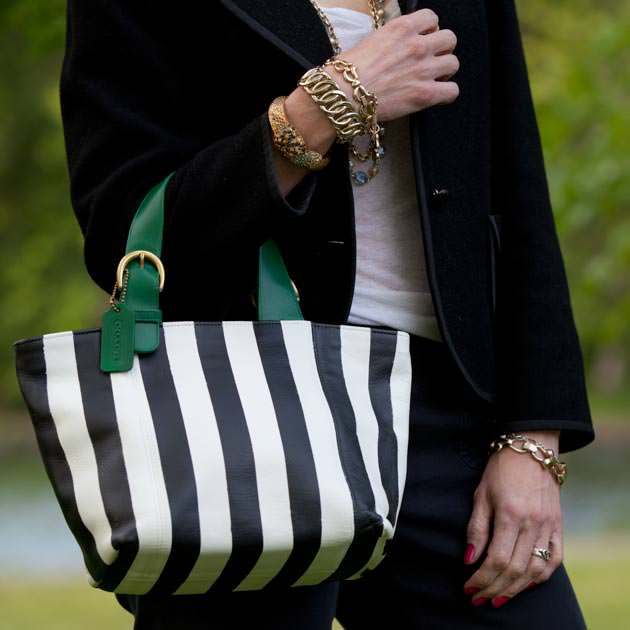
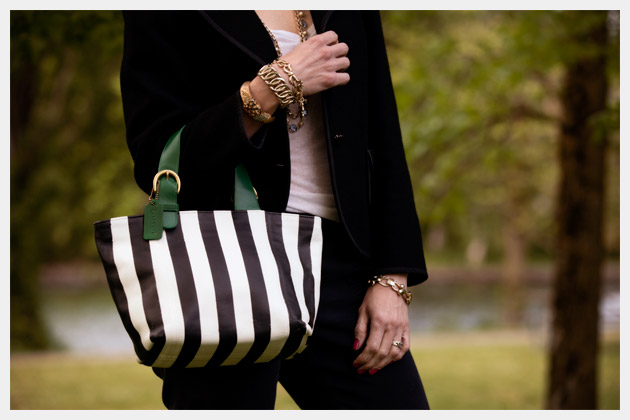 I cant wait to use this bag! I love the stripes and the pop of color, they brought life to a purse that was neglected in the back of the closet. This will be a great bag for Spring.
Id love to hear how your bags turn out, or if you have any questions or recommendations about this DIY tutorial please leave a comment.

I love this bag.. No way I can make it. Very creative.
Thanks Vidhya!
xoxo
Cathy
Very nice, What kind of varnish did you use so that it doesnt crack when used?
Hi Pippa,
Thanks! I used Liquitex Matte Varnish
You’ll want to paint at least 2 coats of varnish, just let each coat dry for at least 3 hours in between.
xoxo
Cathy
Wow! Fantastic results! Come check out my DIY!!! Aren’t we just too clever…?!
http://www.inherentstylela.com/
SUCH a fabulous job!!! It’s 100x’s better! love it!
Hi Maegan,
Thank you so much!!! I agree, now it’s useable again! LOL
xoxo
Cathy
very nice and creative! :)
Hi Prachi,
Thank you so much!
xoxo
Cathy
Your DIY projects are amazing! I can’t wait to try this one!
I’m totally adding your blog to my favorites.
Congrats on your work, and greetings from Brazil =)
Hi Roxanne,
Obrigada! I LOVE Brazil!
Thank you so much!
xoxo
Cathy
So brave to paint Coach. Looks great.
Thanks!
xoxo
Cathy
Wow, genius!
I had a black purse my mom gave me so long ago.I had never used it until i saw your DIY!!im doing it right now.my mom considering to have her purse back. :p
Thank you!!
Won’t the color wash or rub off? For example when it rains…
i think you’re goddess of creation!!!
Love it! Totally bookmarked your site! I love her DIY slipper :)
Hello from Nagaland.
Do you find that it’s cracked or flaked after you’ve used it? I have a leather purse that I totally want to do this to but I’m concerned about the longevity of wear after it’s been painted.
BTW, I LOVE LOVE LOVE this project! You did an amazing job. Looks so good!
Hi Lia,
Thank you so much! That’s a great question. Mine has cracked a little around the more slouchy areas but the smoother stiffer areas are fine. However, using a good varnish will keep that from happening or at least to a minimum. You can also go to a leather supply place like Tandy leather to get a true leather paint and varnish that will for sure keep it from cracking or flaking.
xoxo
Cathy
‘This is a great idea for bags that have been damaged already by a leaking ink pen, etc. I am a vintage Coach collector and I kind of cringe seeing this rather valuable bag being technically de-valued. I’d say practice on a less valuable bag if at all possible!!!! Otherwise, the look is cute!
Hi there, great tips and method
Just a question – I am painting a fake leather bag from an off-white to a blue colour, using a mix of blue acrylic paint and acetone from nail polish remover, will the liquitex varnish stop the paint from running when it rains, as well as preventing cracking? I’ve been trying to find an appropriate sealant, but most of them are for outdoor/hard surfaces, and I doubt any of them would work on leather, real or fake.
Any tips would be appreciated!
Your purse looks cool by the way, nicely done!