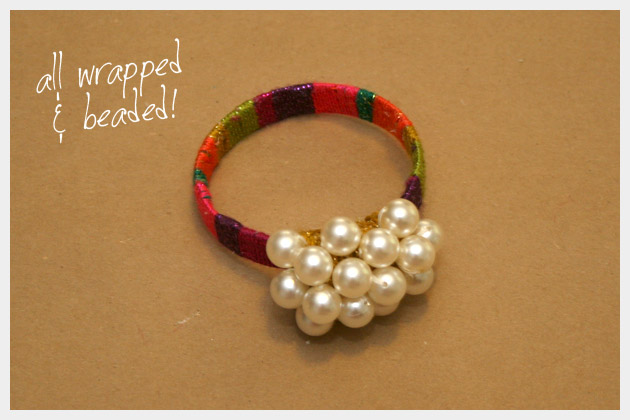
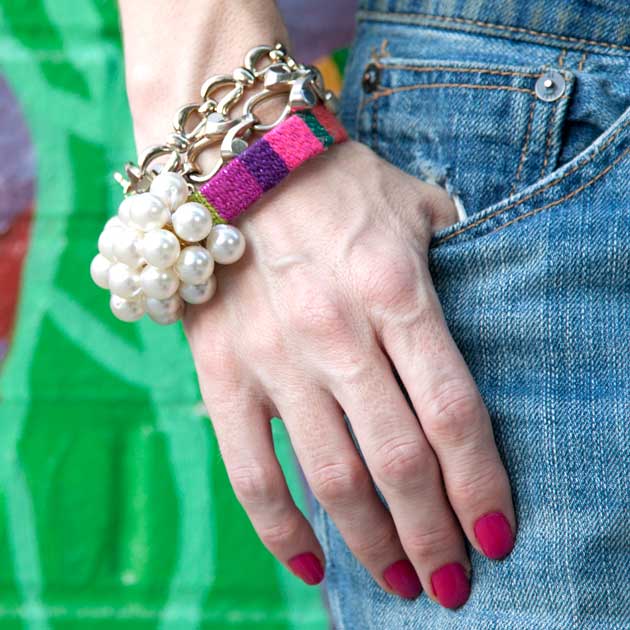
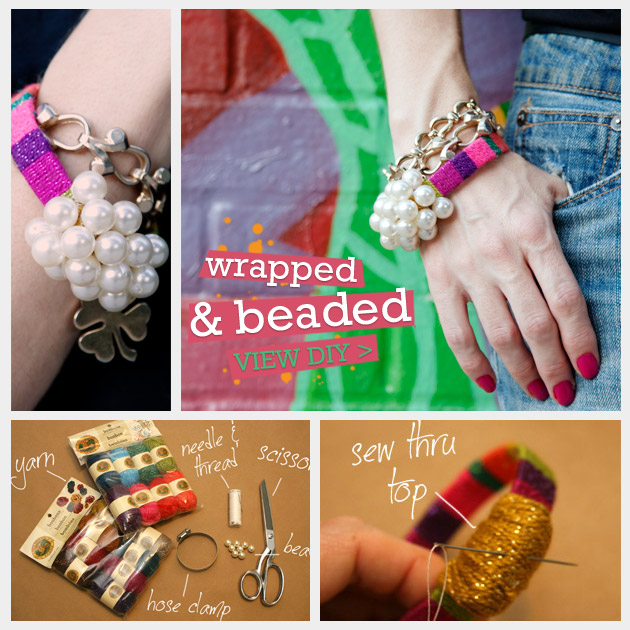
For my second project using Bonbons by Lion Brand Yarns, I made this cute DIY Bracelet. I know I made a bracelet last time too (who doesnt love a great bracelet?!), but this time I really mixed it up, using hardware store finds and adding beads.
Who doesn’t love a great bracelet?
VIEW AWESOME BRACELET DIY >
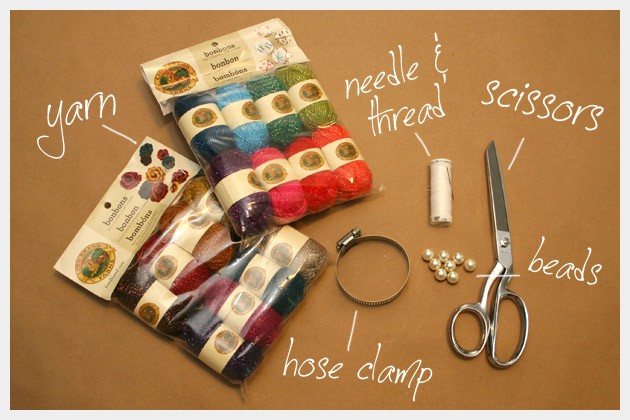
Supplies to make your Wrapped & Beaded DIY Bracelet:
- 1 Pack of Bonbons Yarn in 100% Acrylic with sparkle from Lion Brand Yarns
- 1 Large hose clamp
- Lots of big beads (way more than in pic)
- Needle and thread
- Hot glue
- Scissors
Check out my Amazon shop for links to all supplies.
Step 1
Take your first color of Bonbons yarn, your hot glue and your hose clamp.
Check the size of your hose clamp and make sure you can easily put your hand in and out.
You dont want it to be too tight as you will be wrapping your yarn around it, and it will get smaller.
You will want it to be a little bit larger than you would normally wear it for a bracelet.
Step 2
Place a small amount of hot glue just under the top of the screw part on your hose clamp and put the end of your yarn in it to hold it.
Start wrapping your yarn around the ring of your hose clamp. Be sure to pull your yarn firmly, so it stays tight and flat around your hose clamp.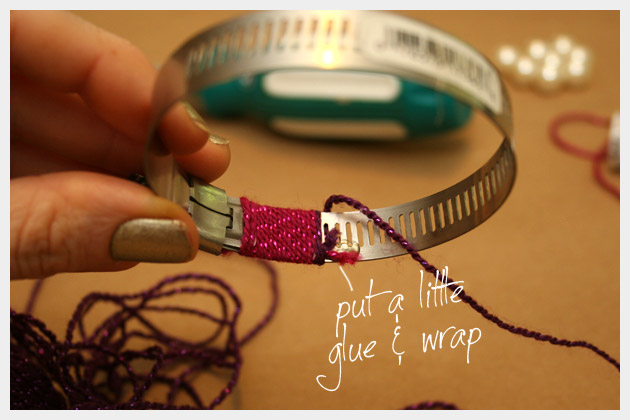
Step 3
Once youve wrapped your first color around for as wide as you want it, place a small amount of hot glue on your hose clamp and secure your yarn.
Snip off the extra yarn.
Step 4
Take your second color of Bonbons and put your end in the same hot glue where you just put the end from your last color to secure.
Wrap your second color the same way you wrapped your first and follow “Step 2†to finish it.
Continue wrapping this way alternating your colors and the sizes of your stripes.
You can really have fun with your colors here. Mix ‘em up!
Step 5
Once the ring of your hose clamp bracelet is completely wrapped, take the color youve chosen and wrap the screw top part of your hose clamp.
Start by putting a little hot glue to hold your yarn.
Make sure to cover this top part completely.
Use hot glue on the sides if necessary to hold the yarn.
Finish off your end by securing it with a small amount of hot glue.
Step 6
Take your beads and your needle and thread. Start sewing your beads to the top part of your wrapped hose clamp bracelet.
Be sure to sew through each bead 3 or 4 times.
If you feel your beads need it, you can put a small amount of hot glue under each bead to help them stay in place.
Add enough beads to cover the top area of your bracelet.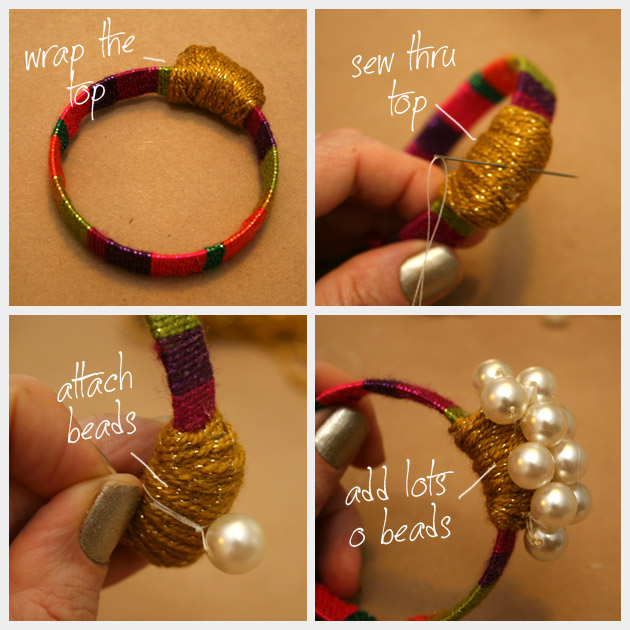

thanks for sharing! I really like the way it looks, and I’m nuts about hardware store DIYs!
Hi Stephanie,
Thank you!I love hardware stores they’re amazing sources of inspiration.
xoxo
Cathy
Awesome bracelet, I can’t wait to try this.
Love these ideas!